Buttery Buttermilk Pancakes
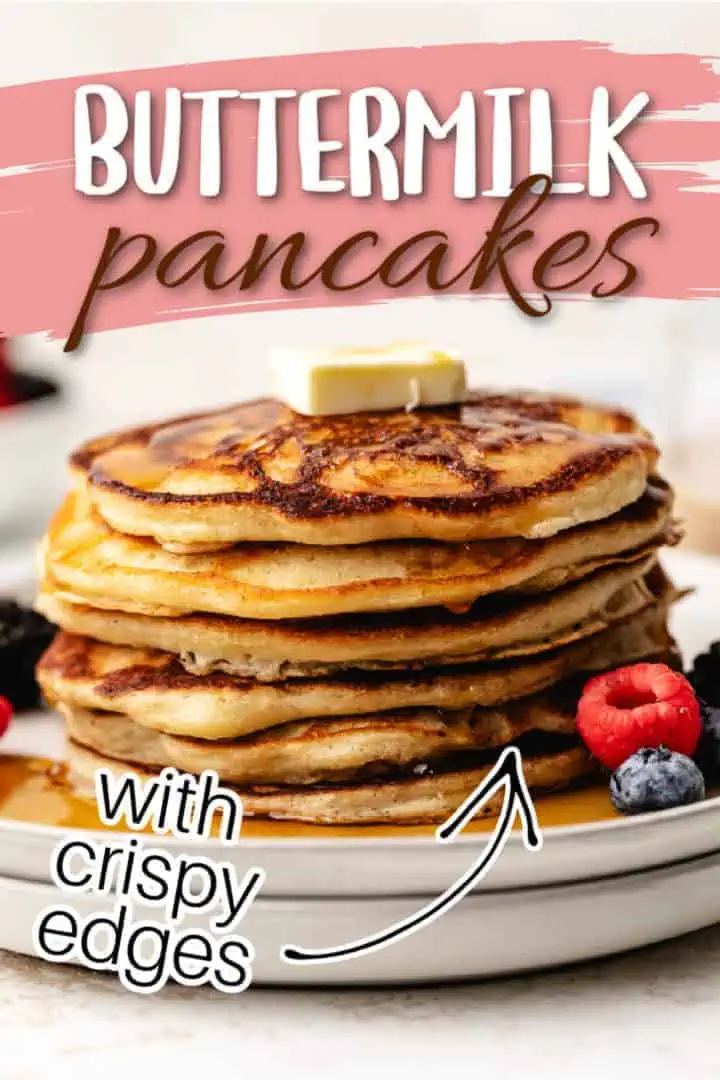
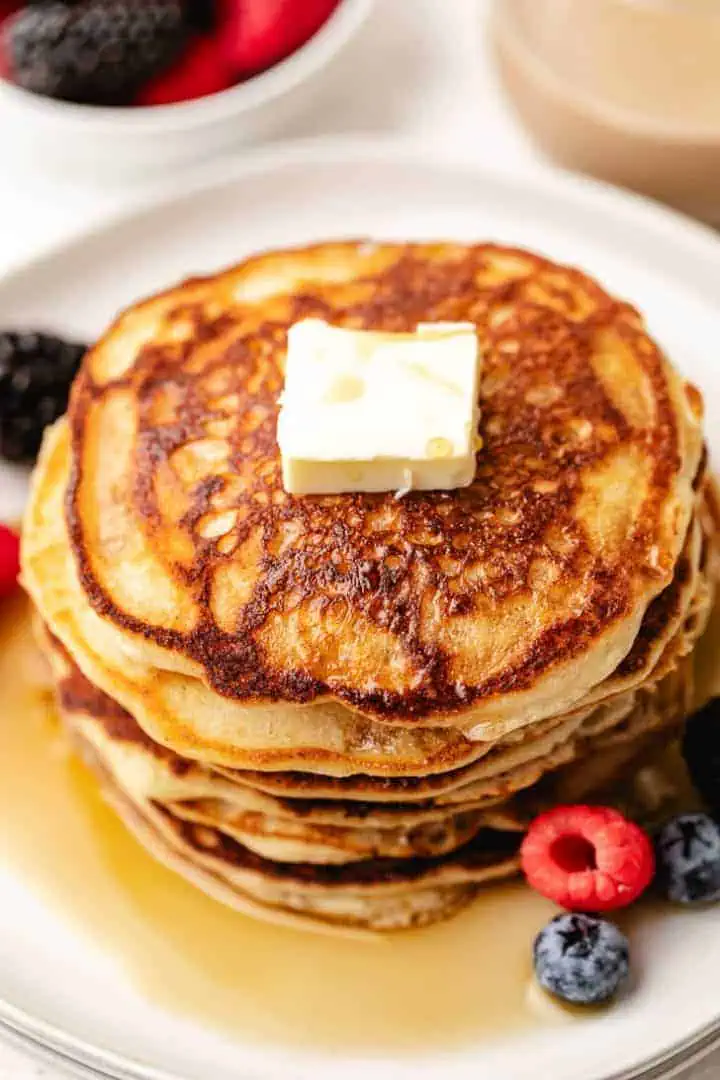
These buttermilk pancakes are the best homemade pancakes you’ll ever make. They’re fluffy and melt-in-your-mouth tender with deliciously crispy, golden brown edges.
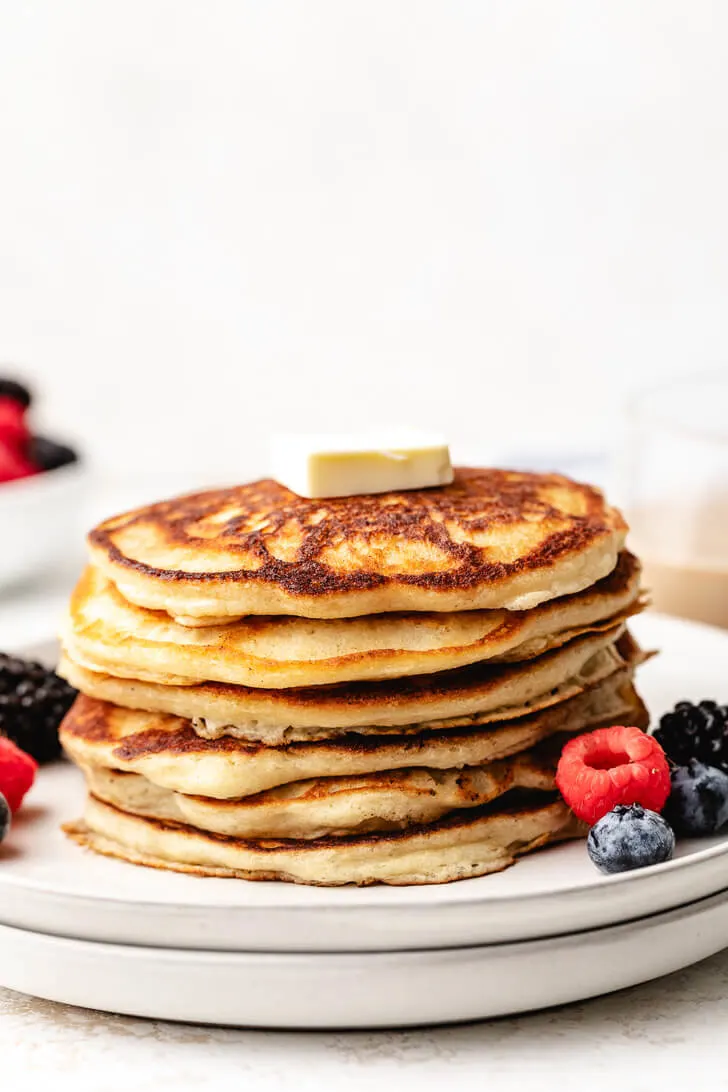
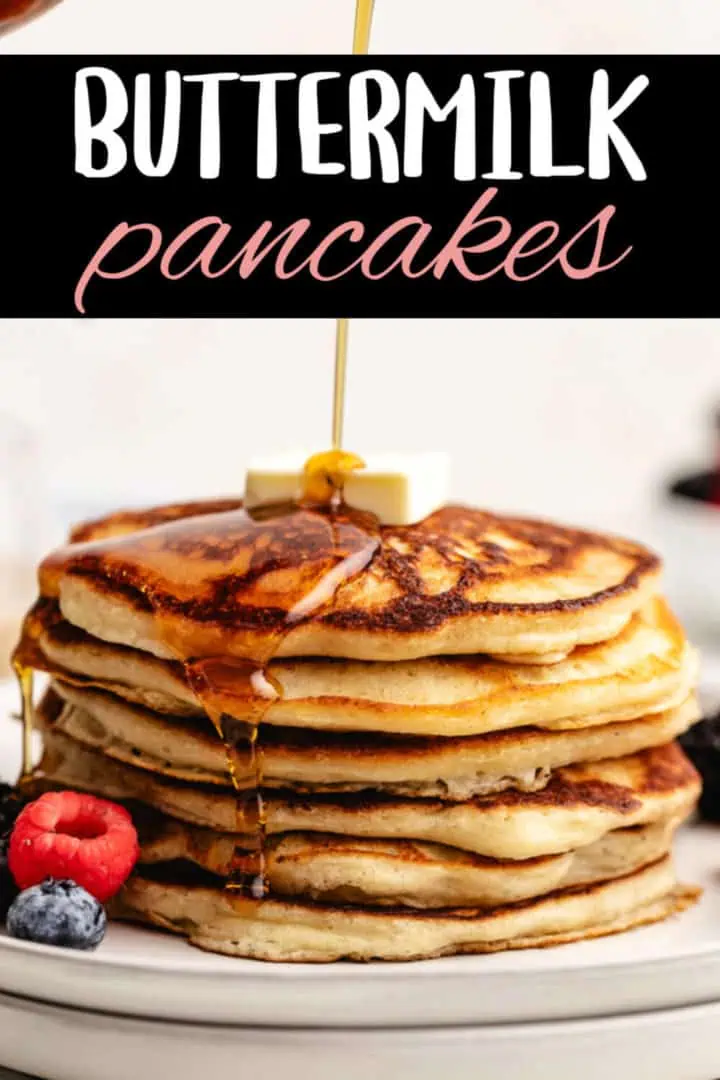
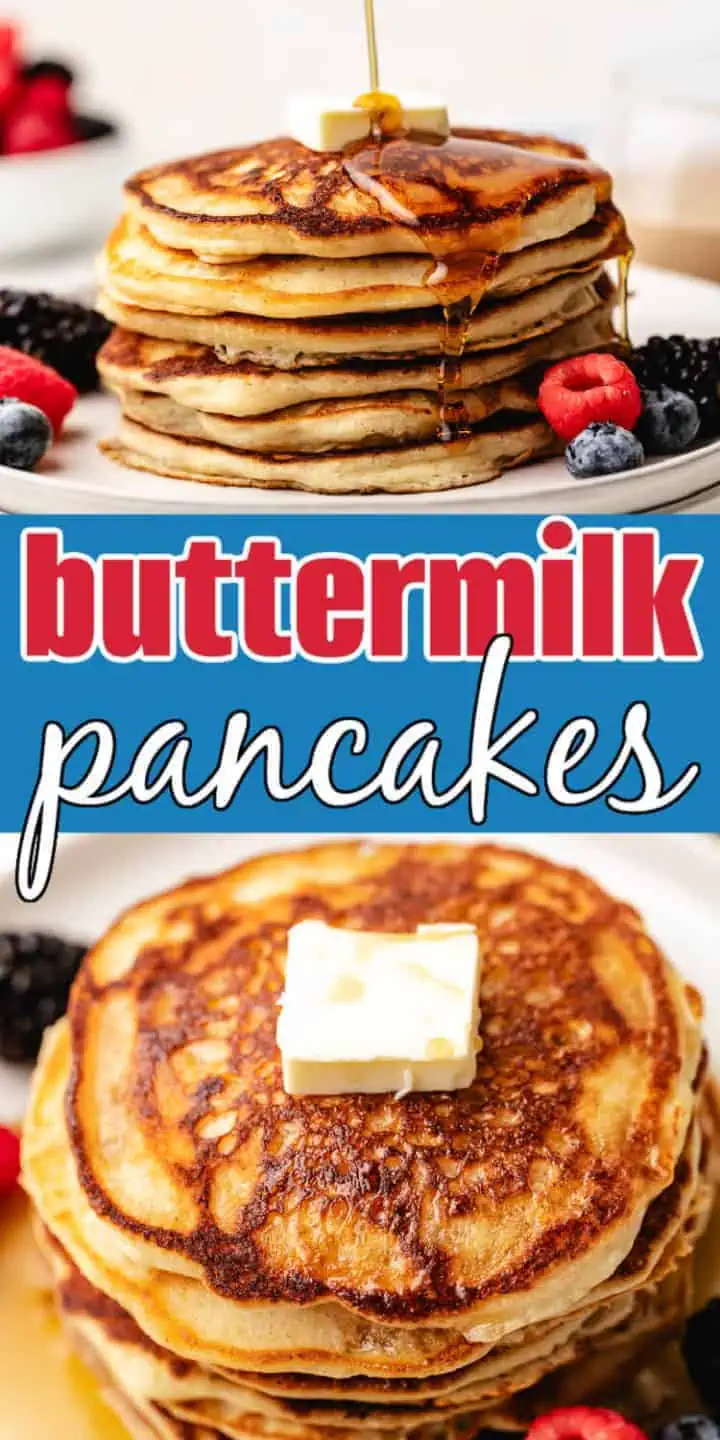
If you’re looking for the best buttery pancakes with crispy edges, you’ve come to the right place. My buttermilk pancakes cook up fluffy, golden brown, and full of rich butter flavor in every bite.
With this recipe I’ll tell you exactly how to get that buttery flavor and how I get crispy edges every single time.
In case you need to know what to use when you’re out of buttermilk, I’ve got you covered there, too. On the flip side, if you have leftover buttermilk, here’s a slew of recipes to help you use up every last drop!
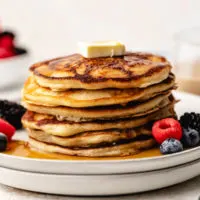
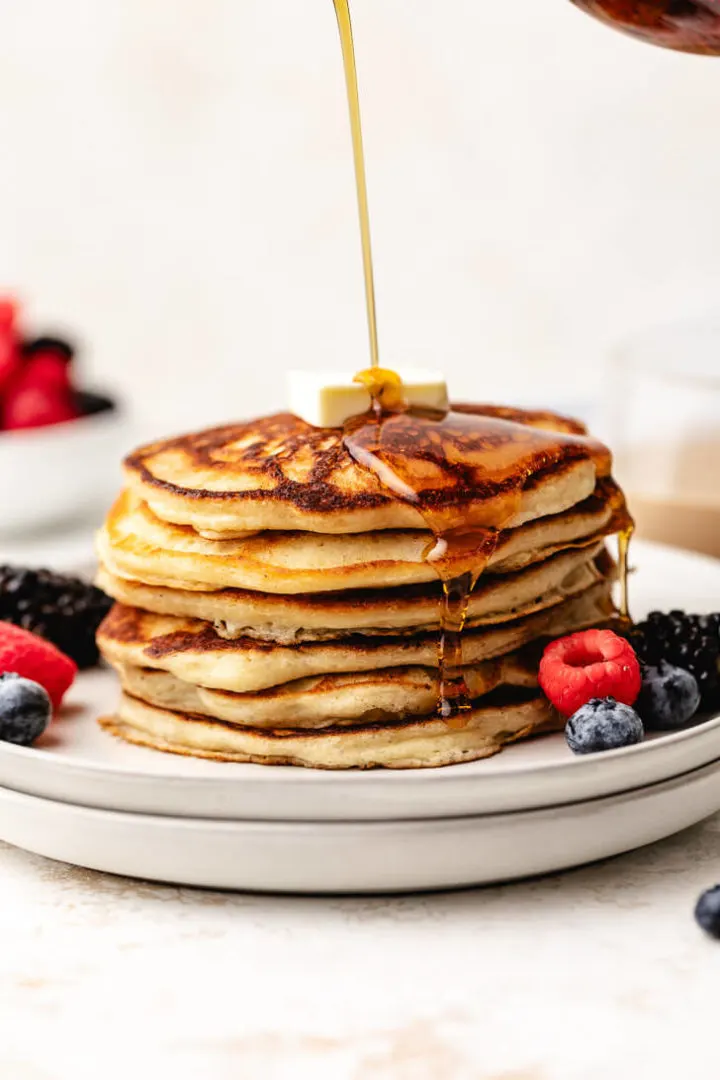
These classic pancakes are just what you need for Sunday morning breakfast or an easy weekend brunch spread. Serve them with warm maple syrup and fresh fruit or a smear of homemade lemon curd.
Important tips about the batter before you start
- The batter is fairly thick! If I were rating the batter on a scale of 1-10 (10 being super thick), I’d give it a 7.5 or an 8. You’ll have to physically spread it a little on the pan.
- Lumps in the batter. A few tiny lumps are completely fine. Larger pieces of flour aren’t. They won’t breakdown or dissolve as the pancakes cook.
- Overmixing. It’s easy to do, especially if you use an electric mixer. If you happen to overmix the batter, you’ll end up with flat, dense pancakes. The gluten over develops, and they lose the light, fluffy texture.
How to Video
Ingredients
- 1 ½ cups all-purpose flour
- 1 ½ cups buttermilk
- ¼ cup unsalted butter, melted and cooled (plus 2-3 extra tablespoons for cooking)
- 1 large egg
- 1 tablespoon granulated sugar
- 2 teaspoons vanilla extract
- 2 teaspoons baking powder
- ½ teaspoon baking soda
- ¼ teaspoon salt
💌 Don't forget to save this recipe!
Instructions
- Using an electric mixer or bowl and whisk, combine all the ingredients. The batter should be smooth and not too thick. Make sure not to overmix!1 ½ cups all-purpose flour1 ½ cups buttermilk¼ cup unsalted butter1 large egg1 tablespoon granulated sugar2 teaspoons vanilla extract2 teaspoons baking powder½ teaspoon baking soda¼ teaspoon salt
- Preheat a skillet over low-medium heat.
- Melt a little butter in the skillet. Place ¼ cup of batter in skillet, and smooth into a circle.
- After bubbles form across the top of the pancake and edges begin to crisp, flip the pancake to cook the other side.
- Cook opposite side until golden brown then remove from pan. Repeat until all the batter is used.
- Serve immediately with maple syrup and fresh fruit.
Notes
Nutrition
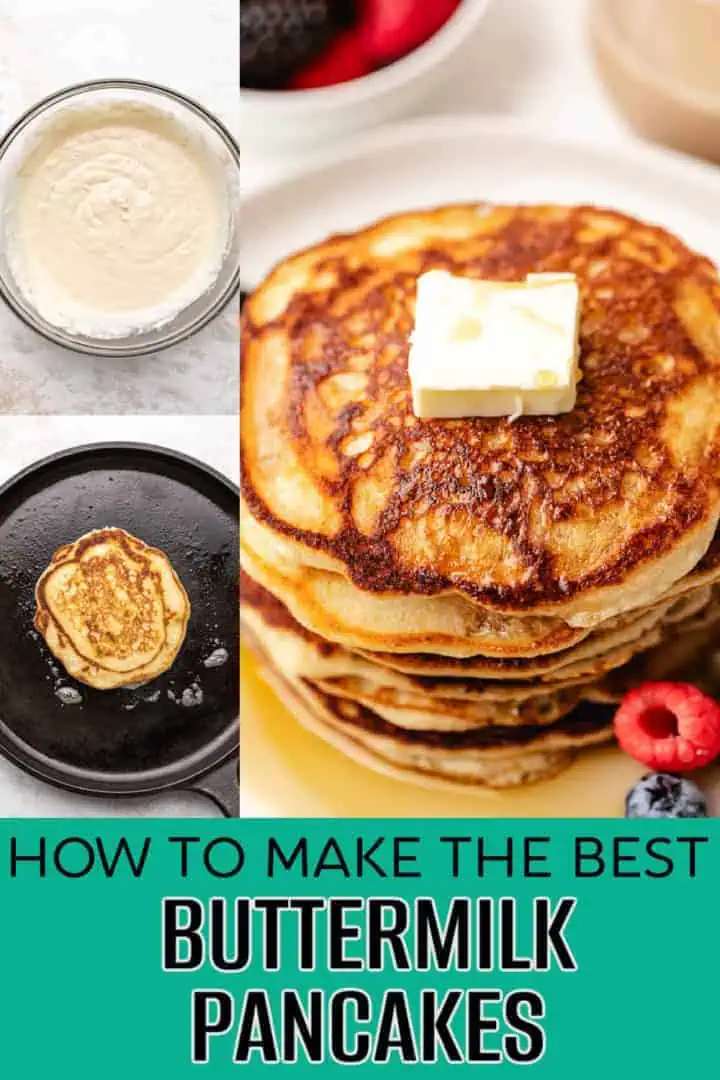
How to make buttermilk pancakes step by step
Before you start making the batter, preheat a skillet over low-medium heat. It needs a few minutes to warm up in order to cook the pancakes properly.
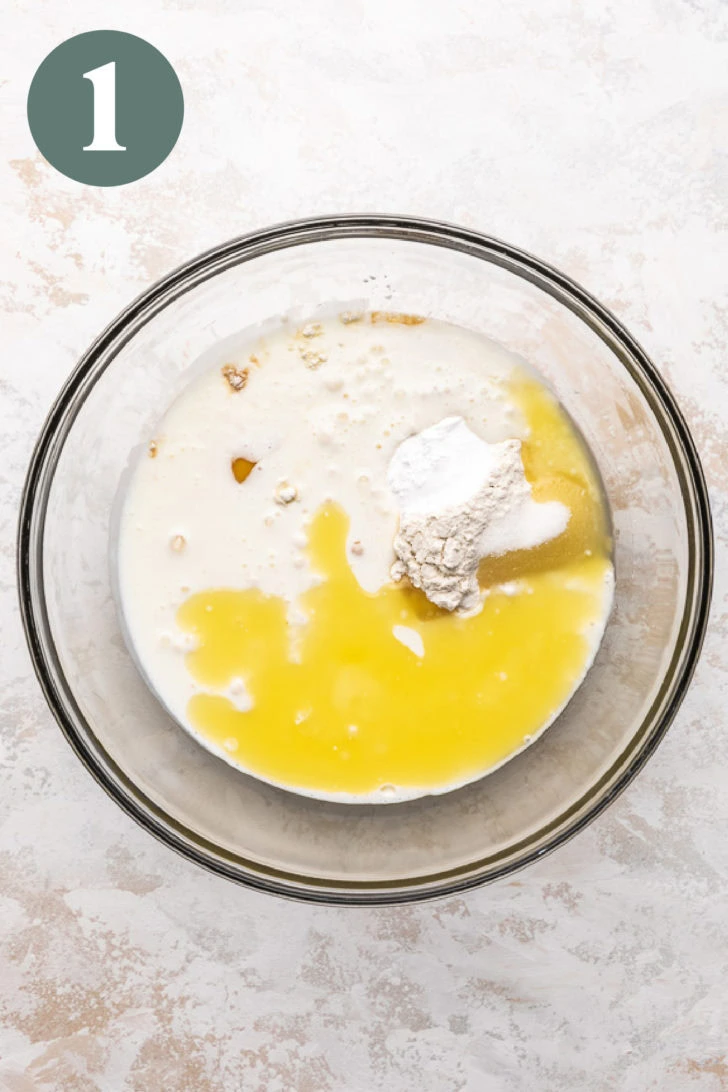
Place the all-purpose flour, buttermilk, unsalted butter, egg, sugar, vanilla, baking powder, baking soda, and salt into a large mixing bowl. If your flour looks lumpy, consider sifting it in to large lumps out of the batter.
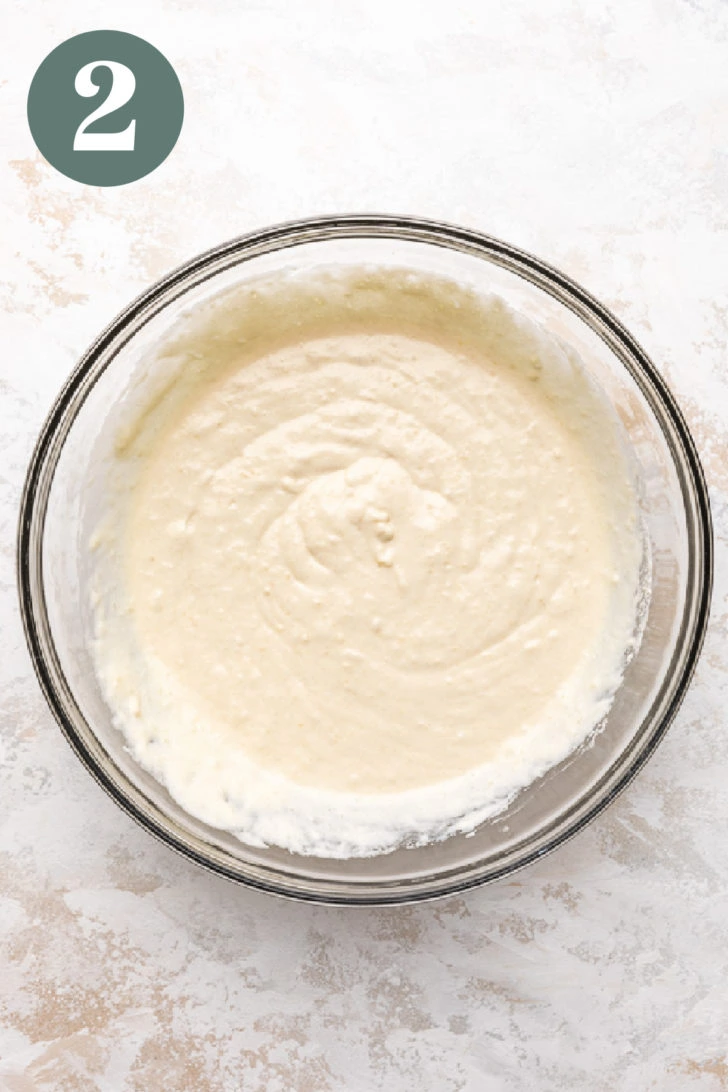
Use a whisk or an electric mixer to combine the ingredients just until no dry flour patches remain. Take extra care not to overmix.
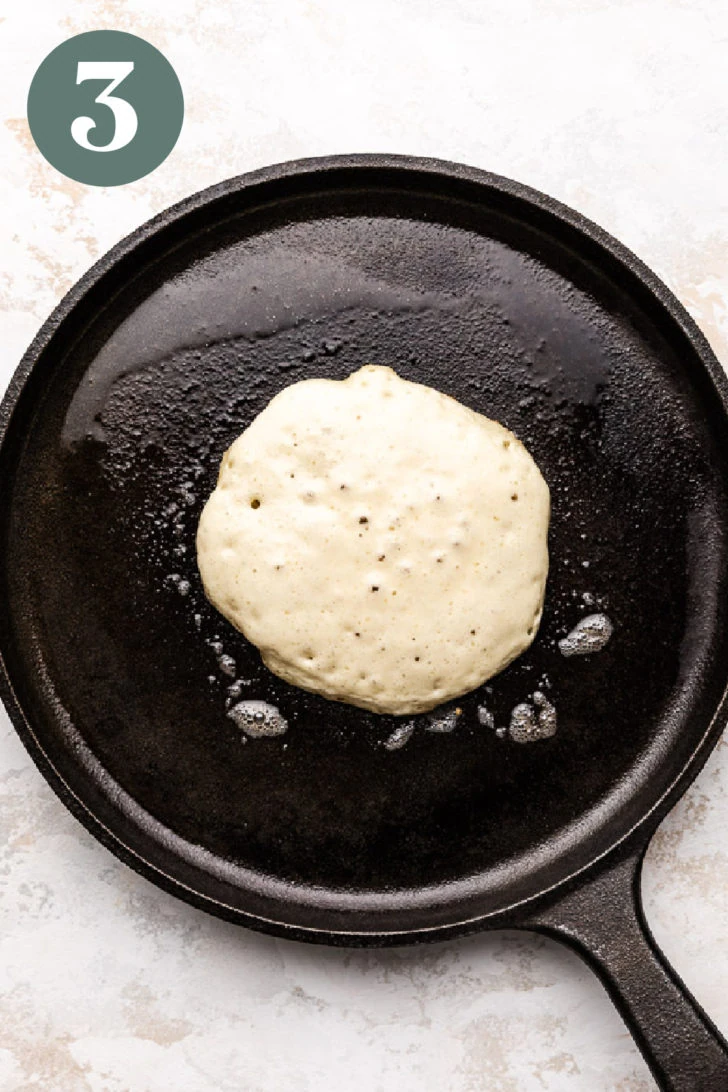
When then the skillet gets hot, melt about ½ to 1 tablespoon of butter. If there’s a lot of excess butter, pour it back into the batter and mix. Add ¼ cup of batter to the skillet. Quickly smooth the batter into a circle, and allow it to cook until bubbles form across the top. The edges will also appear set.
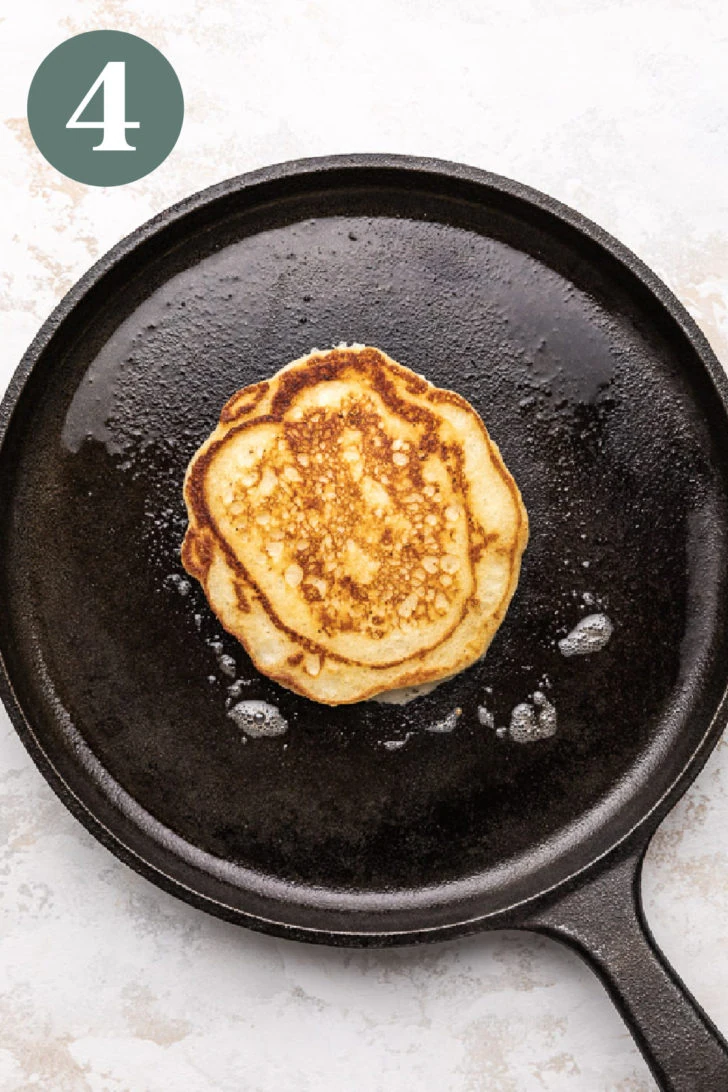
Use a spatula to flip the pancake and cook the other side. Cooking the second side should take a little less time than the first. When the second side is golden brown, remove the pancake from the pan. If the butter begins to brown or smoke, wipe the pan clean with a paper towel and reduce the heat slightly.
Storage
Leftover pancakes refrigerate and freeze beautifully!
To store in the refrigerator, place the pancakes in an airtight container and store in the refrigerator for 4-5 days.
To store in the freezer, place the pancakes in a freezer-safe bag and store for up to 3 months. When you’re ready to serve the frozen pancakes, let them thaw in the fridge or heat them from frozen in the oven.
The best way to prep the pancakes for the freezer is to arrange them on a baking sheet in a single layer. Pop the pan in the freezer for an hour so the pancakes get solid. Transfer them to a freezer-safe bag and place freezer paper or parchment paper between each. You’re good to go!
Common Questions
Fluffy with crispy edges. they were perfection! 🥹❤️
Thanks Kim, we’re thrilled you liked the pancakes!
These are perfect pancakes! I found that the mixture is too thick so I needed more milk, about another 1/2 cup. Note: I was using sour milk instead of buttermilk which might have made the difference.
Thanks Deb! Thank you for adding the extra notes. I’m sure it will help other readers. Have a lovely day 🙂
At last, an easy pancake that tastes good! I think the lower than the usual “medium” temperature helps too. They don’t overcook before they’re done! Thank you for a yummy day 😊
Hi Sheila!
We’re so happy you enjoyed the pancakes and hope you have a fantastic week! 🙂
Love these pancakes. Super simple to make and taste amazing! I can be rather picky when it comes to pancakes but these are great!
Thank you, Lupe! Kim and I are glad you enjoyed the pancakes and we appreciate you coming back to leave a comment. Have a lovely day 🙂