
How to Make Sourdough Starter
Making a sourdough starter from scratch only takes flour, water, and a little daily attention. The starter becomes a fermented mixture of naturally occurring yeast and bacteria that can raise bread without packaged yeast.
💌 Don't forget to save this recipe!
I started working with sourdough before the big sourdough rush in 2020, back when clear beginner information was harder to find. I spent a lot of time bumbling around, overthinking feedings, and assuming I had ruined a starter when it was really just moving slowly.
Years later, I think sourdough starter is much more forgiving than people make it sound. It isn’t fast, though. Mine usually takes about 3 weeks or a little longer before it is strong enough to make bread. Some starters are ready sooner, but I go by what the starter does after feeding instead of counting days on the calendar.
Kim’s Tip: Watch the Starter, Not the Calendar
A brand-new starter may suddenly rise on the second or third day, smell awful, and then appear to stop doing anything. That early burst of activity can be confusing, but it doesn’t mean the starter is ready. It may stay fairly quiet for several days while the yeast and bacteria settle into a more stable rhythm.
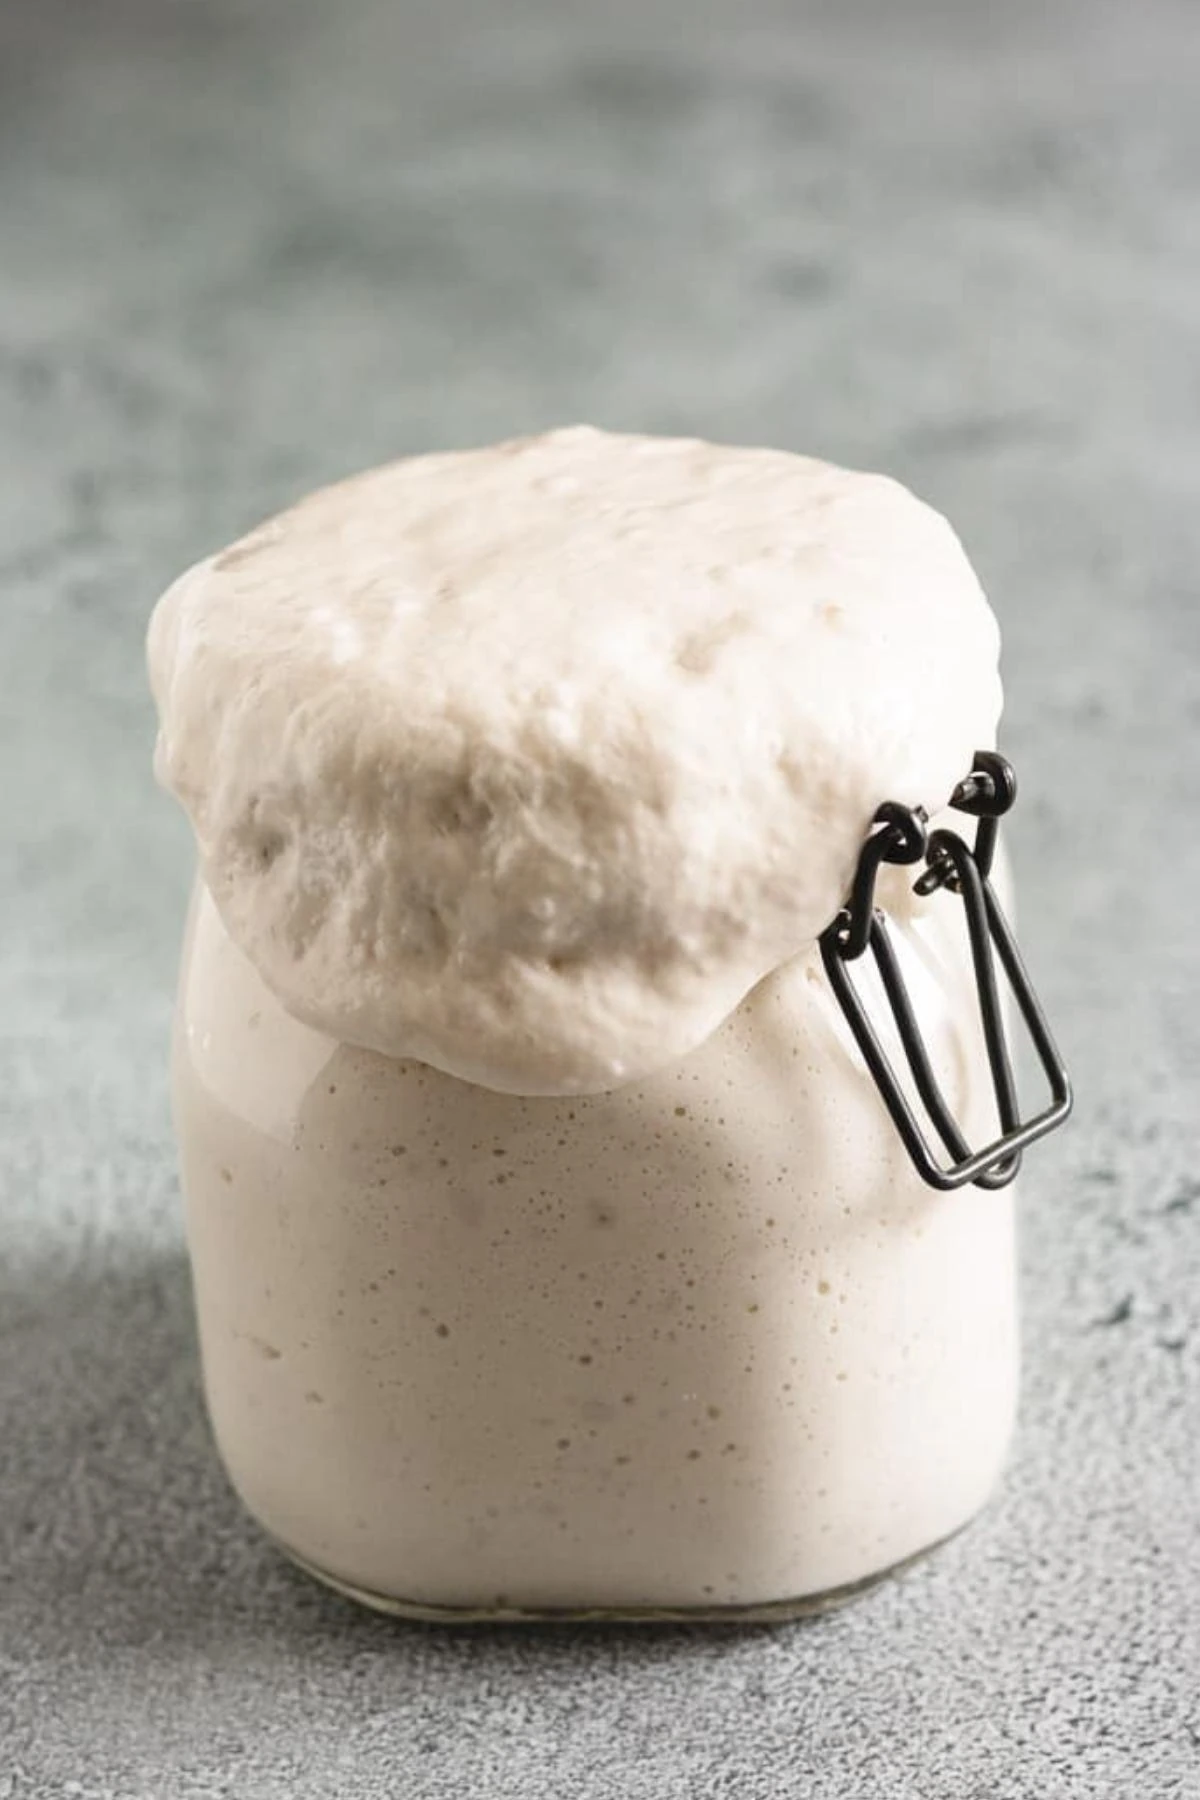
My starter has never been filled with huge bubbles or smelled sweet and floral. It has smaller bubbles throughout and across the top, and I can actually see it moving or “breathing” in the jar. It smells tangy at its peak and becomes more sour and pungent after it begins to fall. Right after feeding, it smells more like raw flour.
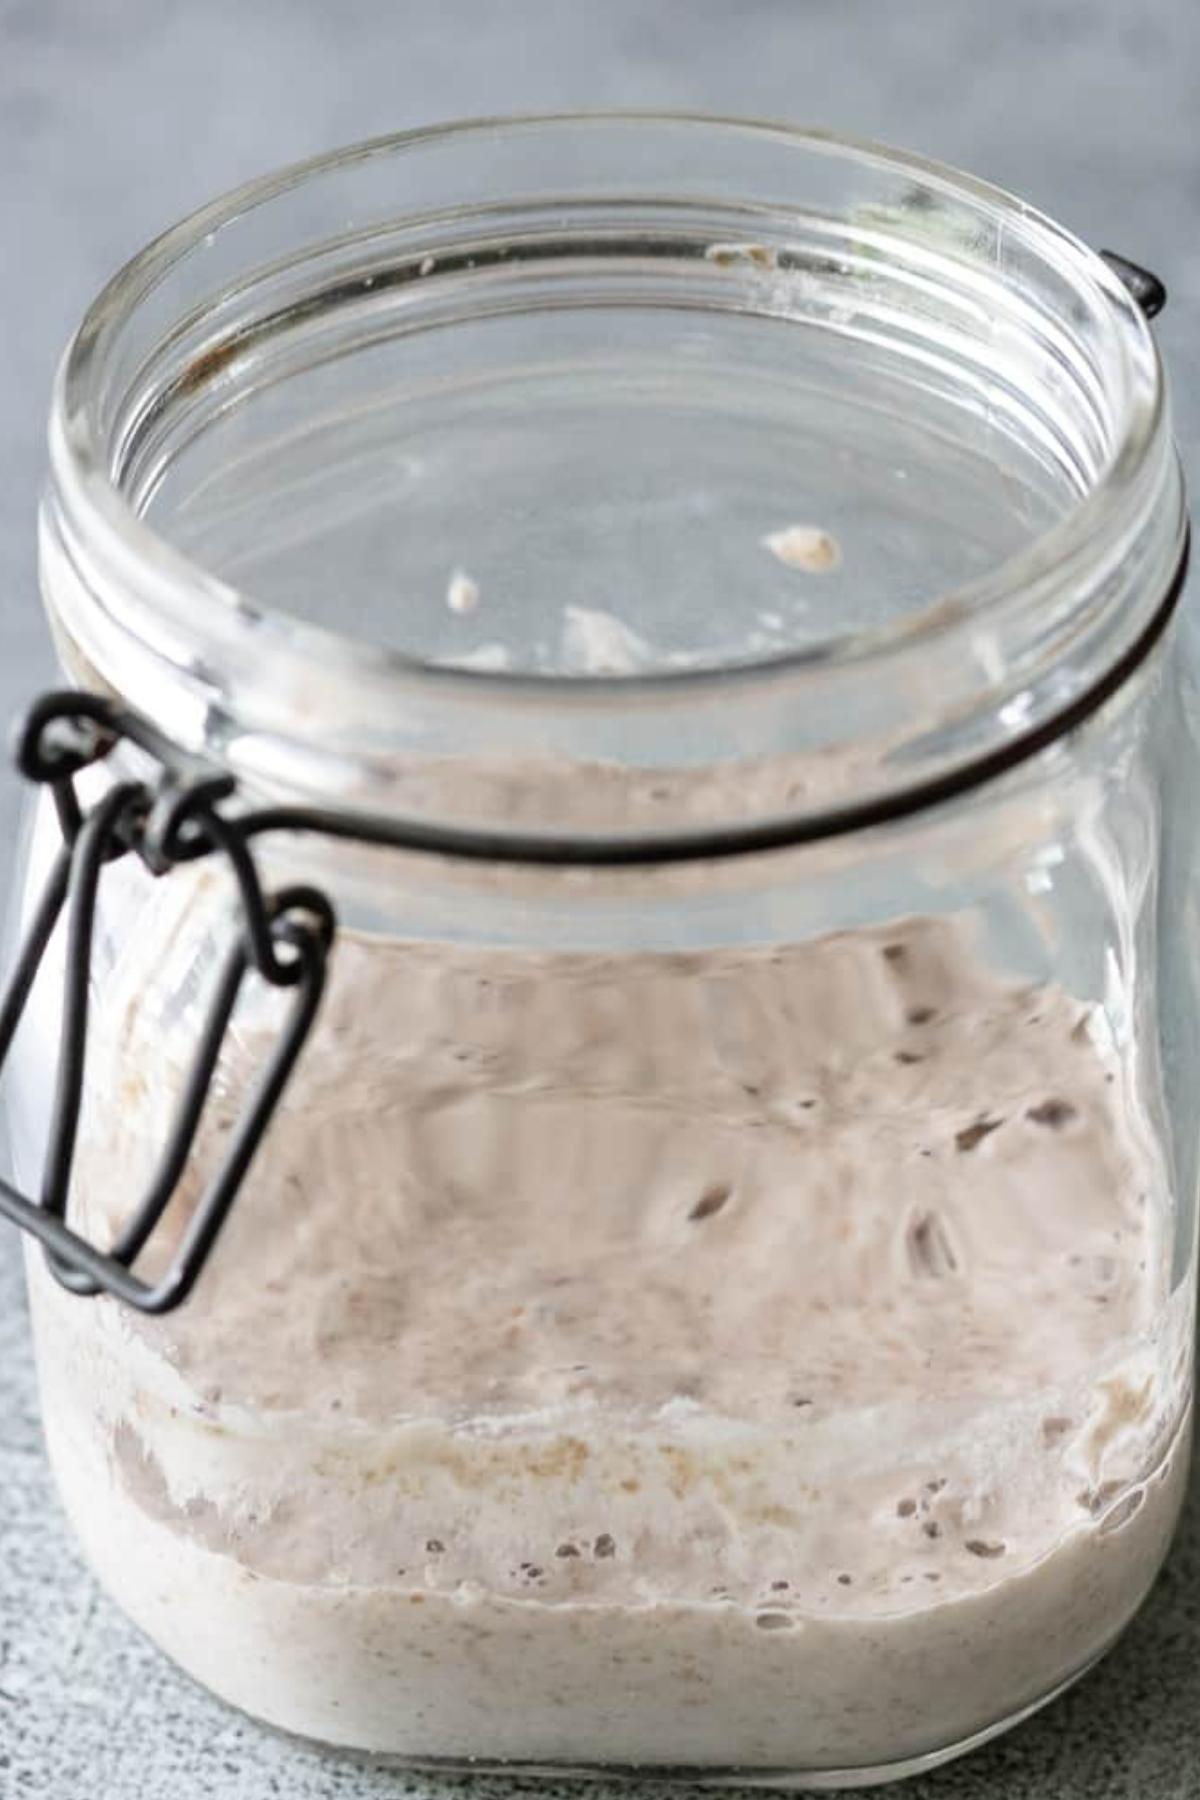
Use a clear, straight-sided jar and mark the starter’s level with a rubber band. That makes its rise much easier to see, especially if it peaks and begins falling before you check it.
Once your starter is active, try it in my sourdough bread recipe, sourdough sandwich bread, or sourdough cinnamon rolls. After the starter is mature, save the extra discard for sourdough waffles or sourdough discard ranch crackers.
How to Make Sourdough Starter
Day 1: Mix the whole wheat flour and bottled or filtered water in a clean jar. The mixture will be thick and sticky. Scrape down the sides, mark the top of the mixture with a rubber band, and cover the jar with a solid lid set loosely on top or screwed on without tightening it.
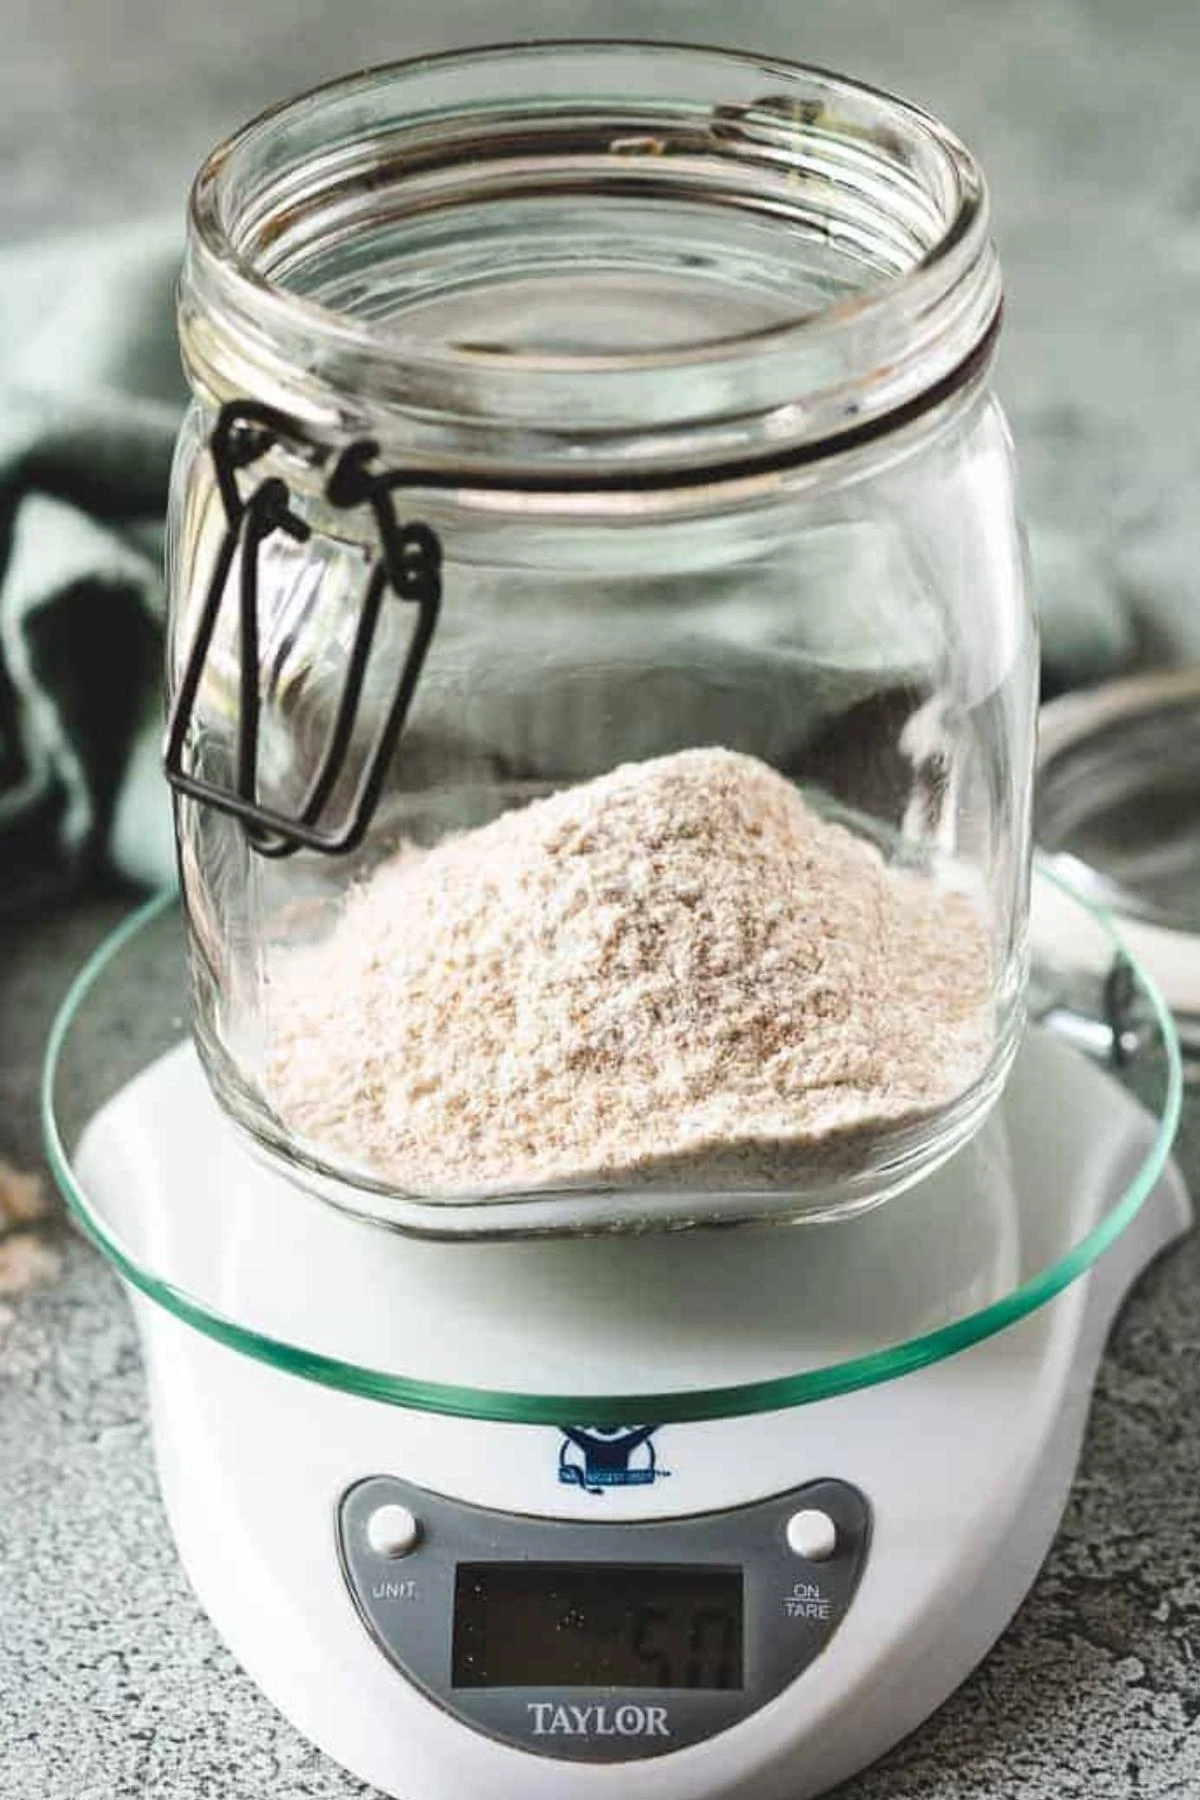
Leave the jar at a comfortable room temperature for 24 hours. Somewhere around 68°F to 80°F will work, although a warmer room will usually move things along faster.
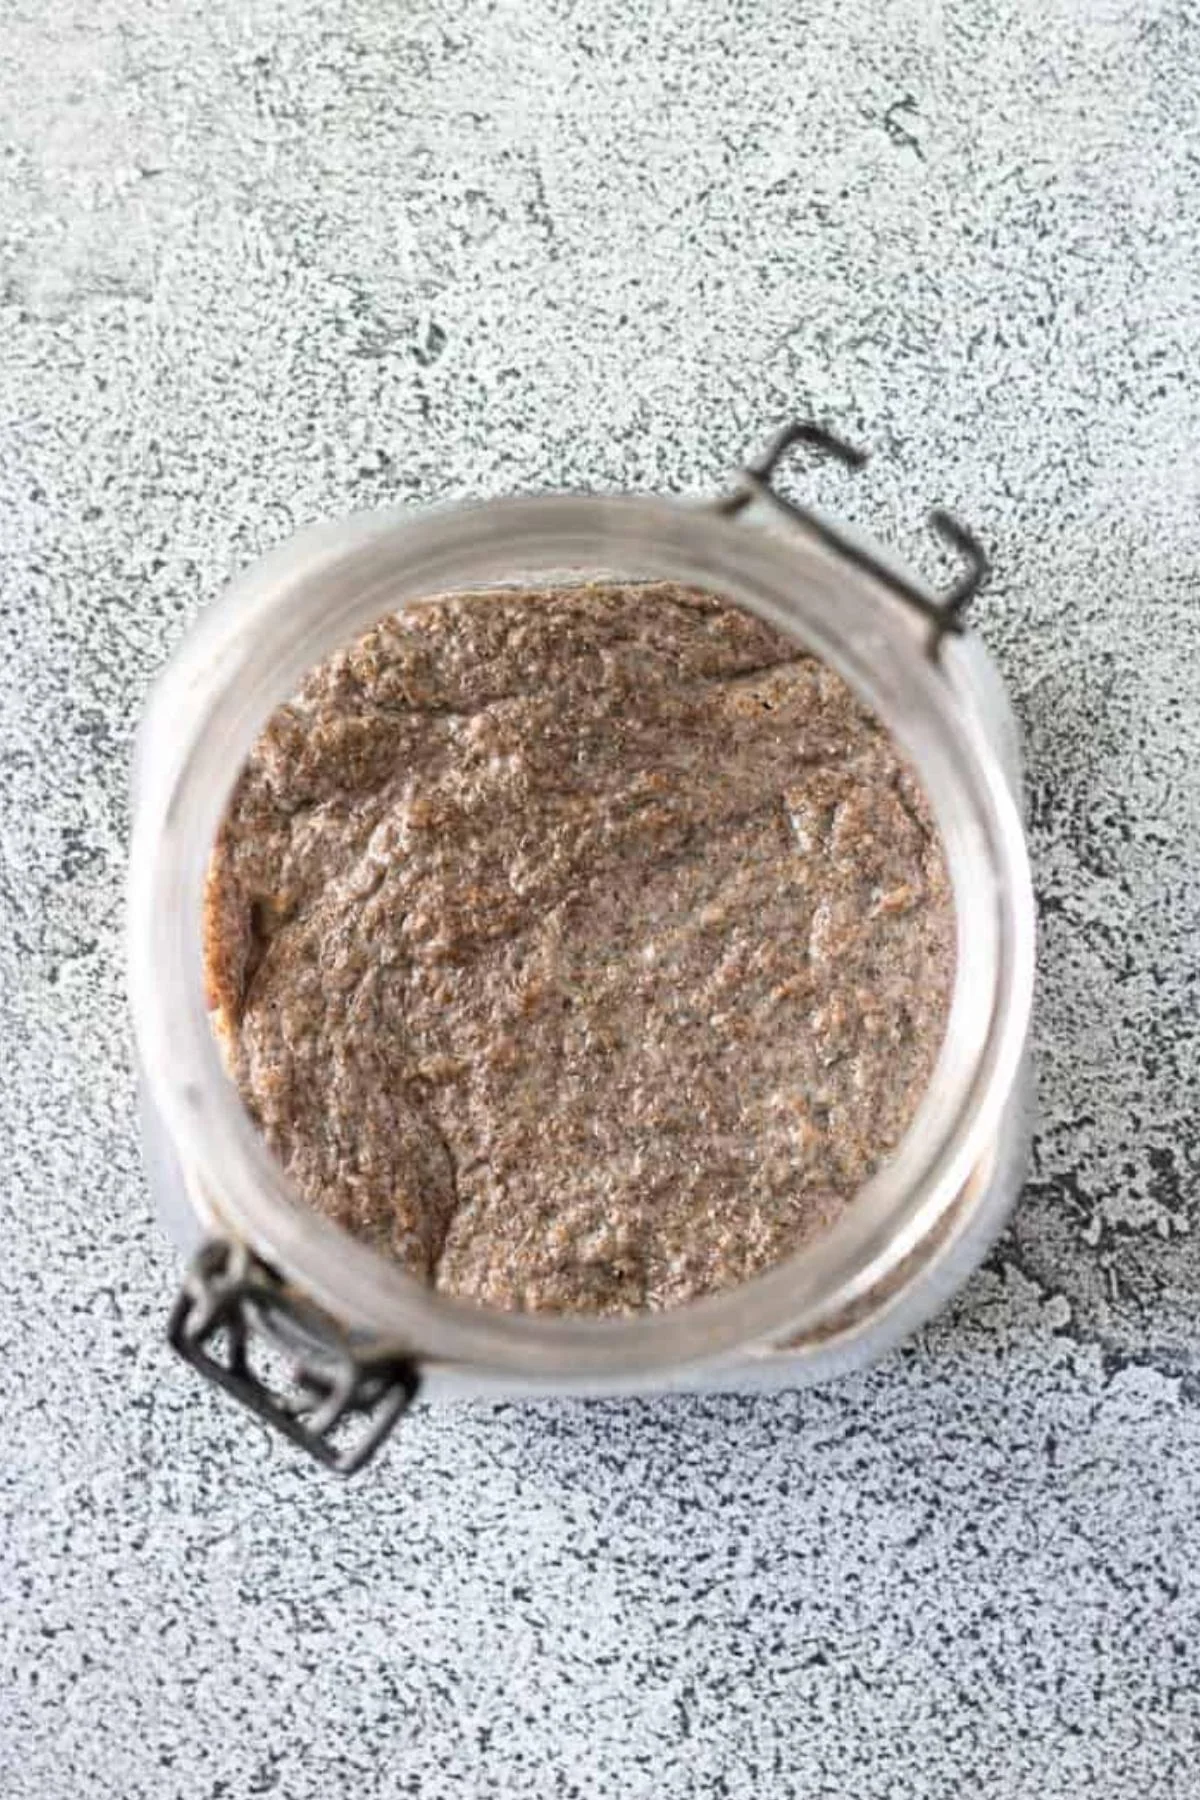
Day 2: Check the starter but don’t feed it yet. You may see bubbles, a quick rise, or no visible change at all. It may also smell sharp, funky, cheesy, or just plain unpleasant. Those changes can happen during the first few days.
Leave it loosely covered for another 24 hours.
Day 3: Stir the mixture, then place 20 grams in a clean jar. Throw away the remaining mixture. Add the all-purpose or bread flour and water, then stir until no dry flour remains.
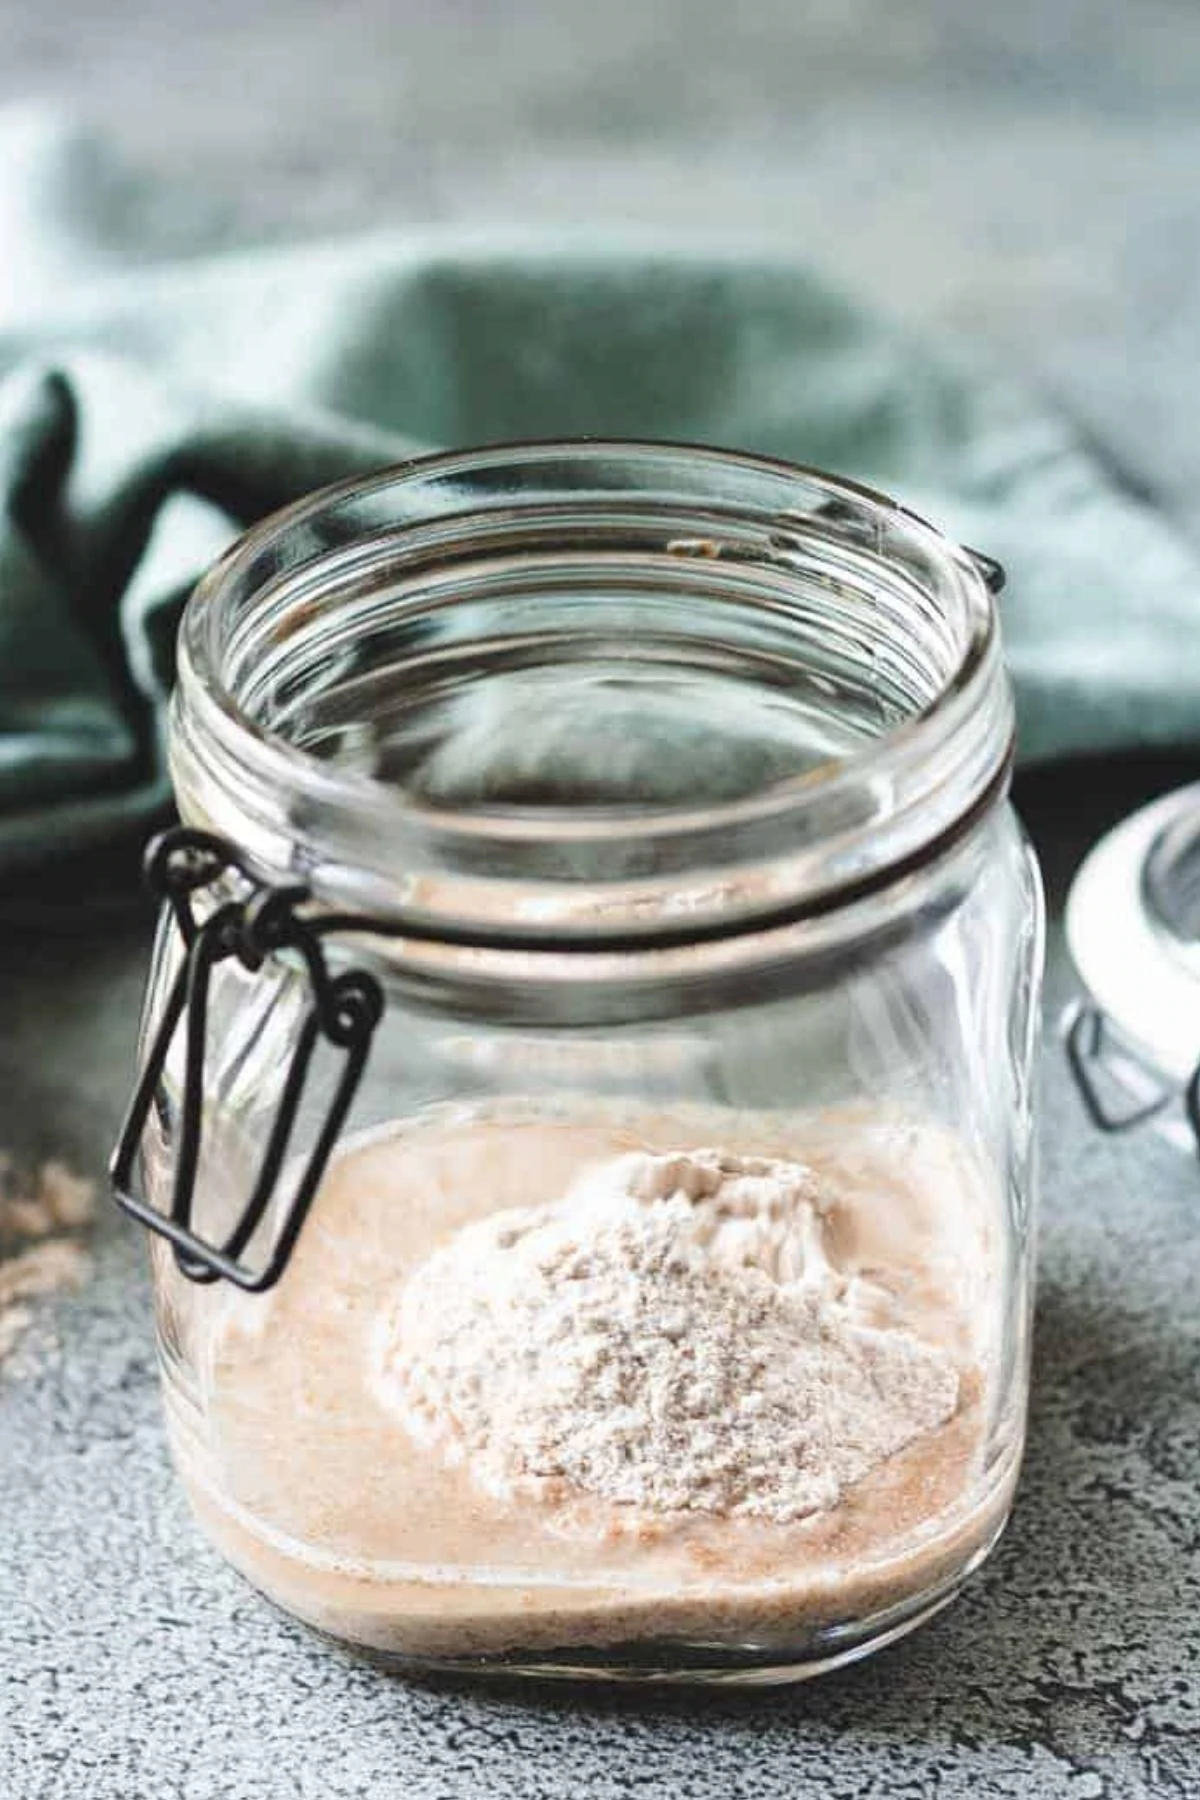
Scrape down the jar, mark the new level, cover it loosely, and leave it at room temperature for about 24 hours.
Day 4 and beyond: Repeat the same feeding once a day. Keep 20 grams of starter, then mix in 50 grams of flour and 50 grams of water.
You may see a few bubbles before you see much of a rise. The starter may also become thinner or smell more sour as it gets closer to its next feeding. Keep going.
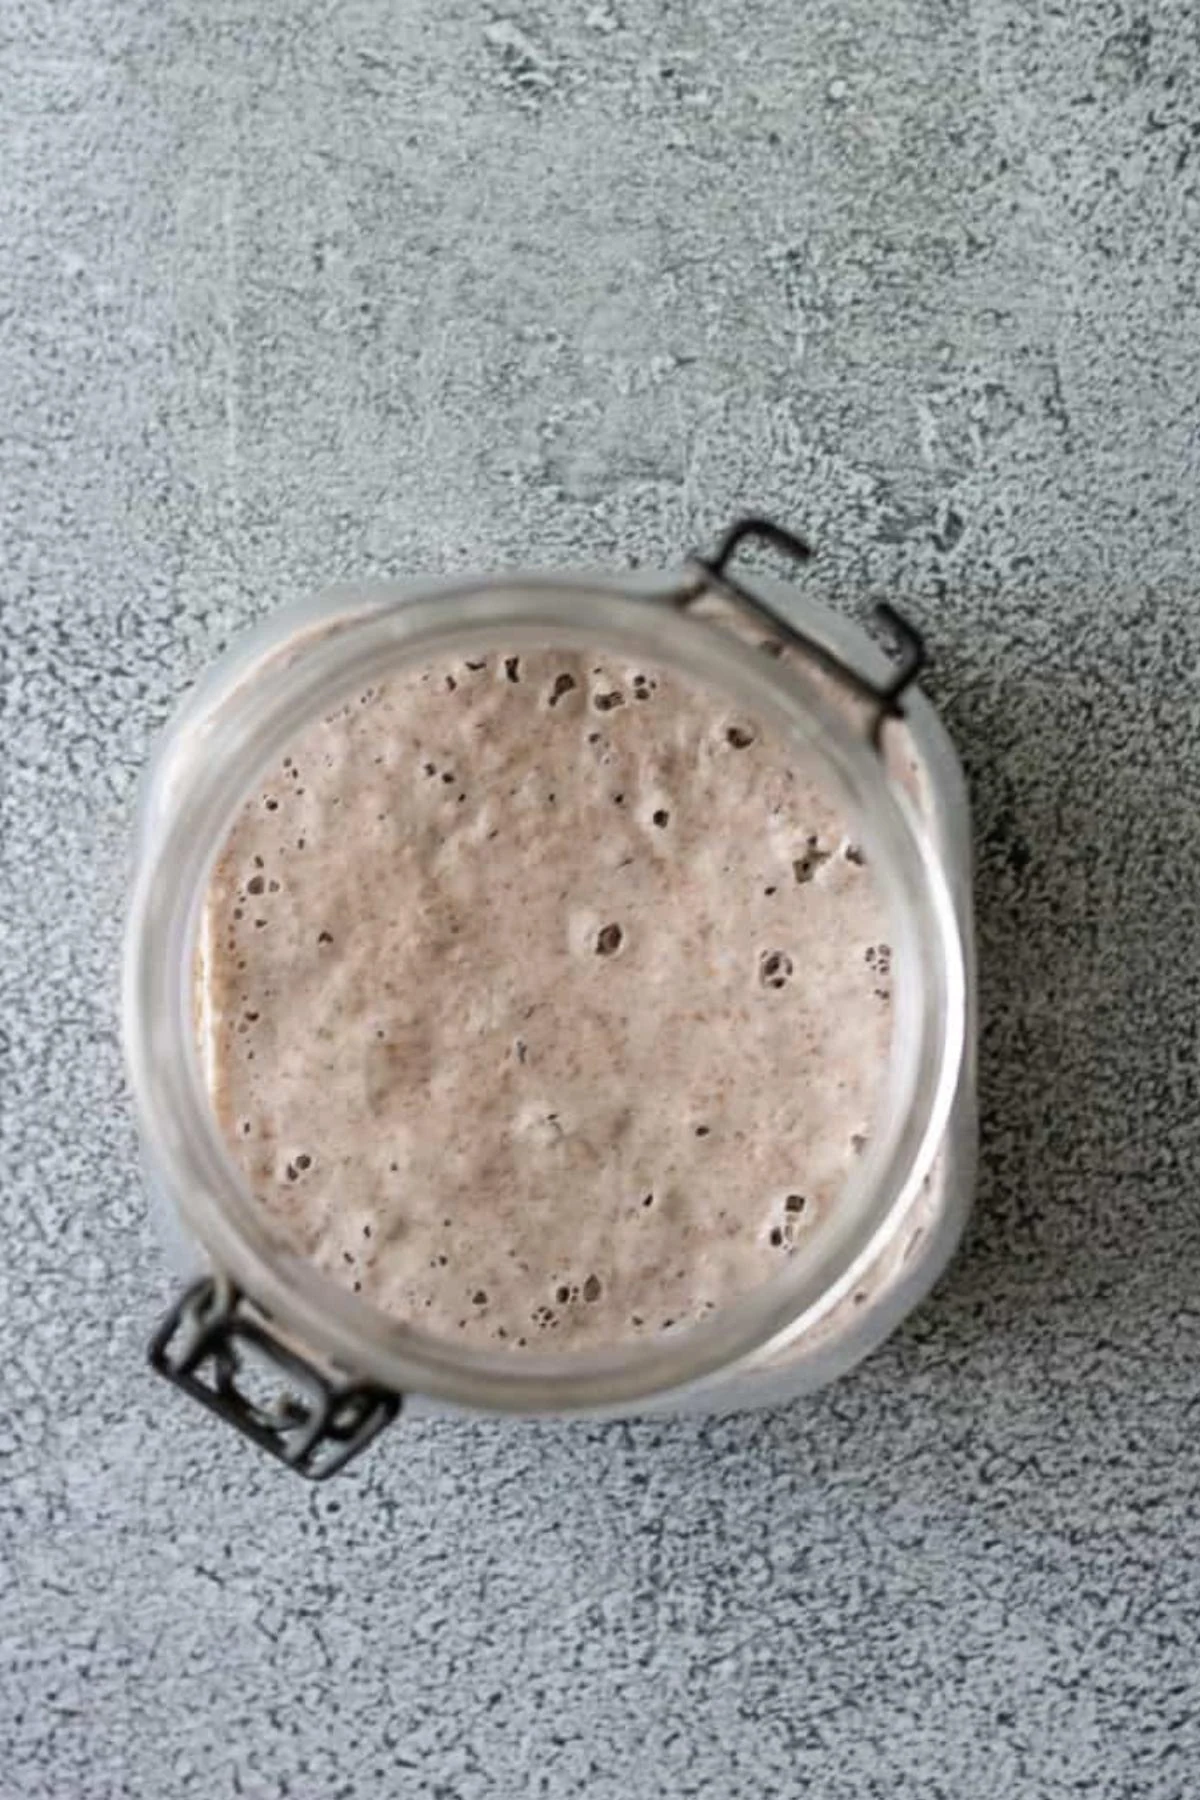
Once the starter begins rising and falling well before the next 24-hour feeding, you can feed it every 12 hours. Another option is to give it a larger feeding so it takes longer to peak. You don’t have to feed the exact same amount every time once you understand how your starter behaves.
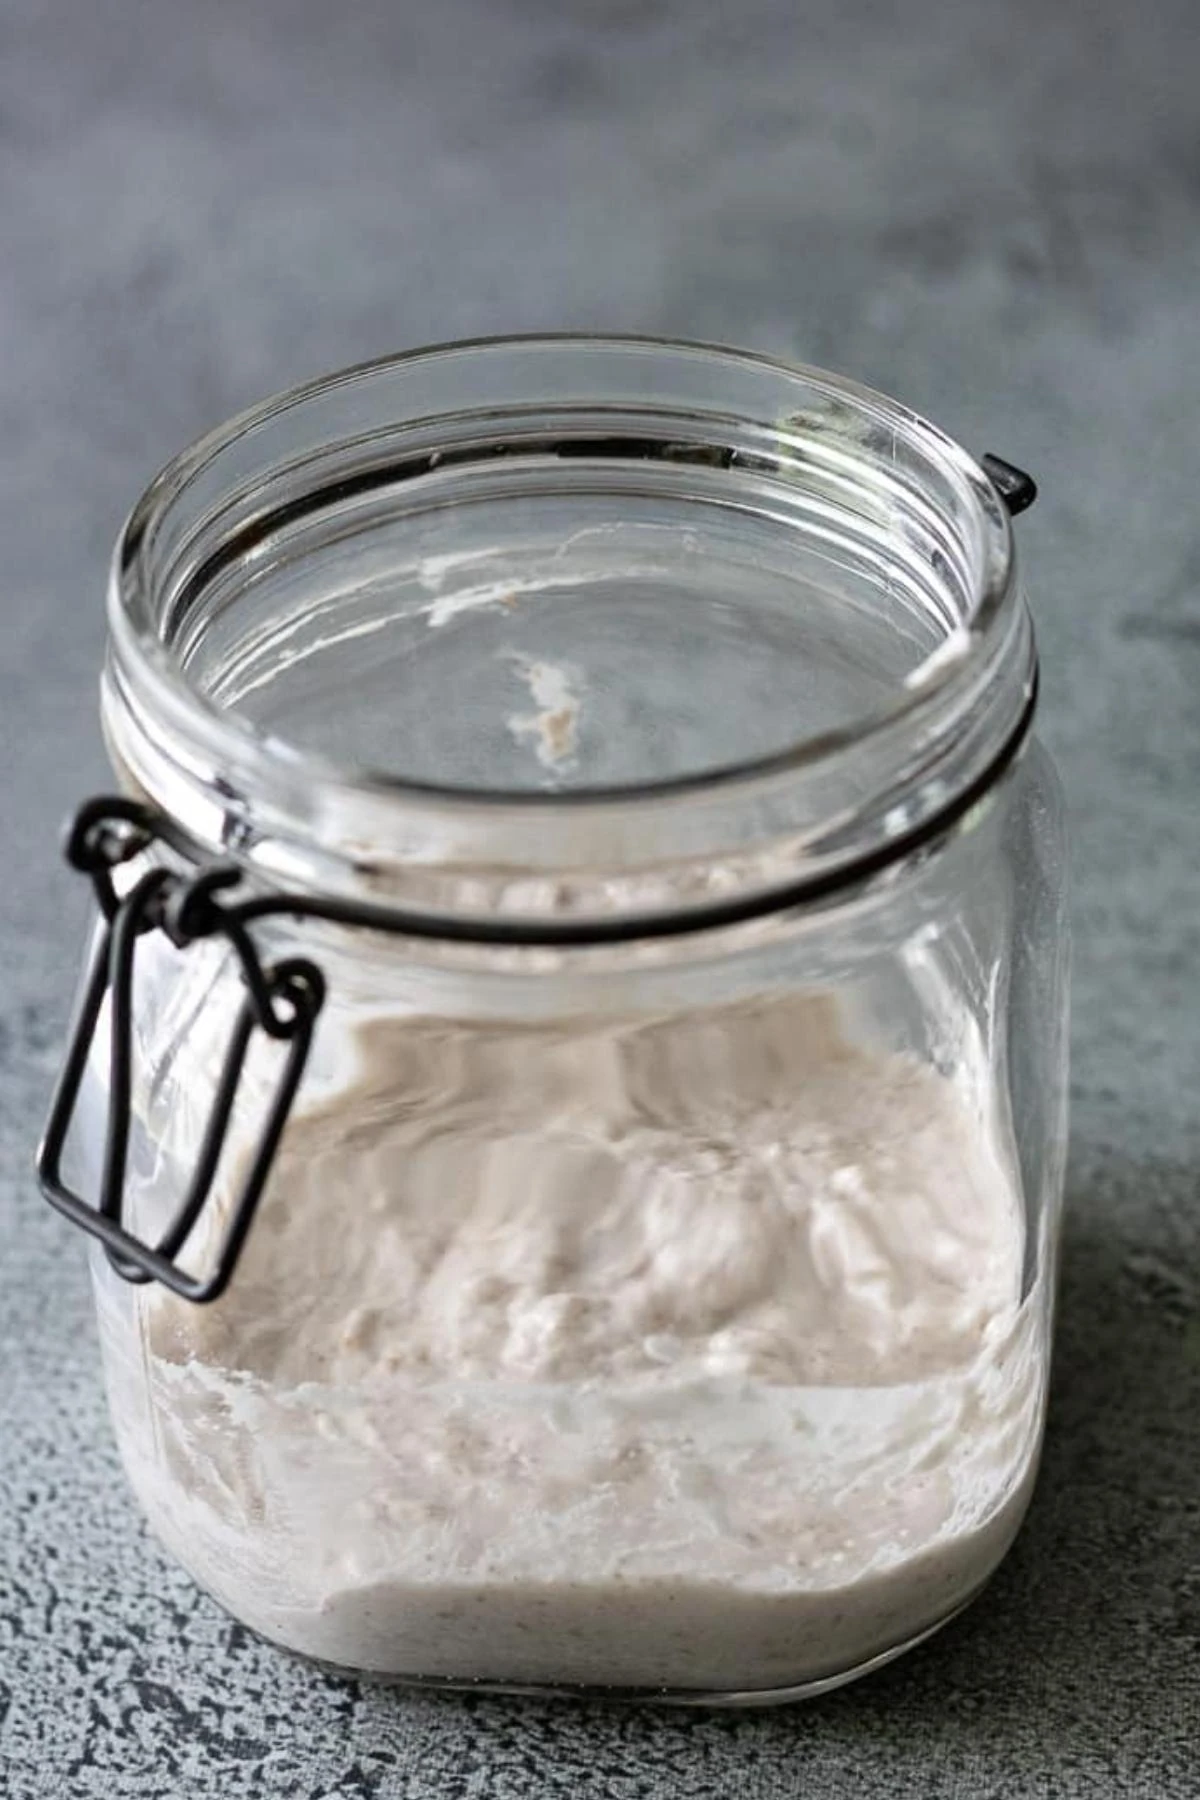
I throw away the discard from a new starter during the first couple of weeks. Once the starter is mature and rising predictably, the discard can be refrigerated and used in recipes like my sourdough parmesan crackers.
At this stage, a few bubbles are a good sign, even if the starter isn’t strong enough to use yet.
How to Tell When Sourdough Starter Is Ready
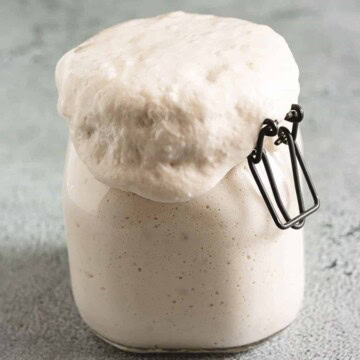
A sourdough starter is ready to use in bread when it reliably doubles in size within about 6 to 8 hours after feeding. I like to see it do this for at least two or three feedings in a row before using it in a loaf.
The starter should have bubbles throughout the jar, look puffy or slightly domed near its peak, and have a clean tangy or fermented smell. It does not need enormous bubbles, and it does not have to smell sweet or floral but it might!
Use the starter near the top of its rise, before or just as it begins sinking. That is when it has the most strength for raising bread.
I no longer use the float test as the deciding factor. Starter can float before it is strong enough to raise bread, and some perfectly usable starter may sink after it has been stirred or handled.
Why Isn’t My Sourdough Starter Rising?
It needs more time: This is the most common answer. Some starters become active in about 2 weeks. Mine usually takes around 3 weeks or a little longer.
The room is cool: Fermentation slows considerably in a cool kitchen. Move the jar to a warmer room or a spot that stays in the mid-70s. I would not use an oven’s proof setting unless you know the actual temperature. Some proof settings are warmer than a starter needs.
The flour needs a boost: Whole wheat or rye flour is useful when starting a new culture. If the starter becomes sluggish after switching to all-purpose flour, replace part of the white flour with whole wheat or rye for a few feedings.
You don’t have to switch away from whole wheat flour. I use all-purpose or bread flour because it is easy to find, costs less, and works well for maintenance.
The water is causing trouble: Tap water works in many kitchens. I use bottled or filtered water because I have had starters sit there doing absolutely nothing until I changed the water. Since then, bottled water has been the more reliable choice for me.
It is being fed too often: Don’t keep adding flour and water every few hours because the starter hasn’t risen. A weak new starter needs time between feedings. Start with one feeding every 24 hours, then move to twice a day when the starter begins rising and falling more quickly.
The feeding ratio changed the schedule: A small feeding peaks sooner. A larger feeding gives the starter more food and takes longer to peak. That is helpful once the starter is mature because you can adjust the ratio around your baking schedule.
How to Feed and Store Sourdough Starter
If you bake several times a week, keep the starter at room temperature and feed it as it reaches its peak or begins to fall. That may be once or twice a day depending on the temperature and the feeding ratio.
I don’t keep mine on the counter unless I am actively baking. Otherwise, I end up completely overrun with sourdough discard.
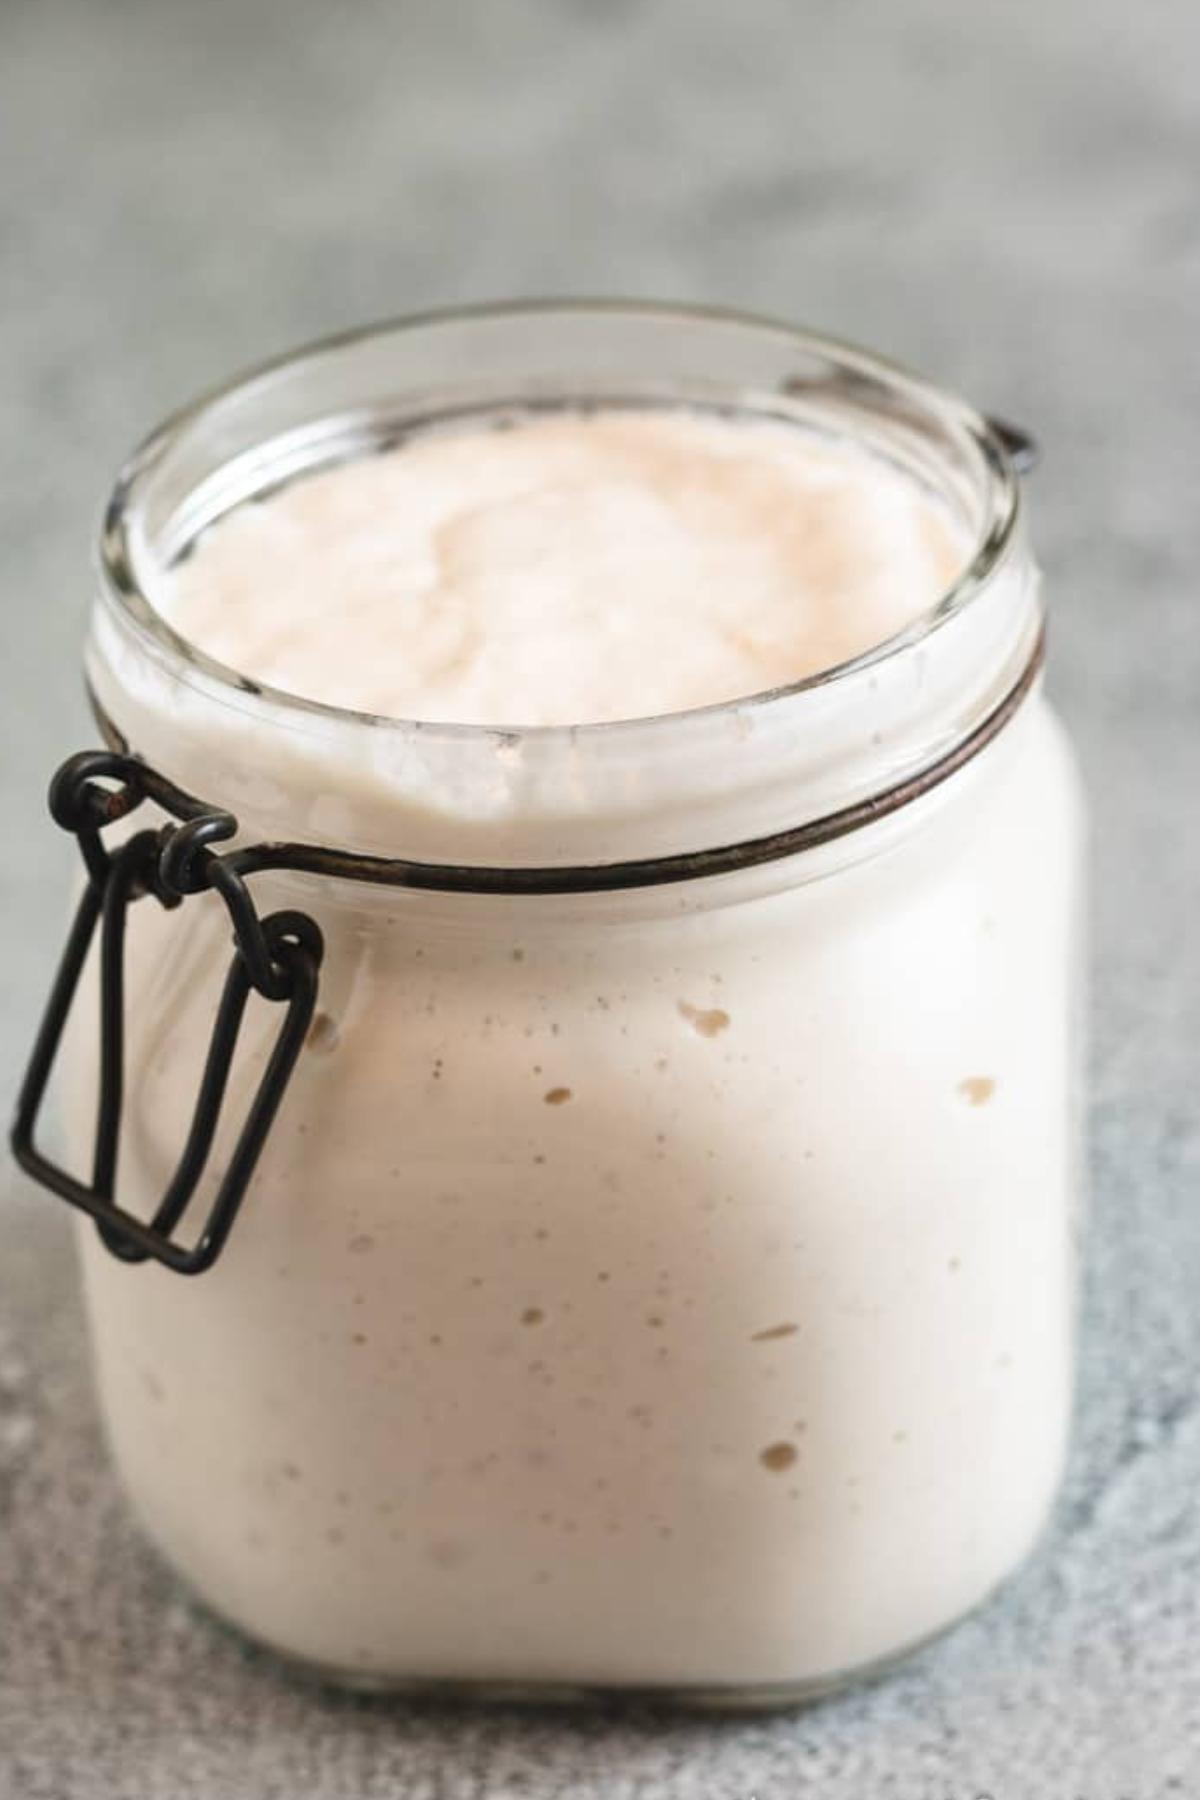
I do keep one tiny jar of starter in the refrigerator as a backup, though. It’s my “just in case” starter. You never know when the jar you’re using might get dropped, contaminated by a gnat or fruit fly, or go sideways for some random reason. Keeping a small backup means you don’t have to start from scratch if something happens to your main starter.
For refrigerator storage, feed the starter and leave it at room temperature for an hour or two. Cover it and place it in the refrigerator. A weekly feeding is the usual maintenance schedule, although an established starter is often more forgiving than that. There have been a couple of times that the starter got pushed to the back of the fridge and I completely forgot about it for months. Yikes! After a few fresh feedings, it was fine and ready to use.
When you are ready to bake, remove it from the refrigerator about 2 to 3 days ahead of time. Keep a small amount, feed it with flour and water, and repeat the feedings at room temperature until it reliably doubles within 6 to 8 hours.
You can also build only the amount your recipe needs. For example, if a recipe calls for 100 grams of active starter, feed 20 grams of starter with 50 grams of flour and 50 grams of water. At its peak, use 100 grams in the recipe and keep the remaining 20 grams for later.
This is why I always weigh sourdough ingredients. Feeding ratios are based on weight, not measuring cups. One-half cup of starter, one-half cup of flour, and one-half cup of water do not weigh the same amount.
When to Throw Away Sourdough Starter
A gray, brown, or amber liquid on top of refrigerated starter is usually hooch. It is a normal byproduct of fermentation and a sign that the starter is hungry. You may stir it back in or pour it off before feeding.
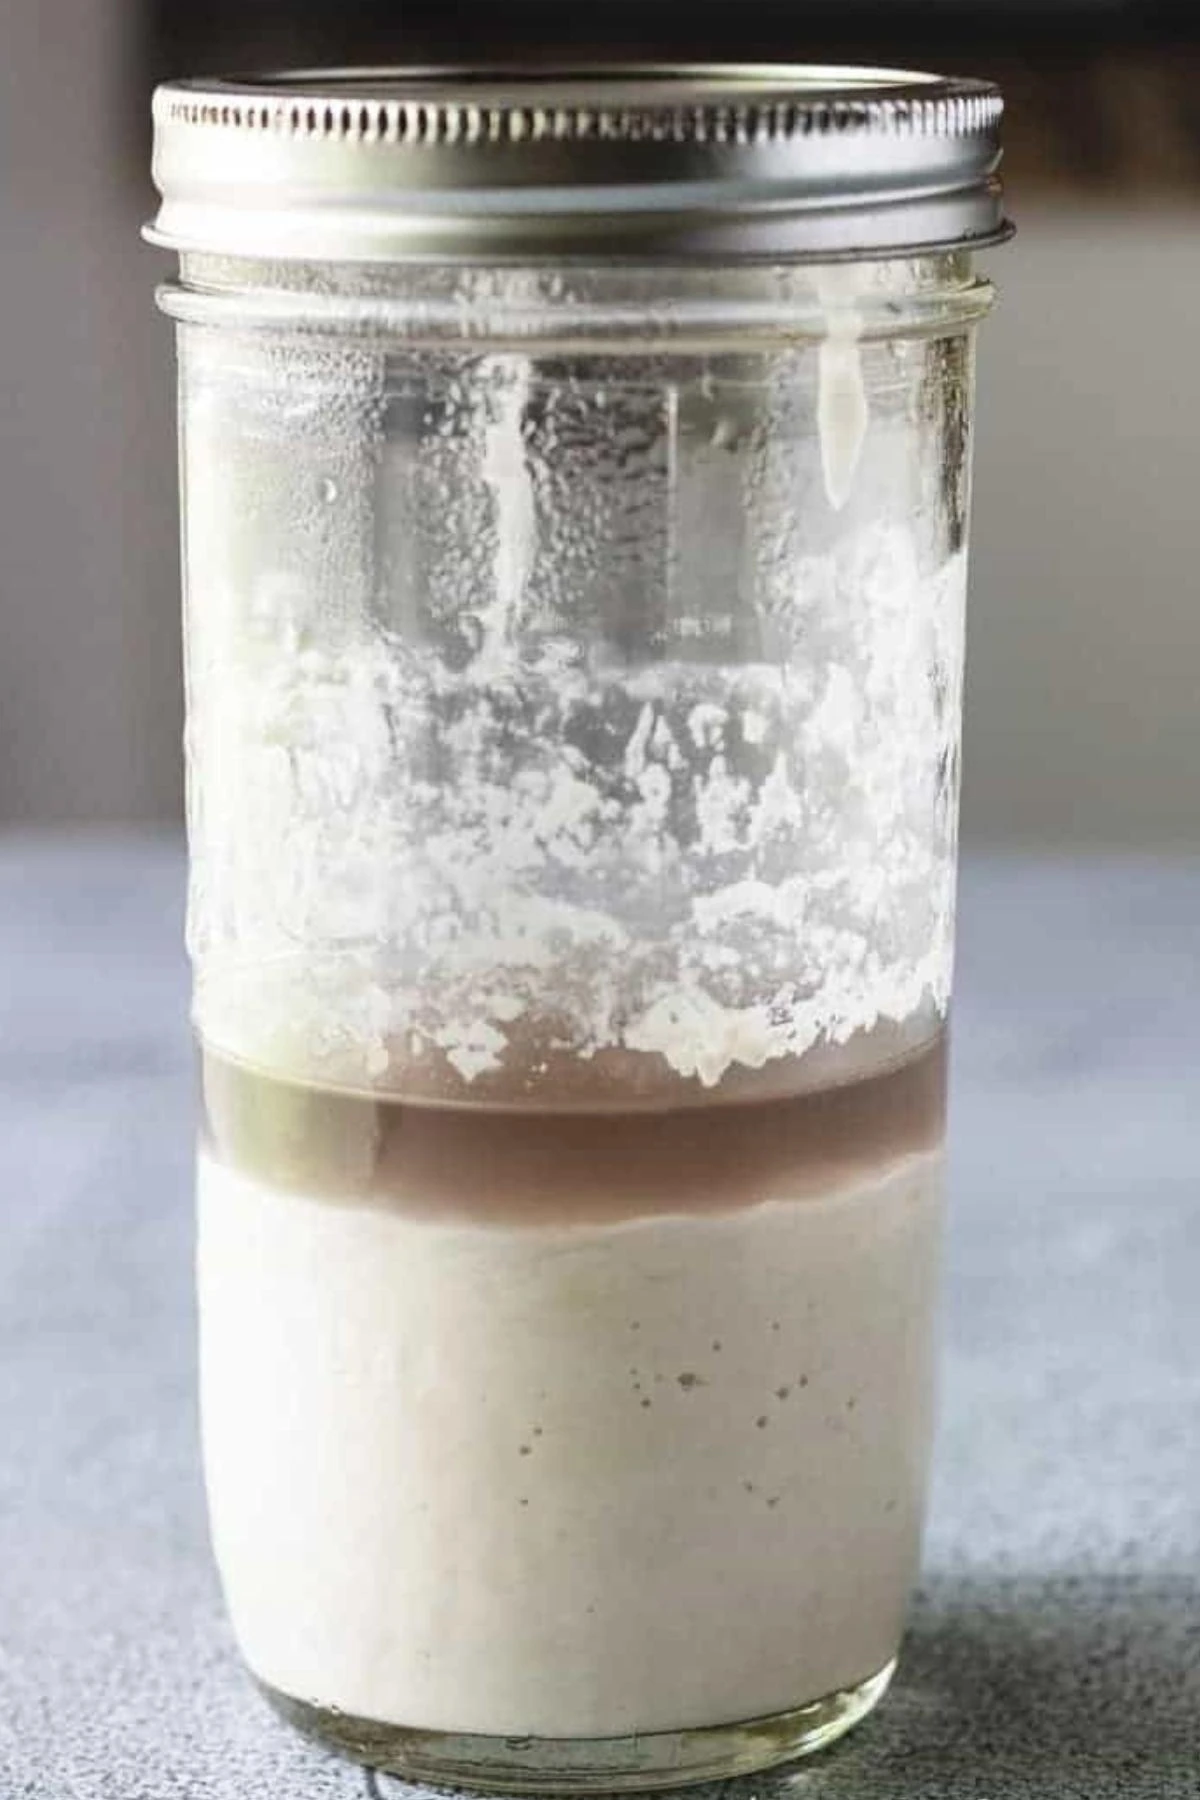
Throw away the entire starter if you see fuzzy mold or pink, orange, blue, or green streaks or patches. It should also be discarded if it smells rotten or putrid rather than sour, vinegary, fermented, or alcoholic.
Keep the jar covered with a loose solid lid to protect it from fruit flies and other contaminants. If insects get inside the starter, throw it away and begin again.
Sourdough starter contains raw flour, so don’t taste it before it has been thoroughly cooked in a recipe.
How to Video
Ingredients
Day 1
- 50 grams whole wheat flour or rye flour
- 50 grams bottled or filtered water
For Each Feeding
- 20 grams starter mixture
- 50 grams all-purpose flour or bread flour
- 50 grams bottled or filtered water
💌 Don't forget to save this recipe!
Instructions
- Place a clean jar on a digital scale and tare it to zero. Add 50 grams of whole wheat flour and 50 grams of bottled or filtered water. Stir until no dry flour remains. Scrape down the sides, mark the mixture’s height, and cover the jar loosely.50 grams whole wheat flour or rye flour50 grams bottled or filtered water
- Leave the jar at room temperature for 24 hours. On Day 2, check for bubbles, changes in smell, or a quick rise, but do not feed it. Leave it loosely covered for another 24 hours.
- On Day 3, stir the mixture. Transfer 20 grams to a clean jar and discard the rest. Add 50 grams of all-purpose or bread flour and 50 grams of water. Stir well, scrape down the sides, mark the level, and cover loosely.20 grams starter mixture50 grams all-purpose flour or bread flour50 grams bottled or filtered water
- Repeat the Day 3 feeding every 24 hours. Keep 20 grams of starter and feed it with 50 grams each flour and water.20 grams starter mixture50 grams all-purpose flour or bread flour50 grams bottled or filtered water
- Once the starter begins rising and falling before the next 24-hour feeding, feed it about every 12 hours. Continue until it reliably doubles within 6 to 8 hours after feeding for two or three consecutive feedings.
- Use the starter at or near its peak, before it begins to sink. Refrigerate it when you are not actively baking.
Notes
- How long it takes: A new starter commonly takes 2 to 3 weeks to become strong enough for bread. Some take longer.
- How to know it’s ready: Do not rely on the float test. Predictable doubling within 6 to 8 hours is a better sign that the starter is ready.
- Discard: Throw away the discard during the first couple of weeks. Once the starter is mature, refrigerate the discard for use in recipes.
- Measuring: A kitchen scale gives the most consistent results because feeding ratios are based on weight. Measuring cups can work in a pinch, but they are less precise.
- Cup measurements: For Day 1, use about ½ cup whole wheat flour and 3 tablespoons plus 1 teaspoon water. For each feeding, keep about 1 heaping tablespoon of starter, then add about ⅓ cup plus 1 tablespoon flour and 3 tablespoons plus 1 teaspoon water. The mixture should look like a thick paste. If it seems dry, add a few extra drops of water.
- If the starter is sluggish: Replace part of the all-purpose flour with whole wheat or rye flour for several feedings.
- Refrigerating starter: Feed the starter, let it sit at room temperature for 1 to 2 hours, then cover and chill. Remove it from the refrigerator 2 to 3 days before baking and feed it at room temperature until it doubles within 6 to 8 hours.
- Backup starter: Keep a small backup jar of mature starter in the refrigerator in case your main starter is accidentally dropped, contaminated, or discarded.
- Hooch and mold: Hooch may be poured off or stirred in. Discard the starter if it develops fuzzy mold, pink or orange discoloration, or a foul odor.
- Food safety: Do not taste raw starter because it contains uncooked flour.
Is the sourdough bread recipe the same as the rustic sourdough bread? When trying to get to the recipe for sourdough bread it’s a different format, moving picture. It says swipe for recipe….I tried swiping but it takes me back to rustic sourdough bread? I’m not tech savvy so I couldn’t figure the swipe out.
Love you down to earth explanations, what possible things might be a problem, the highlighted things like special utensils and pictures. Recommending your site to a slue of friends!
Hi Oneida!
Thank you so much for the kind and refreshing comment! 🙂
The recipe you’re seeing for the sourdough bread with the “Swipe for Recipe” feature is called a Google Web Story. It’s a thing Google released over the last few months, so we’re trying it out. It IS the same recipe as the rustic sourdough bread. When you click or swipe on the web story, it will take you to the post with all the information, tips, photos, and the full recipe. From there you can save the recipe to Pinterest or share on other social media (Facebook, Yummly, etc.).
We are so glad that you love the explanations, tips, equipment needed, and step-by-step photos. That means a lot! All of our posts have the same layout and provide the same kind of informative information. We want our readers to be successful in the kitchen, so we don’t add “fluff” to the posts. We try to add things that would be helpful. Thanks again, and please let us know if you have any questions. Have a wonderful evening!
‘@Kim, Ok, wanted to make 1 suggestion and 1 question! My new oven doesn’t have a pilot light. So I used a ceramic wax cube fragrance electric melting pot. I remove the dish where the wax goes.Changed the bulb to a night light bulb the added several layers of foil to cover the top. I kept my starter on the top of the foil, worked just perfect during the recent Texas snow storm!
My new oven has a proof setting. How would I use this for the sourdough recipies? Any bread? I’ve only made store bought frozen dinner rolls and proofed them!
Thanks so much! I have 2 rustic sourdough bowls in the oven…Can’t wait to see if I conquered this challenge!
I have spread your site to all of my friends. They love it as much as I do! Thank you!
Hi Oneida!
That’s a great idea for a workaround in regards to the sourdough starter! We also got hit with the snowstorm and the Arctic cold, and I question if leaving a starter out on the counter in those temps would’ve been wise. Especially, if there was no heat. It got very, very cold. I’m glad it worked out for you!
I hope the rustic loaves turned out. If not, keep trying! Sometimes it takes a couple attempts to get the technique down. It took me a few tries. 🙂 In regards to the proof setting, I’ve never used an oven with a proof setting, so I can speak to that specifically. In my experience, sourdough can proof at cooler temperatures (around the mid 70°F range), it just takes time to develop. It doesn’t necessarily need the warmer temps like yeast bread for a faster rise. This article from King Arthur Flour explains it a little more in detail and advises not to use the proof setting on the oven for sourdough as it may get too hot. It seems like that setting might be better for yeast bread. Hope that helps, and we hope you have a wonderful week!
do you have a recipe for sourdough bread using this starter all the ones I find also add yeast
Good Morning Cheryl! We do have one and it does not use conventional yeast. I spoke with Kim and we plan on having the sourdough bread recipe out by the end of the weekend (Saturday or Sunday afternoon) at the latest. Thank you for asking and leaving the comment. We appreciate it and wish you a lovely day 🙂
do you discard all the starter except 50gm every time you feed the starter
Yes, ma’am! That is correct. There are some recipes that use discard that way it can be of some use. We’ll have a recipe using discard coming out soon. 🙂
why do you use wheat flour to start with then change to a different flour to feed the starter
Hi Cheryl!
The wheat flour has a higher amount of nutrients than all-purpose or bread flour, so it gives the starter a nice, healthy start. Other flours can be used, such as rye. I like wheat because it’s easy to find and relatively inexpensive. You don’t have to switch to all-purpose or bread flour. If you’d prefer to keep it wheat, white whole wheat, spelt, or another variety that would work. All-purpose or bread flour are a personal preference. 🙂