Peppermint Ice Cream
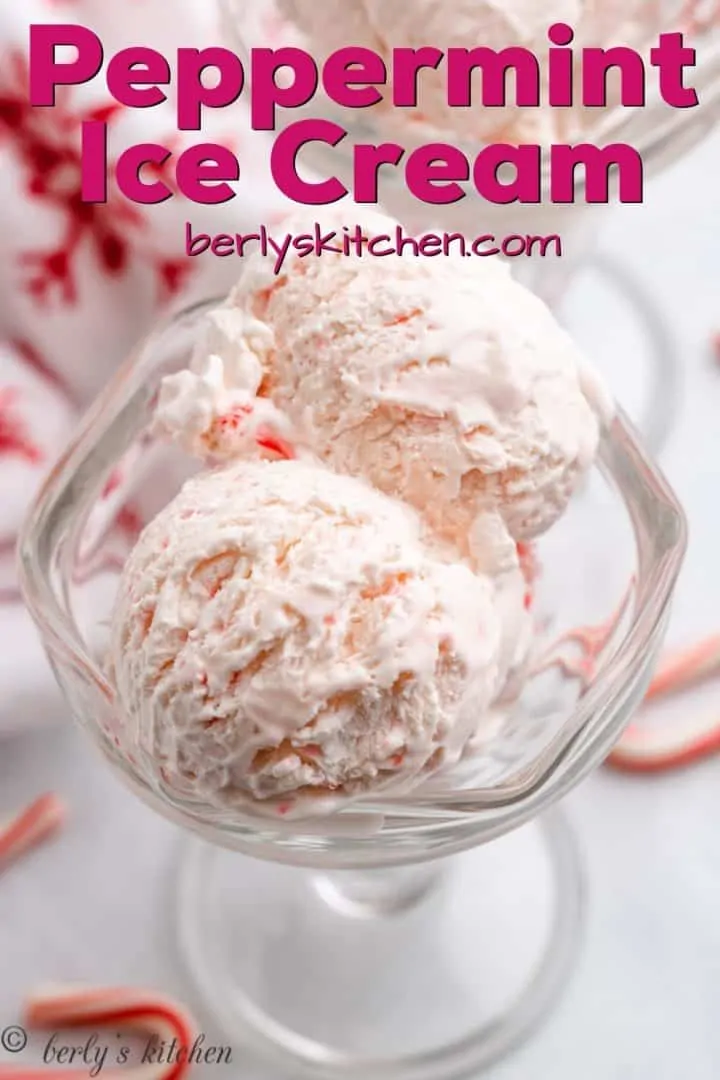
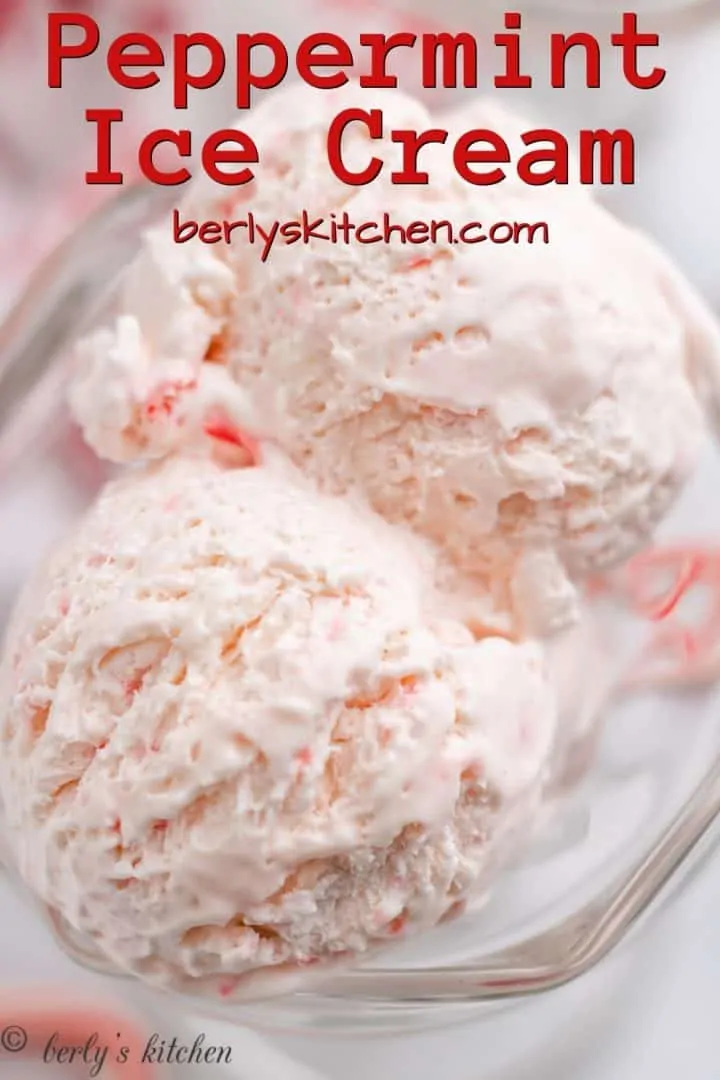
A quick, no-churn peppermint ice cream that you can create in your own kitchen. Treat your family to this frozen dessert!

Since peppermint ice cream is a seasonal treat, Kim thought it would be a good idea to show you how to make it at home. Additionally, she decided to make a no-churn version. So, if you don’t have an ice cream maker, it’s not a problem. However, you will need a hand mixer and food processor, along with a few other items.
But, no worries, I provided affiliate links (in the recipe card) to appliances and tools we use in our kitchen. I recommend taking a look at them. That way, if you’re missing something, you know it before you get started.
How to make no-churn peppermint ice cream:
First, grab your food processor and about 40 unwrapped peppermint candy canes.
Place the candy canes into the appliance and pulverize the candies into a fine dust.

Next, place the whipped cream into a large mixing bowl and use a hand mixer with a whisk attachment to whip the cream.
Once the cream forms stiff peaks, turn off the mixer. Open the can of sweetened condensed milk.

Also, measure out the other ingredients and separate the peppermint candy dust into 1/2-cup and 1/4-cup amounts.
Afterward, pour in the sweetened condensed milk, peppermint extract, vanilla extract, red food coloring (optional), and 1/2-cup of the peppermint candy dust.

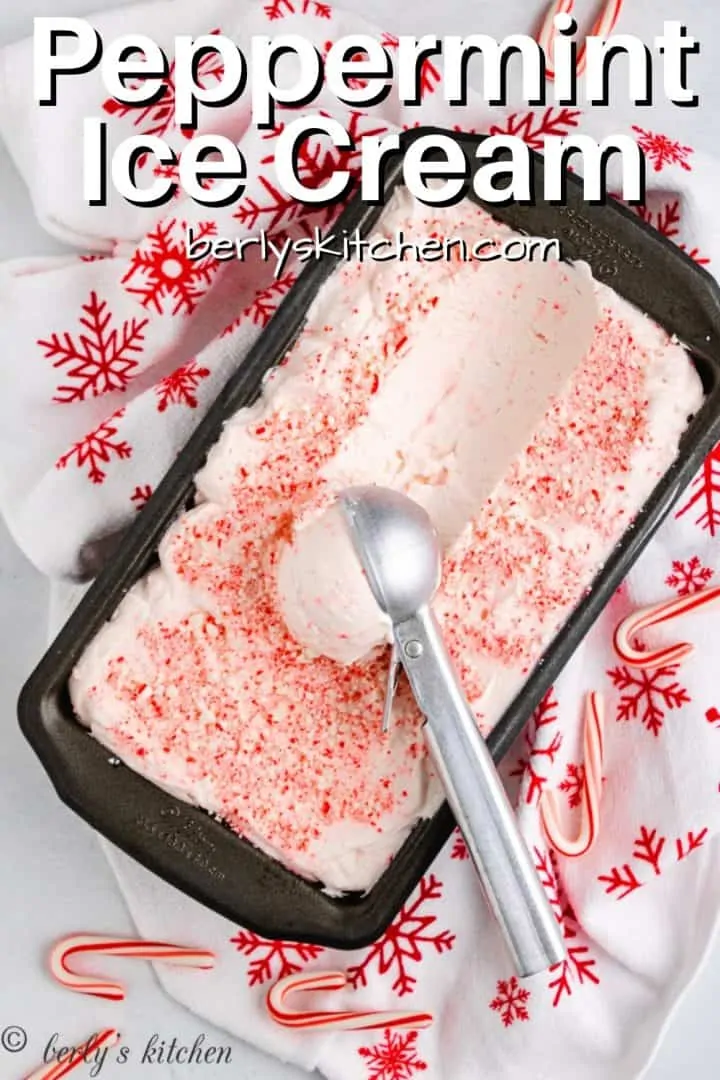
At this point, you can use a rubber spatula to stir the ingredients until they’re well-combined. Then transfer the ice cream base to a 9×5-inch loaf pan. Again, use the spatula to move the base.
Also, go ahead and sprinkle the remaining ground peppermint candy on top of the ice cream.

Last, cover the pan with plastic wrap and place it into the freezer to chill for about 8-hours or overnight. Once it’s frozen, it’s ready to serve.
That’s it, your peppermint ice cream is done! Kim and I hope you enjoy it and wish you all the best 🙂

Recipe Tips and FAQ’s:
- For our recipe, we used small peppermint candy canes. Now, if they’re not properly ground in the food processor, you could have sharp pieces of candy in the ice cream. That’s not a good thing for you or your guests.
- You can make this recipe in an ice cream maker. However, the base will need to be changed drastically. I recommend using a vanilla custard base with peppermint extract and ground candy. After that follow the manufacturer’s instructions to churn and freeze the ice cream.
- Using whipped cream and sweetened condensed milk as a base will make almost any variety of no-churn ice cream. Play with the flavoring ingredients and create your own unique homemade ice cream.
What color is peppermint ice cream?
It can be either white, pink, or red. If you omit the red food coloring it will be white. On the other hand, you could use a little food coloring for pink ice cream or a lot of food coloring for red ice cream. The choice is up to you.
How long does peppermint ice cream last?
Homemade, no-churn peppermint ice cream will last about 2-3 weeks when properly stored in your freezer. With that being said, use common sense. When ice crystals start to form on the top of the ice cream (freezer burn), I do not recommend eating it.

Other ice cream recipes you may enjoy:
Like This Recipe?
We’d love it if you would leave a 5 Star ⭐️⭐️⭐️⭐️⭐️ rating below.

Ingredients
- ¾ cup mini candy canes, about 40 miniature candy canes or 12 large candy canes
- 3 cups heavy whipping cream
- 14 ounces sweetened condensed milk, 1 can
- 2 teaspoons peppermint extract
- 1 teaspoon pure vanilla extract
- 1 teaspoon red food coloring, (optional)
Instructions
- Place the candy canes in a food processor, and pulse until they’re ground into small pieces. Set aside.¾ cup mini candy canes
- Using an electric mixer with a whisk attachment, whip the heavy cream cream for 5 to 7 minutes until stiff peaks form. Add the sweetened condensed milk, peppermint and vanilla extracts, food coloring if using, and ½ cup of crushed candy canes. Use a spatula to combine the ingredients.3 cups heavy whipping cream14 ounces sweetened condensed milk2 teaspoons peppermint extract1 teaspoon pure vanilla extract1 teaspoon red food coloring
- Transfer the “ice cream” to a freezer safe container, and sprinkle the remaining crushed candy canes over the top. Cover with plastic wrap, and freeze for 6 to 8 hours or overnight.
- Enjoy cold, and keep frozen for to 2-3 weeks.


