
Sourdough Bread Recipe


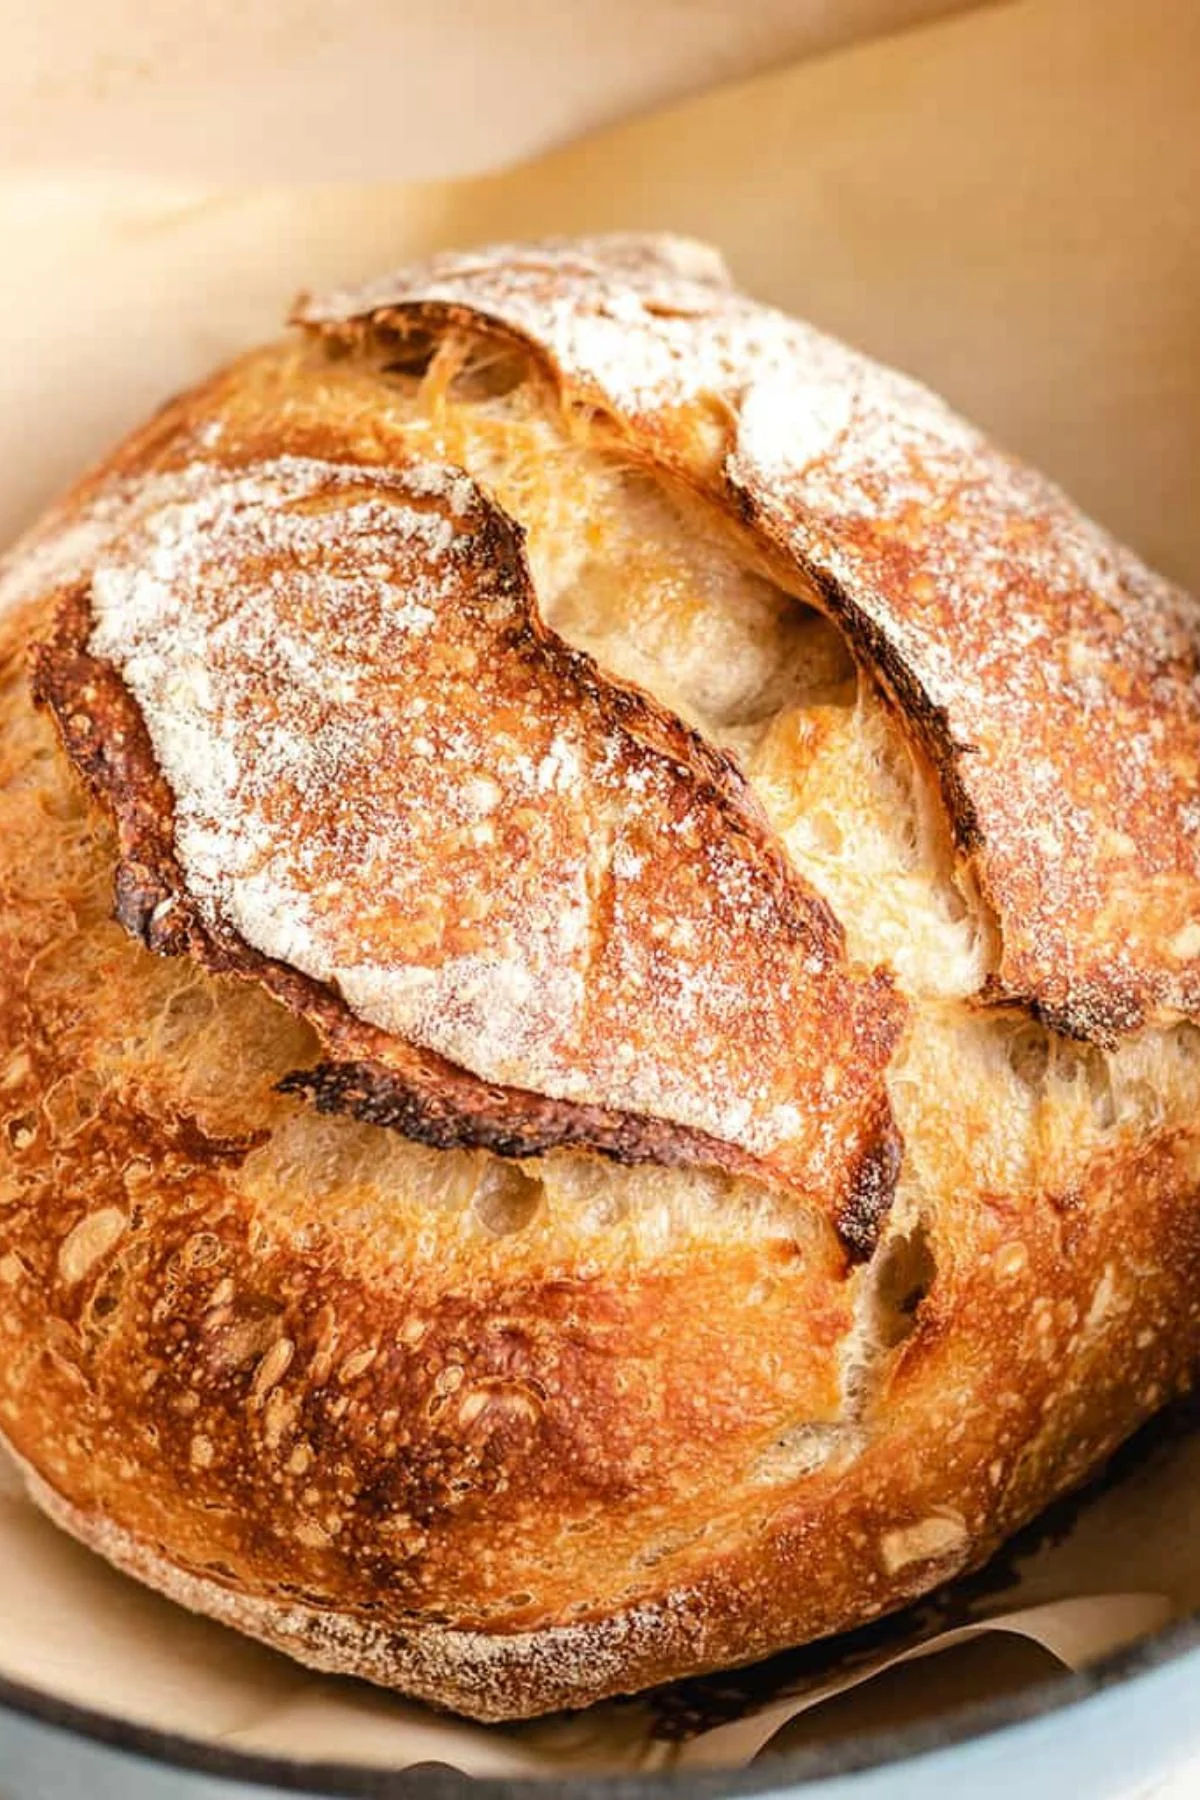
This sourdough bread recipe makes a rustic loaf with a chewy center and a crisp, golden brown crust. It uses an active sourdough starter, a mix of all-purpose and bread flour, and no packaged yeast.
💌 Don't forget to save this recipe!
After years and years, this bread is still one of my favorite easy sourdough recipes. It takes several hours from start to finish, but most of that time is spent letting the dough rest and rise. The hands-on work is actually pretty short.
The biggest thing to remember is that sourdough is a slower and longer process than making yeast bread. The temperature of your kitchen and the strength of your starter will affect how quickly the dough rises, so watch the dough instead of relying only on the clock.
Kim’s Tips for the Best Sourdough Bread
Use a sourdough starter that has been fed and is active, bubbly, and roughly doubled in size. If the starter is slow to rise in the jar, the bread dough will be slow to rise, too. If the starter isn’t strong and active, the bread won’t rise at all.
The dough will be wet and sticky. That’s normal for this recipe, so resist the urge to work in a lot of extra flour. Wet hands and a bench scraper make it much easier to handle.
After the stretch and folds, leave the dough at room temperature until it looks smoother and puffy, with a few bubbles around the edges of the bowl and across the top of the dough. It should rise noticeably, but it doesn’t need to double before shaping.
Serve thick slices with my bread dipping oil, tomato basil soup, or Irish beef stew.
How to Make Sourdough Bread
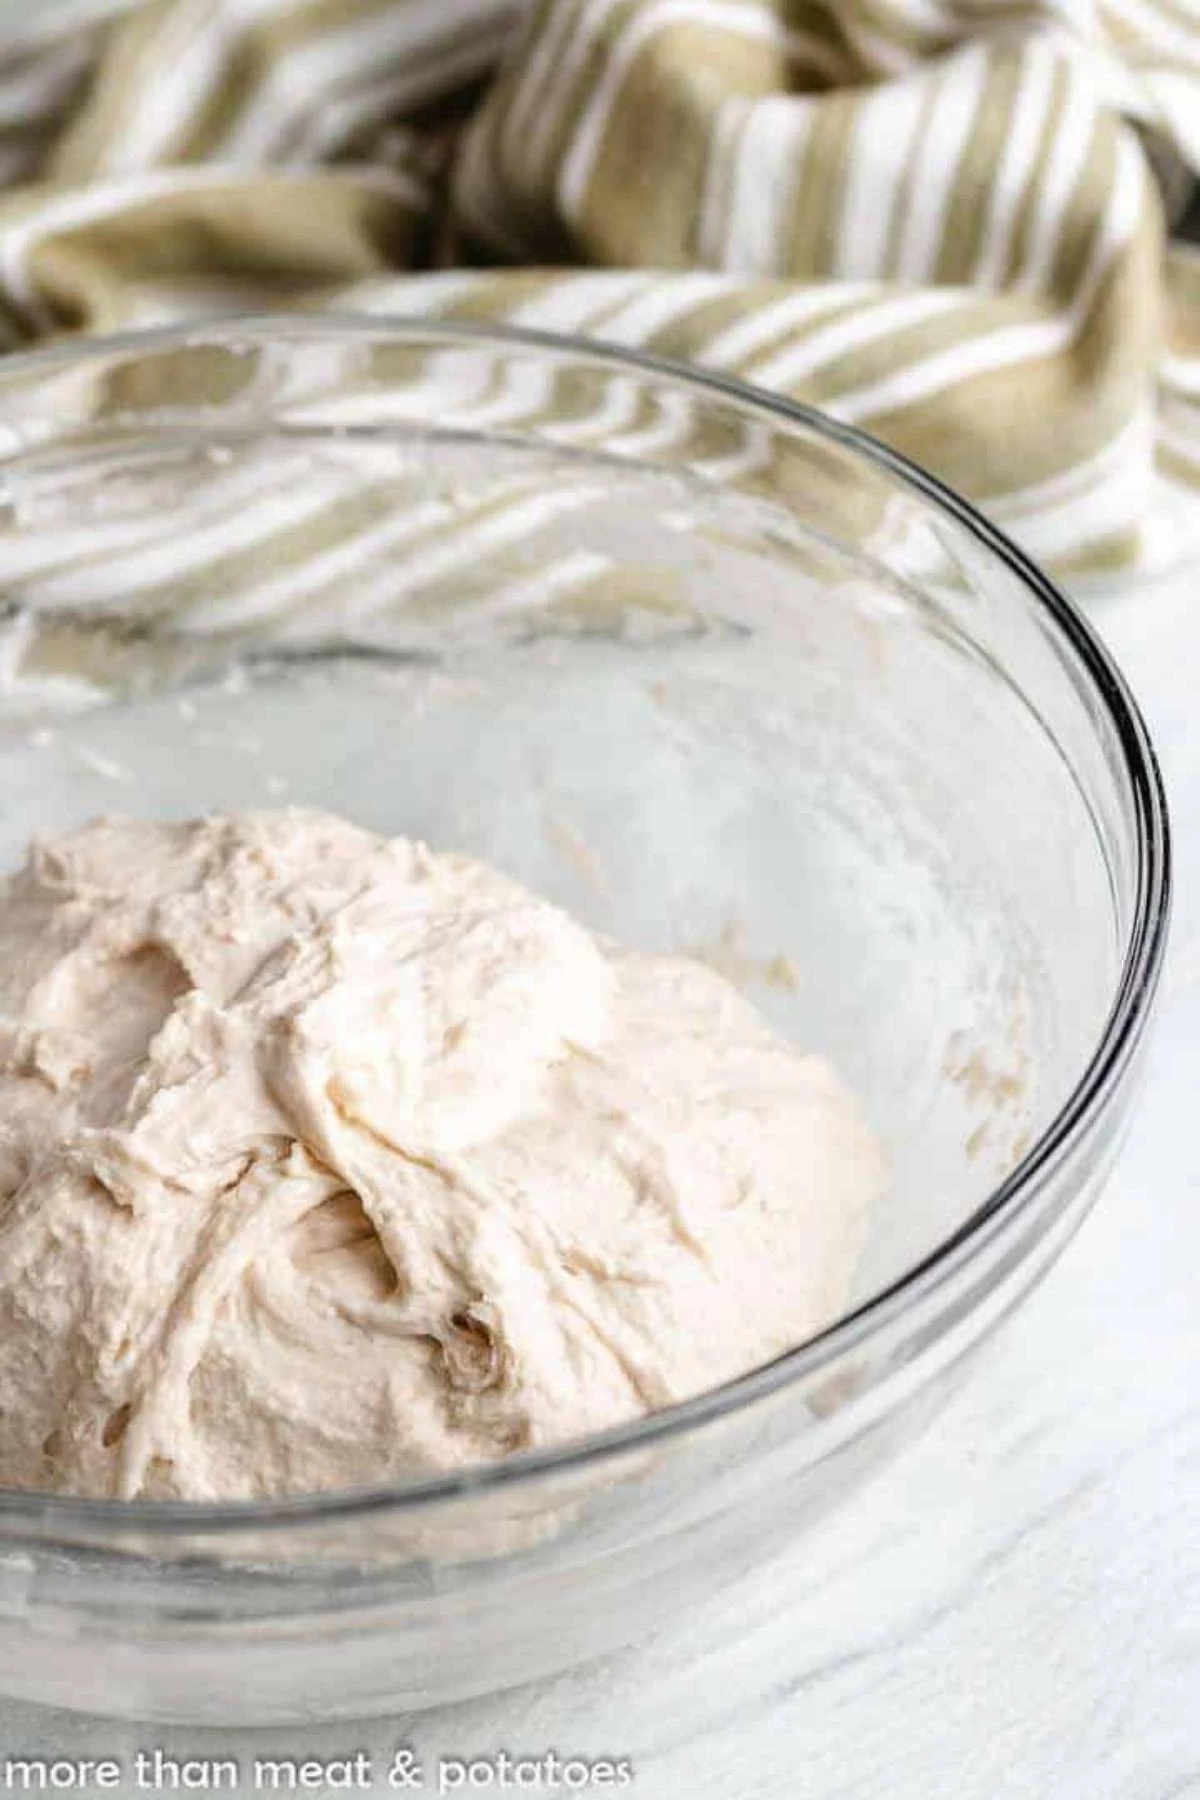
Mix the dough: Whisk the active sourdough starter and filtered water together, then stir in the flours and salt. The dough will look rough, wet, and sticky. Cover the bowl and let it rest for 1 hour.
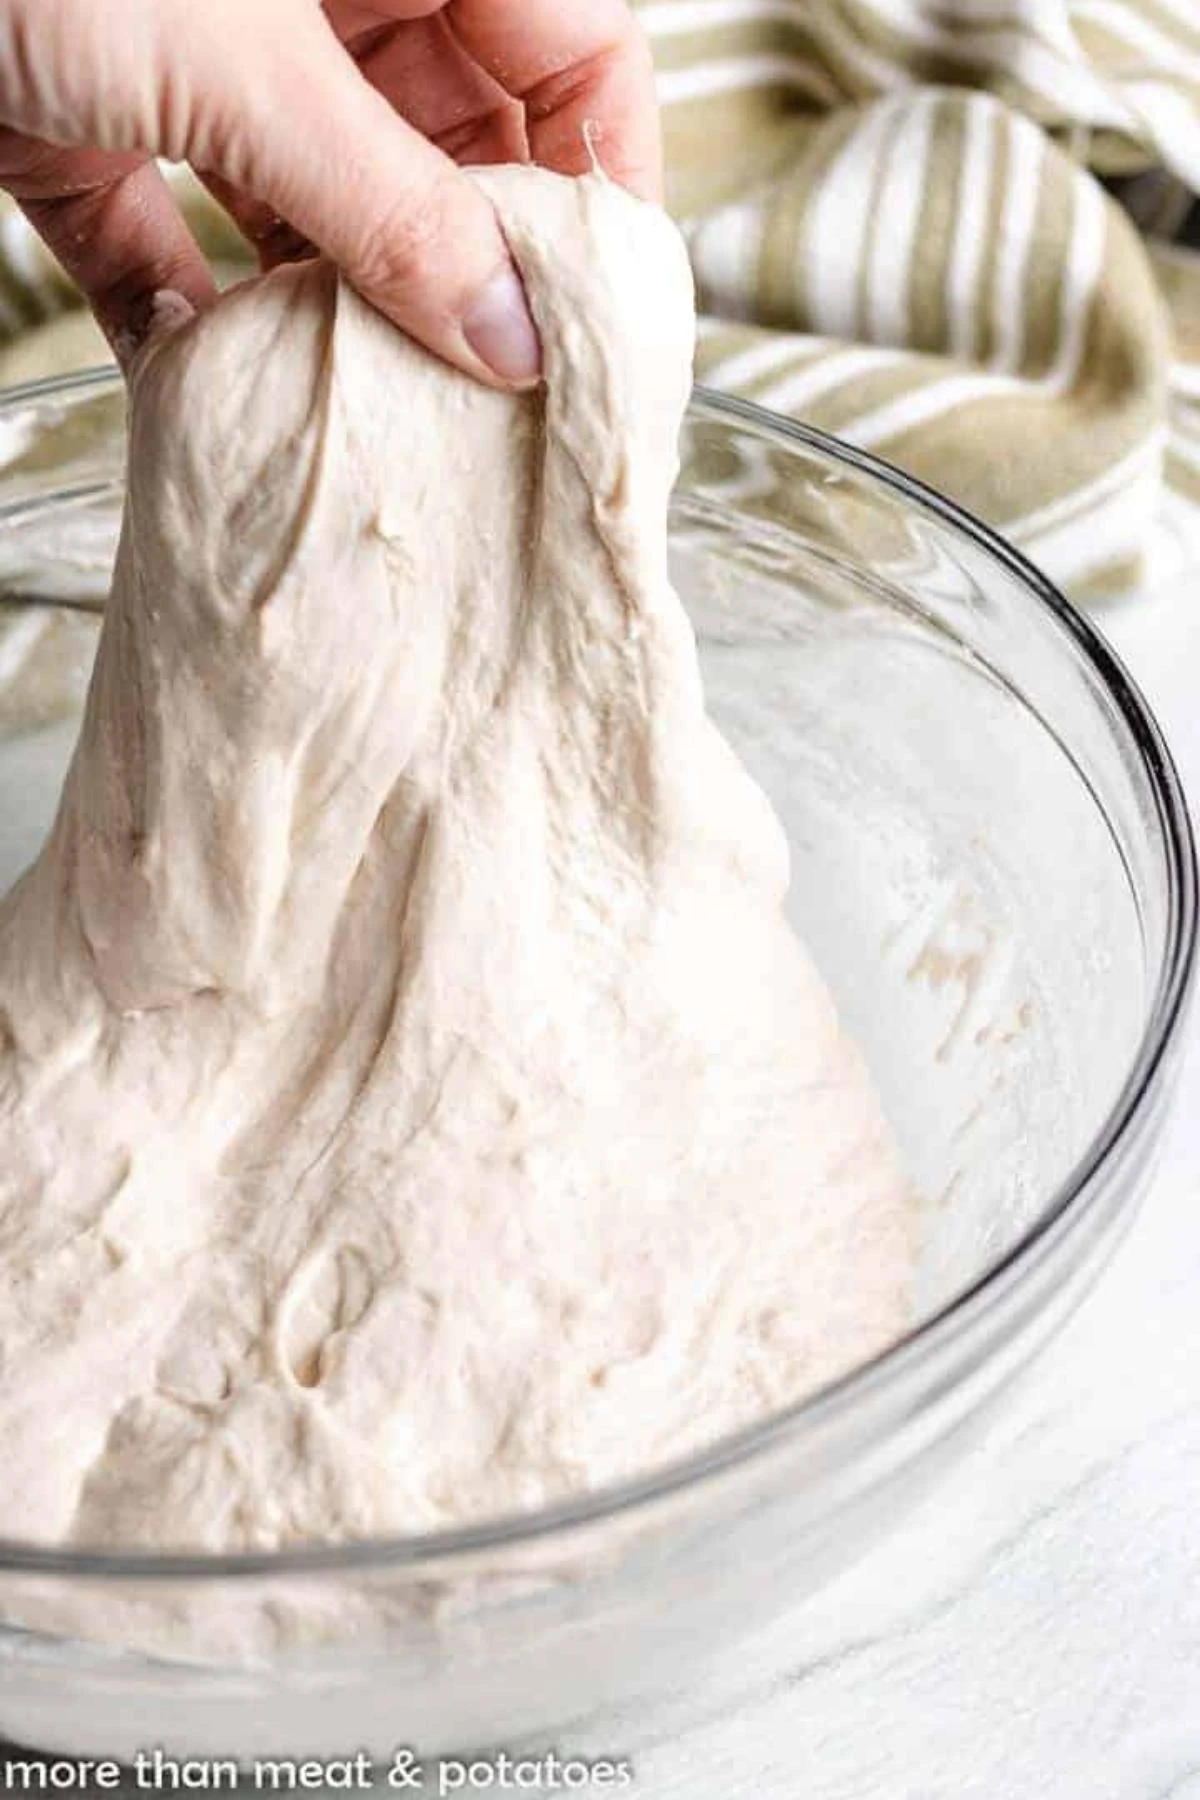
Stretch and fold: Use wet hands to pull one side of the dough upward without tearing it, then fold it toward the center. Turn the bowl and repeat on all four sides. Complete four sets of stretch and folds, spacing the sets 30 minutes apart.
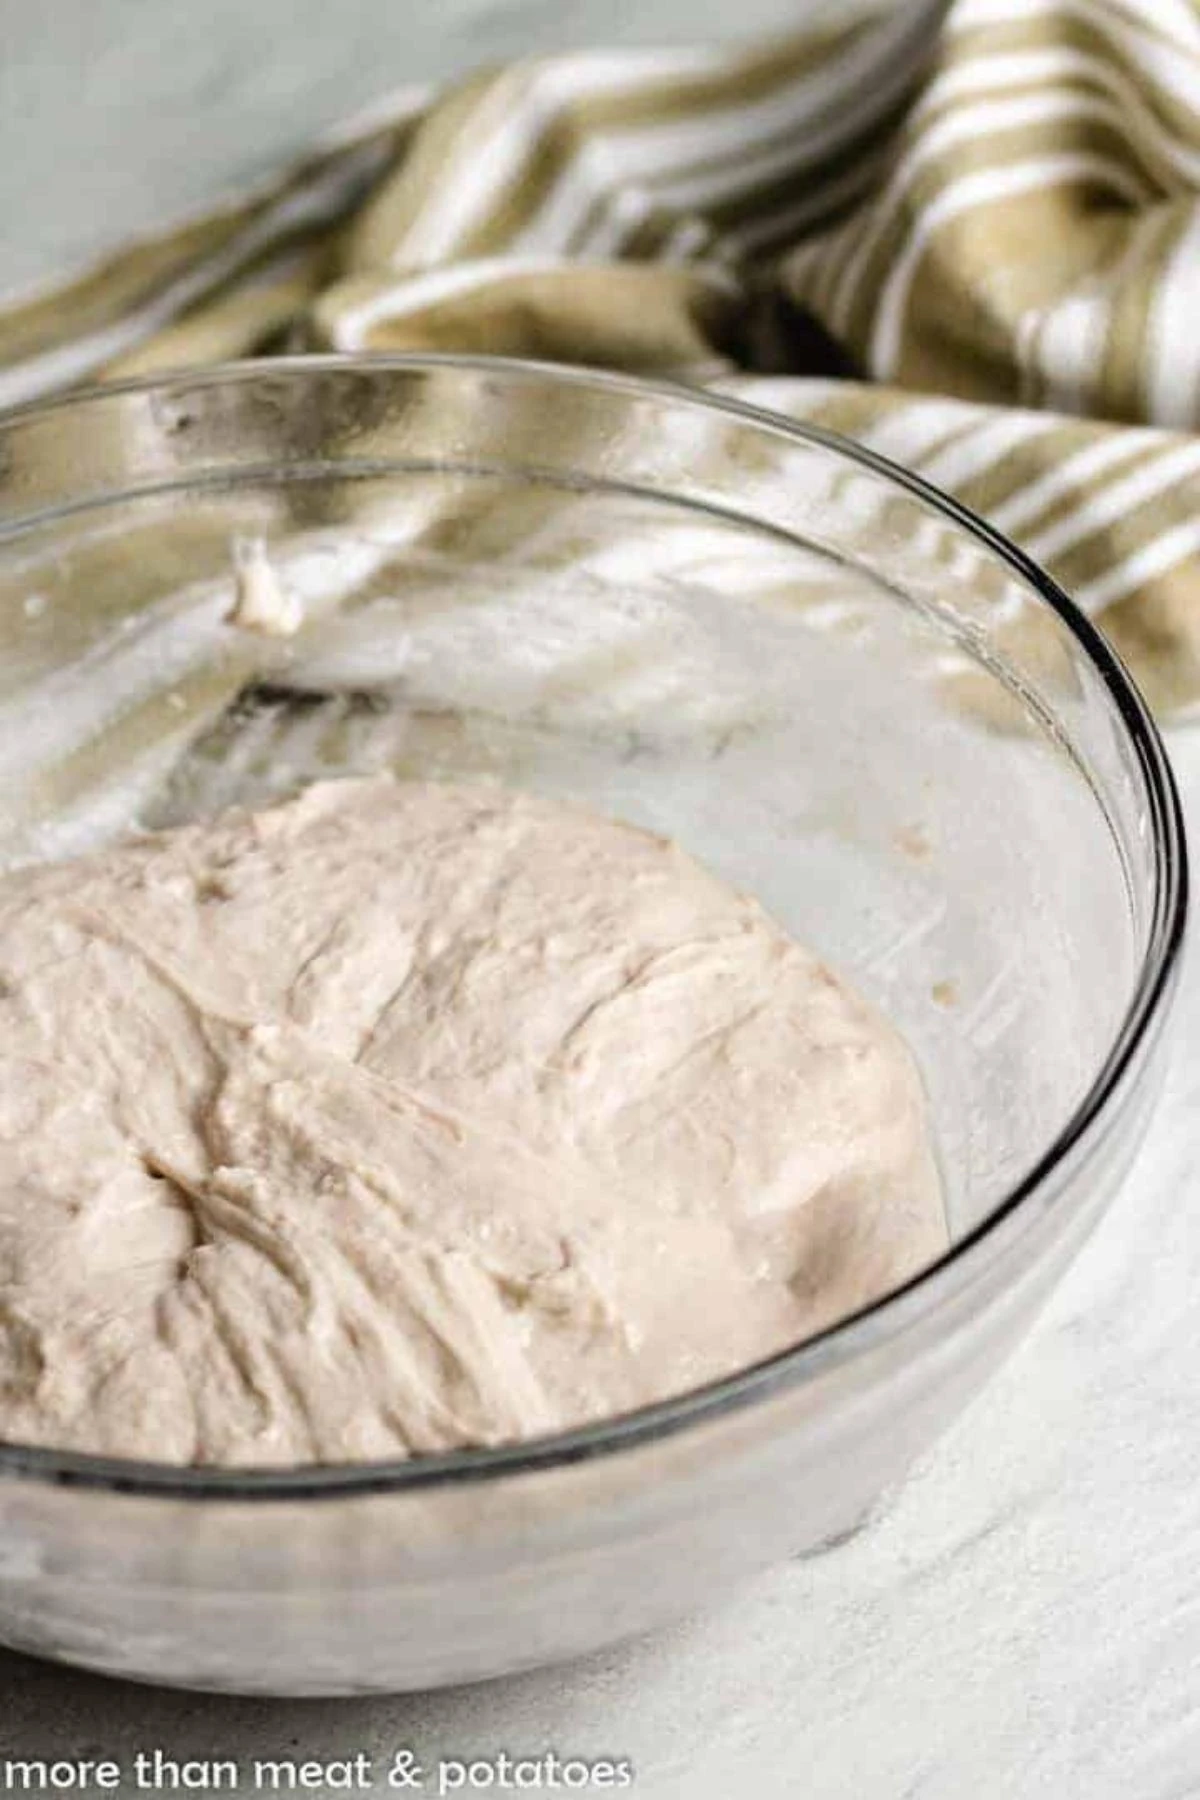
Finish the first rise: After the fourth set, cover the bowl and continue the bulk fermentation at room temperature until the dough looks smoother and puffy, has risen noticeably, and shows bubbles around the sides. This usually takes another 3 to 5 hours. If your kitchen is cool or the starter isn’t super strong, this will take longer.
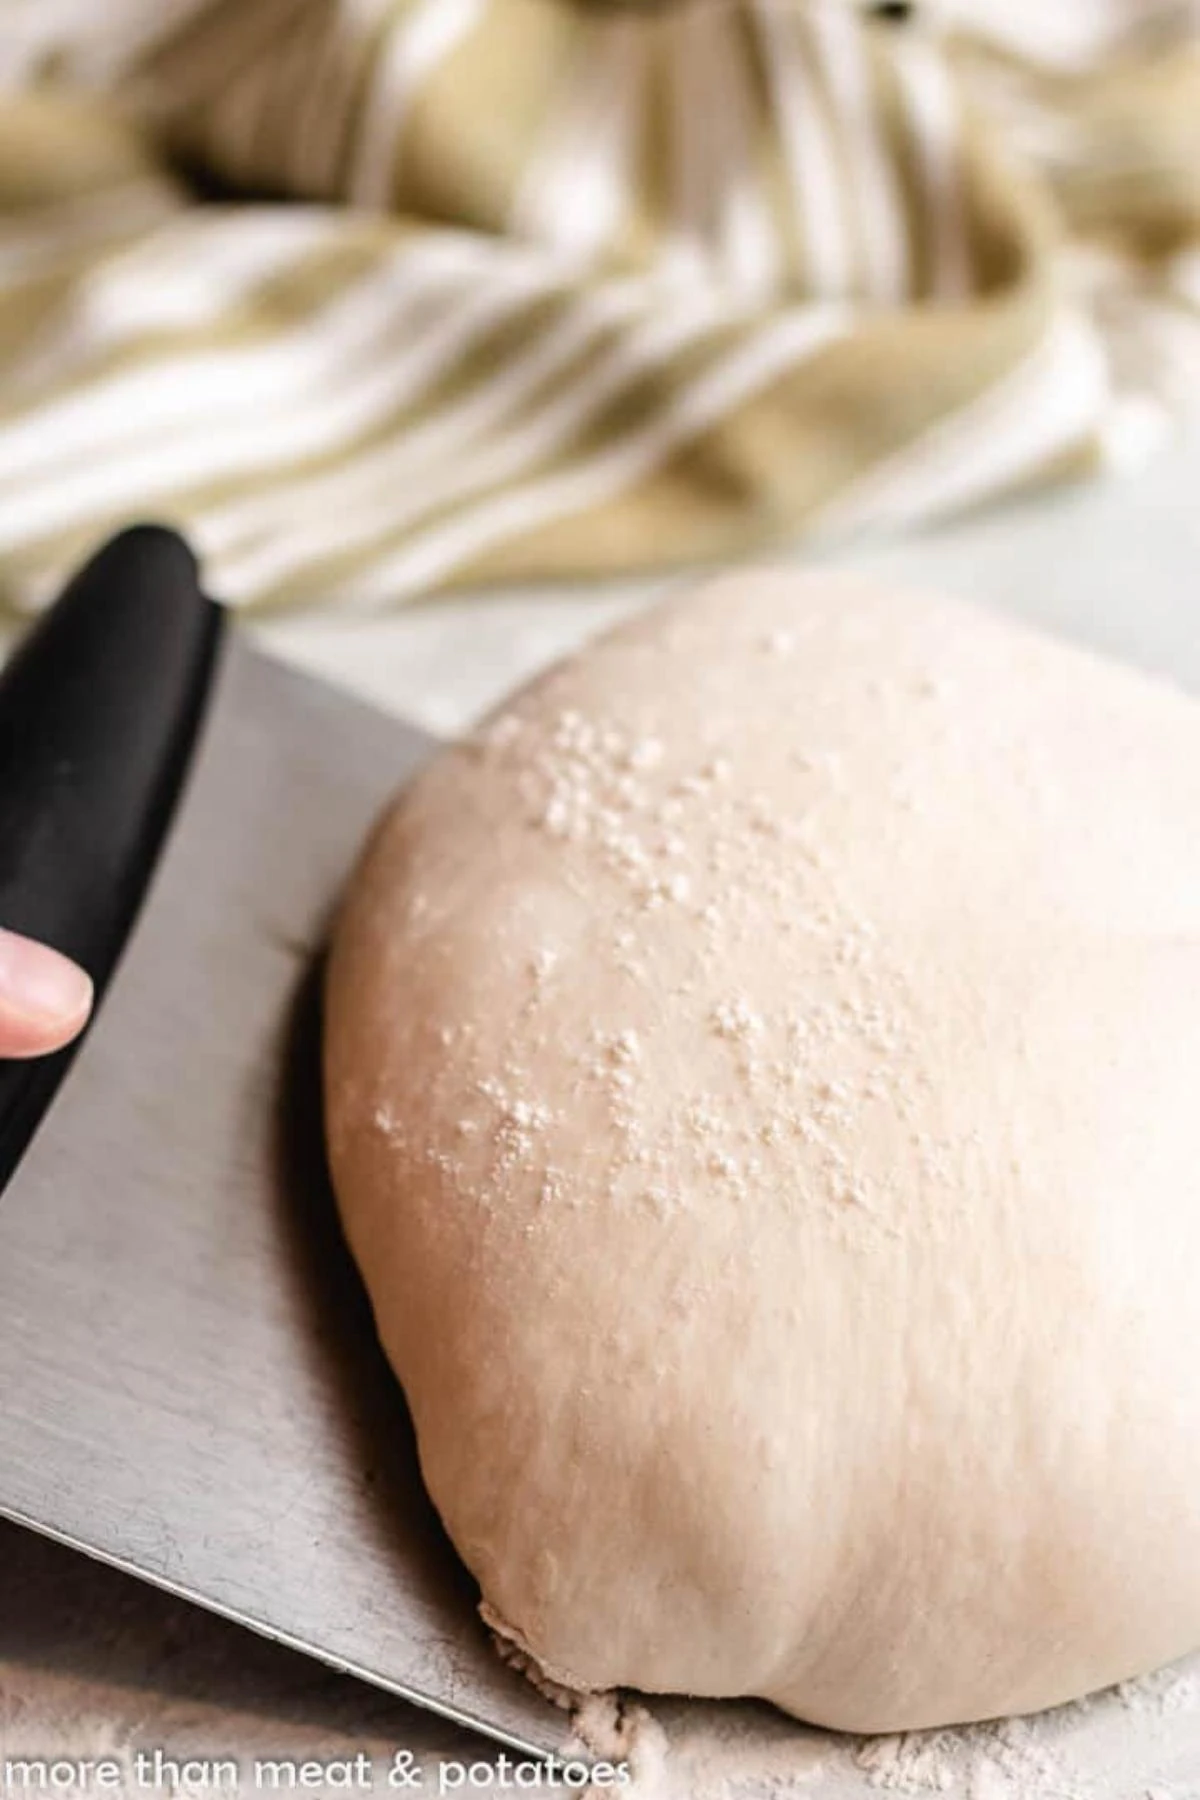
Shape the loaf: Turn the dough onto an unfloured or very lightly floured work surface. Use lightly damp hands or a bench scraper to pull the dough gently toward you across the counter.
Rotate it a quarter turn and repeat, cupping the sides as you work, until it forms a round with a smooth, lightly tightened surface. Place it seam-side up in a rice flour-dusted banneton or towel-lined bowl.
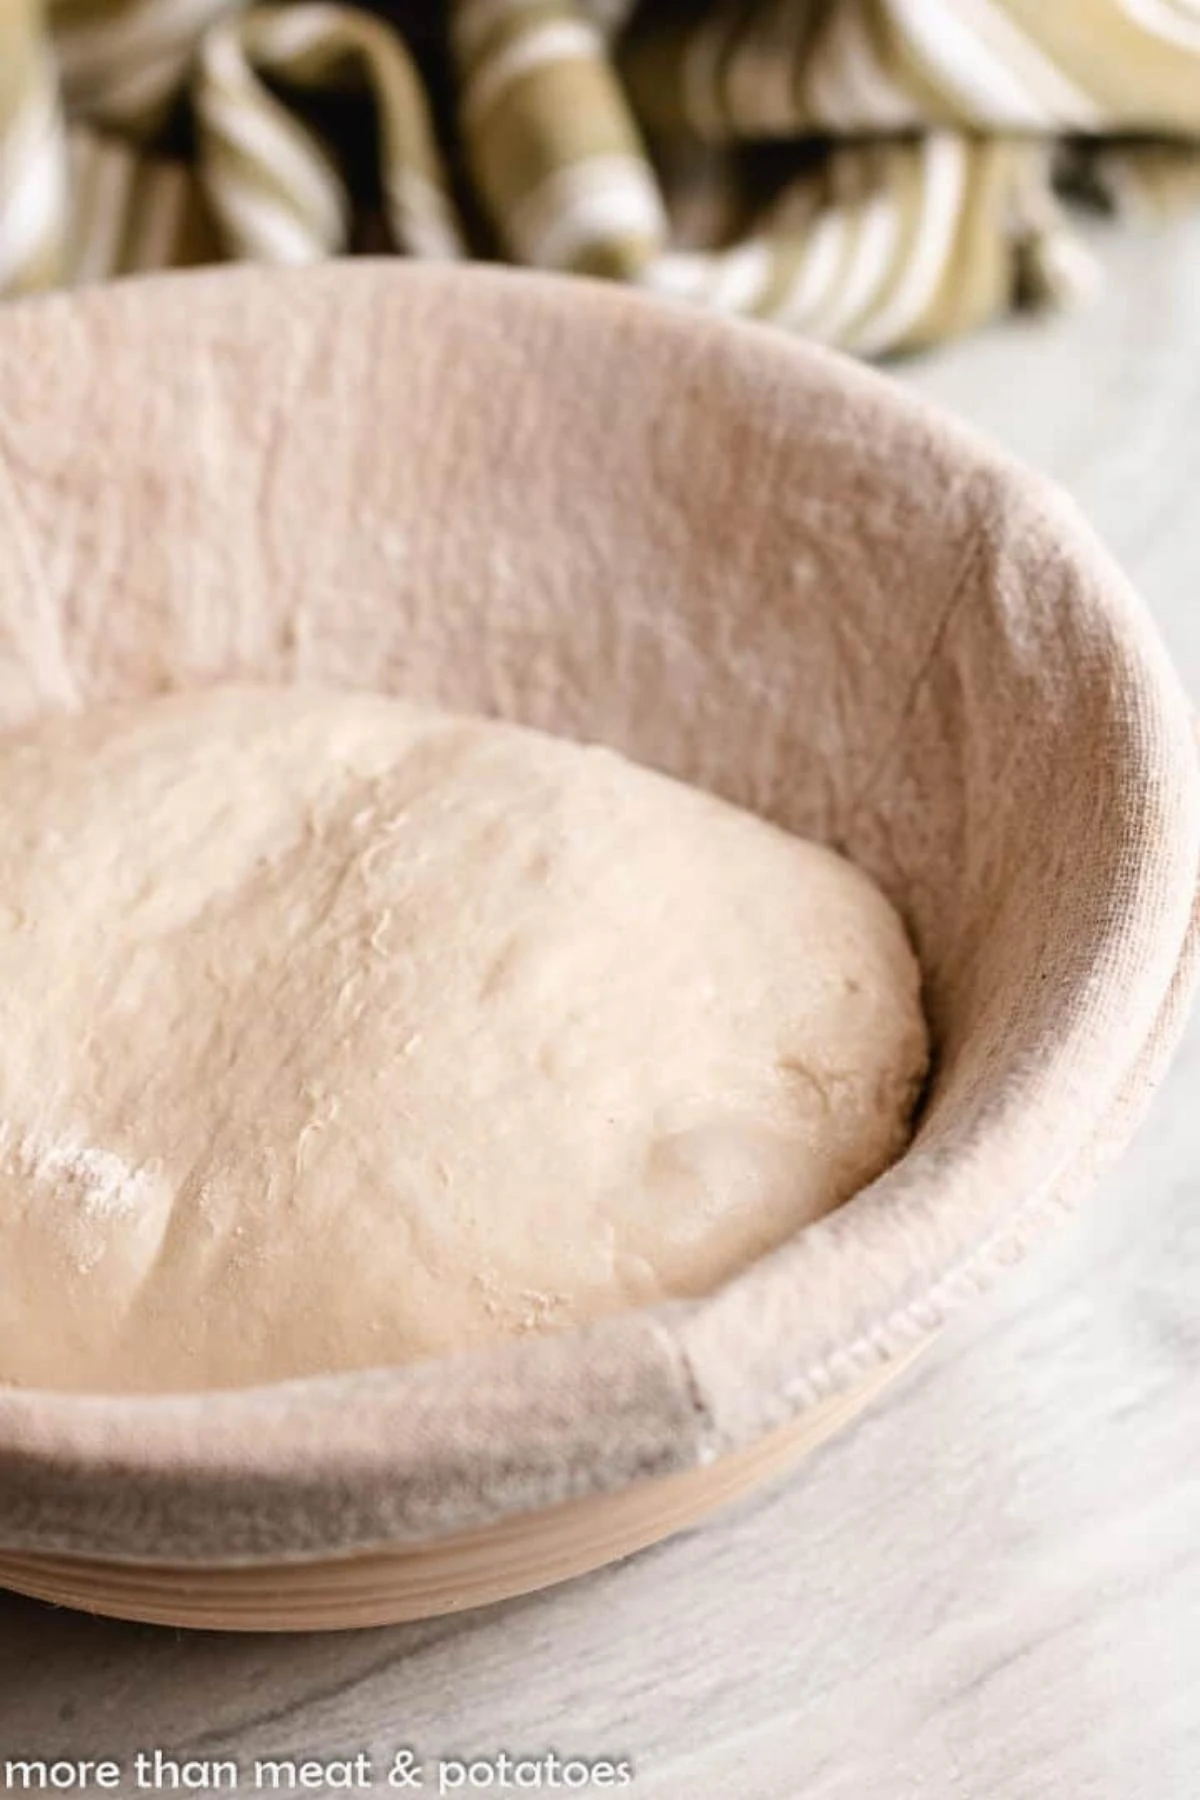
Let it rise again: Cover the shaped dough and leave it at room temperature until it looks puffy and a light press with your finger leaves an indentation that slowly springs back. This can take anywhere from 1 to 3 hours.
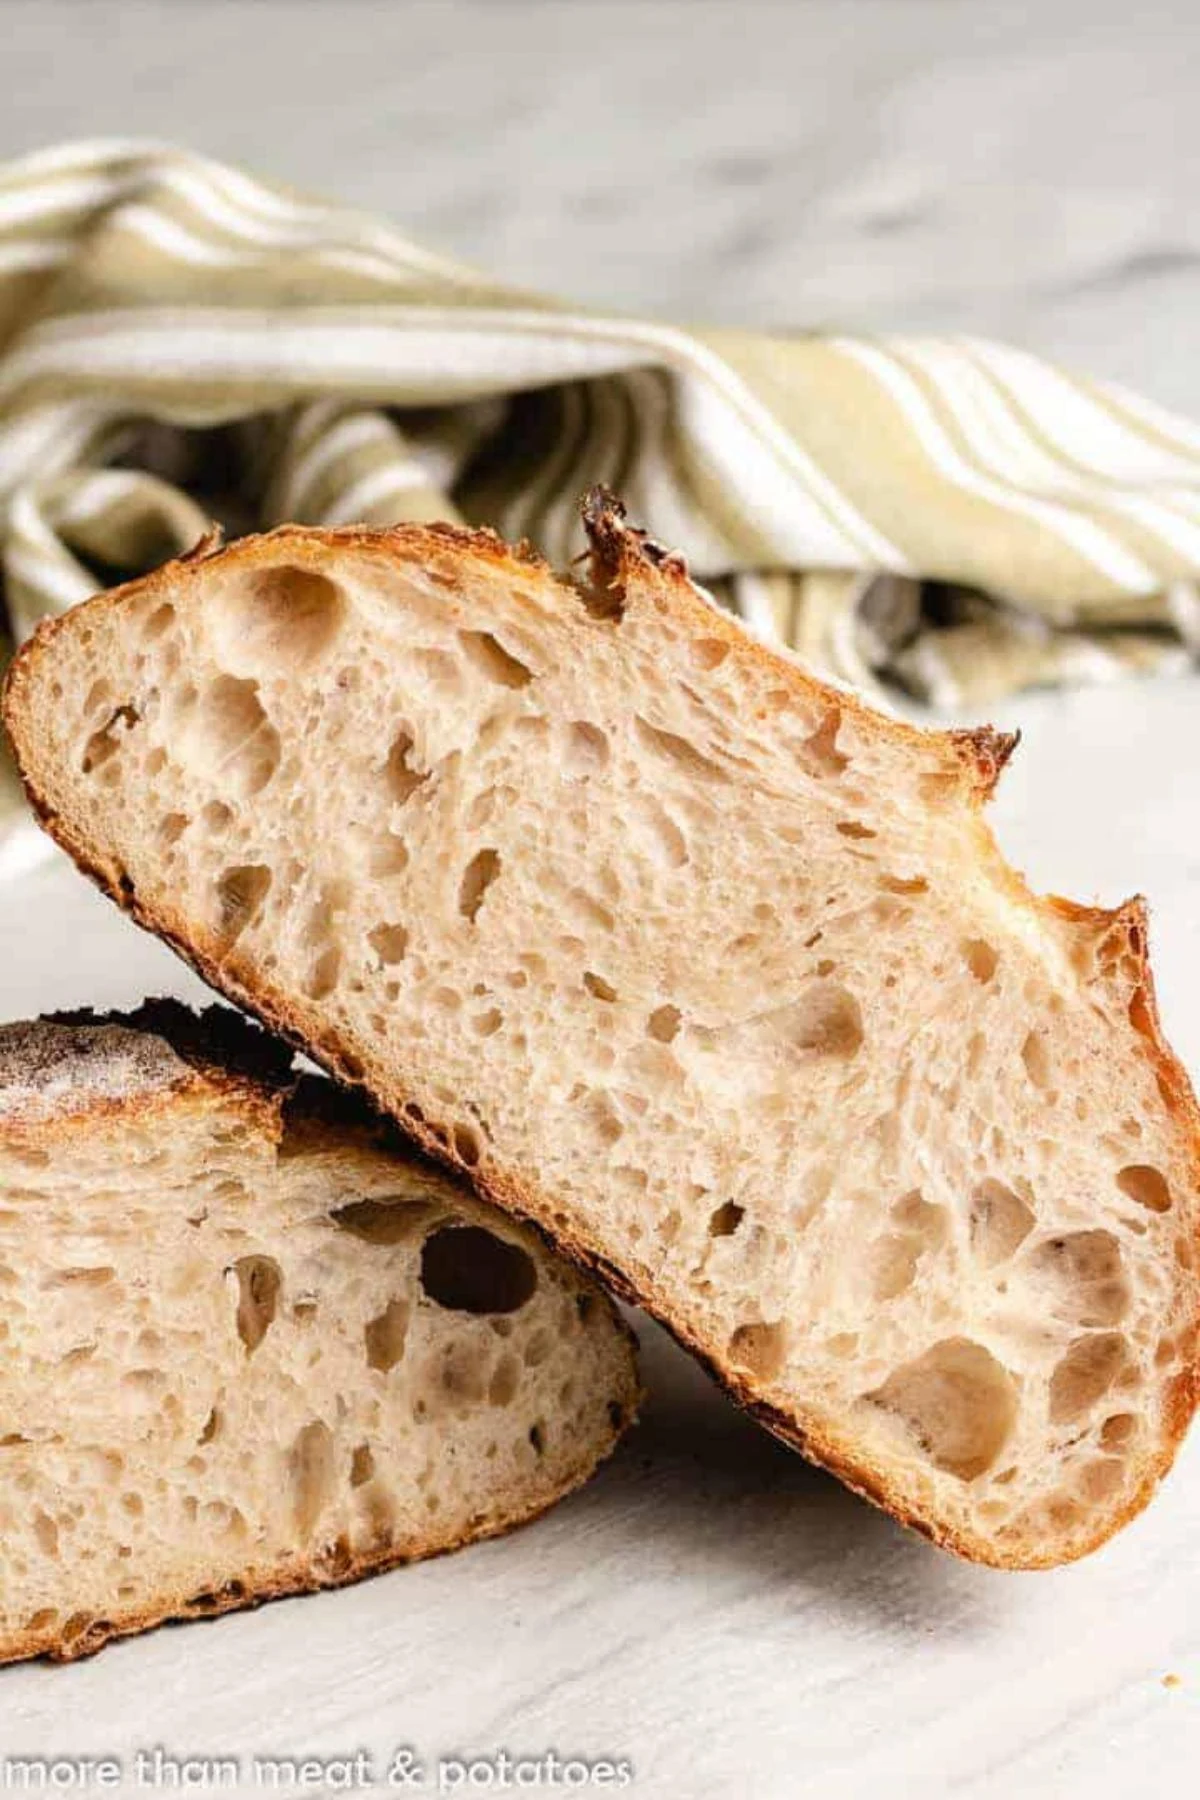
Bake: Begin preheating the Dutch oven and its lid while the dough finishes rising. Turn the dough onto parchment paper, score the top, and carefully lower it into the hot Dutch oven. Cover, reduce the oven temperature to 425°F, and bake for 30 minutes. Remove the lid and bake for another 15 to 20 minutes, until the crust is deep golden brown.
Transfer the bread to a wire rack and let it cool for at least 1 hour before slicing.
Ingredients
- 1 cup (227 g) filtered water
- ½ cup (100 g) sourdough starter, active
- 2 cups (250 g) all-purpose flour
- ½ cup (60 g) bread flour
- ½ tablespoon salt
- Rice Flour, for dusting bowl
💌 Don't forget to save this recipe!
Instructions
- In a large bowl, whisk together the active sourdough starter and filtered water.1 cup (227 g) filtered water½ cup (100 g) sourdough starter
- Add the all-purpose flour, bread flour, and salt. Stir with a sturdy spoon or spatula until the flour is fully incorporated. The dough will be rough, wet, and sticky.2 cups (250 g) all-purpose flour½ cup (60 g) bread flour½ tablespoon salt
- Cover the bowl and let the dough rest at room temperature for 1 hour.
- Wet your hands, then lift one side of the dough and stretch it upward without tearing it. Fold it over the center. Turn the bowl and repeat with the other three sides to complete one set of stretch and folds.
- Cover the bowl and let the dough rest for 30 minutes. Repeat the stretch-and-fold process three more times, allowing the dough to rest for 30 minutes between each set.
- After the fourth set, cover the bowl and let the dough continue rising at room temperature for 3 to 5 hours. It is ready when it looks smoother and puffy, has risen noticeably, and has bubbles along the sides or surface. A cool kitchen or slower starter may require additional time.
- Turn the dough onto a lightly floured or unfloured work surface. Use lightly damp hands or a bench scraper to pull the dough gently toward you. Rotate it a quarter turn and repeat, cupping the sides as you work, until it forms a round with a smooth, lightly tightened surface. Place it seam-side up in the rice flour-dusted banneton or towel-lined bowl.Rice Flour
- Cover loosely with a clean kitchen towel and let the dough rise at room temperature until it looks puffy and a light press with your finger leaves an indentation that slowly springs back, about 1 to 3 hours.
- During the final rise, place a large Dutch oven and its lid on a rack in the lower third of the oven. Preheat the oven and Dutch oven to 450°F.
- Cut a large piece of parchment paper. Turn the dough onto the parchment and score the top with a bread lame or sharp knife.
- Carefully lower the parchment and dough into the hot Dutch oven. Cover, reduce the temperature to 425℉, and bake for 30 minutes.
- Remove the lid and bake for another 15 to 20 minutes or until the crust is deep golden brown.
- Transfer the bread to a wire rack and let it cool completely before slicing, about 1 hour.
Notes
- Use a sourdough starter that has roughly doubled after feeding and looks active and bubbly.
- The dough is supposed to be wet and sticky. Wet hands and a bench scraper will make it much easier to handle.
- The room-temperature rise is based on the look and feel of the dough, not only the clock. A warm kitchen may shorten the rise considerably.
- All-purpose flour can replace the bread flour, but the finished bread will be a little softer and less chewy.
- Store the completely cooled bread in an airtight container or zip-top bag at room temperature for up to 2 days.
Nutrition
*Recipe update: The fermentation steps were revised in July 2026.
I love the flavor of this bread. Have made it several times now. Just wondering how long I can leave it in the refrigerator? Is overnight the max or would 24-48 hours still be ok?
Hi Julianne,
Sorry for the delayed response!
Thank you so much! We’re happy you love the bread. Are you referring to how long the dough can proof in the fridge? If so, it depends on the dough. Some can go up to 36 hours or a little longer and some don’t have a hearty enough starter. The key is to not let it overproof or the bread won’t get good height as it bakes. It will be flat and dense. You could always test it for 12 hours to start then increase from there.
Have a great evening! 🙂
Hi Donna!
I’m sorry to hear that. Yes, try leaving it loosely covered on the counter at room temperature. Sometimes that will do the trick. 🙂 Have a wonderful day!
I’ve tried this twice and curious why the bread isn’t rising. The starter was perfect and after an hour it’s not even close to rising in the refrigerator. Outside maybe? Thank you for your help! 😉
Hi Donna!
This dough does need to be refrigerated for several hours for a bulk rise. Eight hours or up to overnight is optimal. It also helps develop the flavor and texture of the bread. Have a great afternoon! 🙂
Do you have to put in the refrigerator for 8 hours or can you bake right away?