
Shortbread Crust for a 9×9 Pan
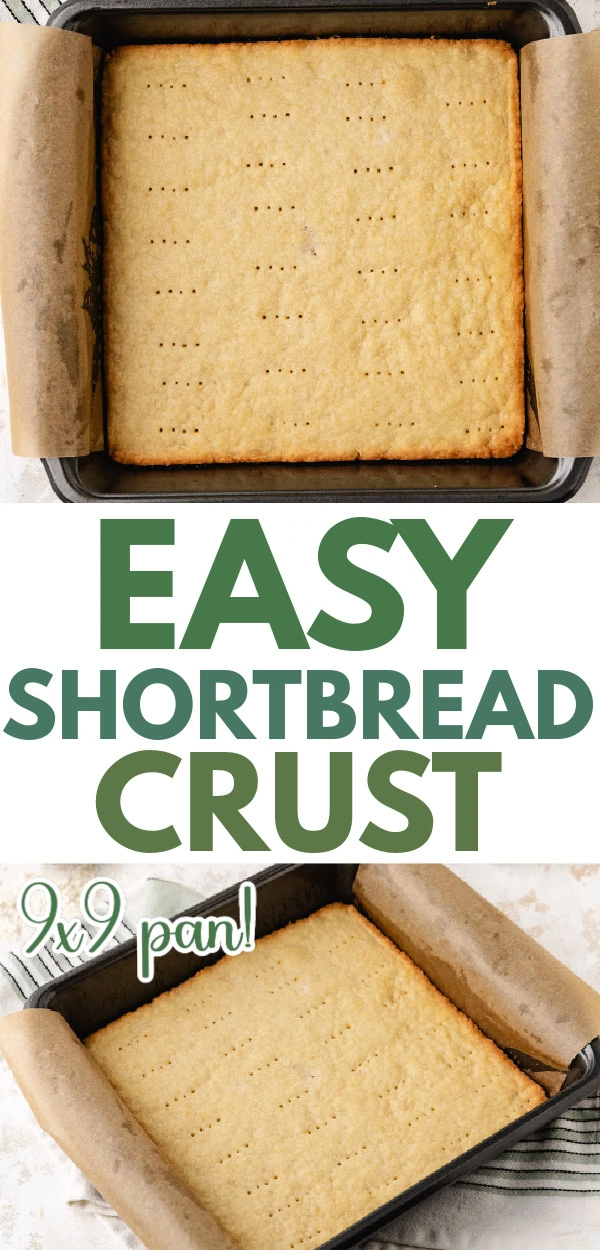
This 9×9 shortbread crust is buttery, tender, and sturdy enough for bars, cheesecakes, and other layered desserts.
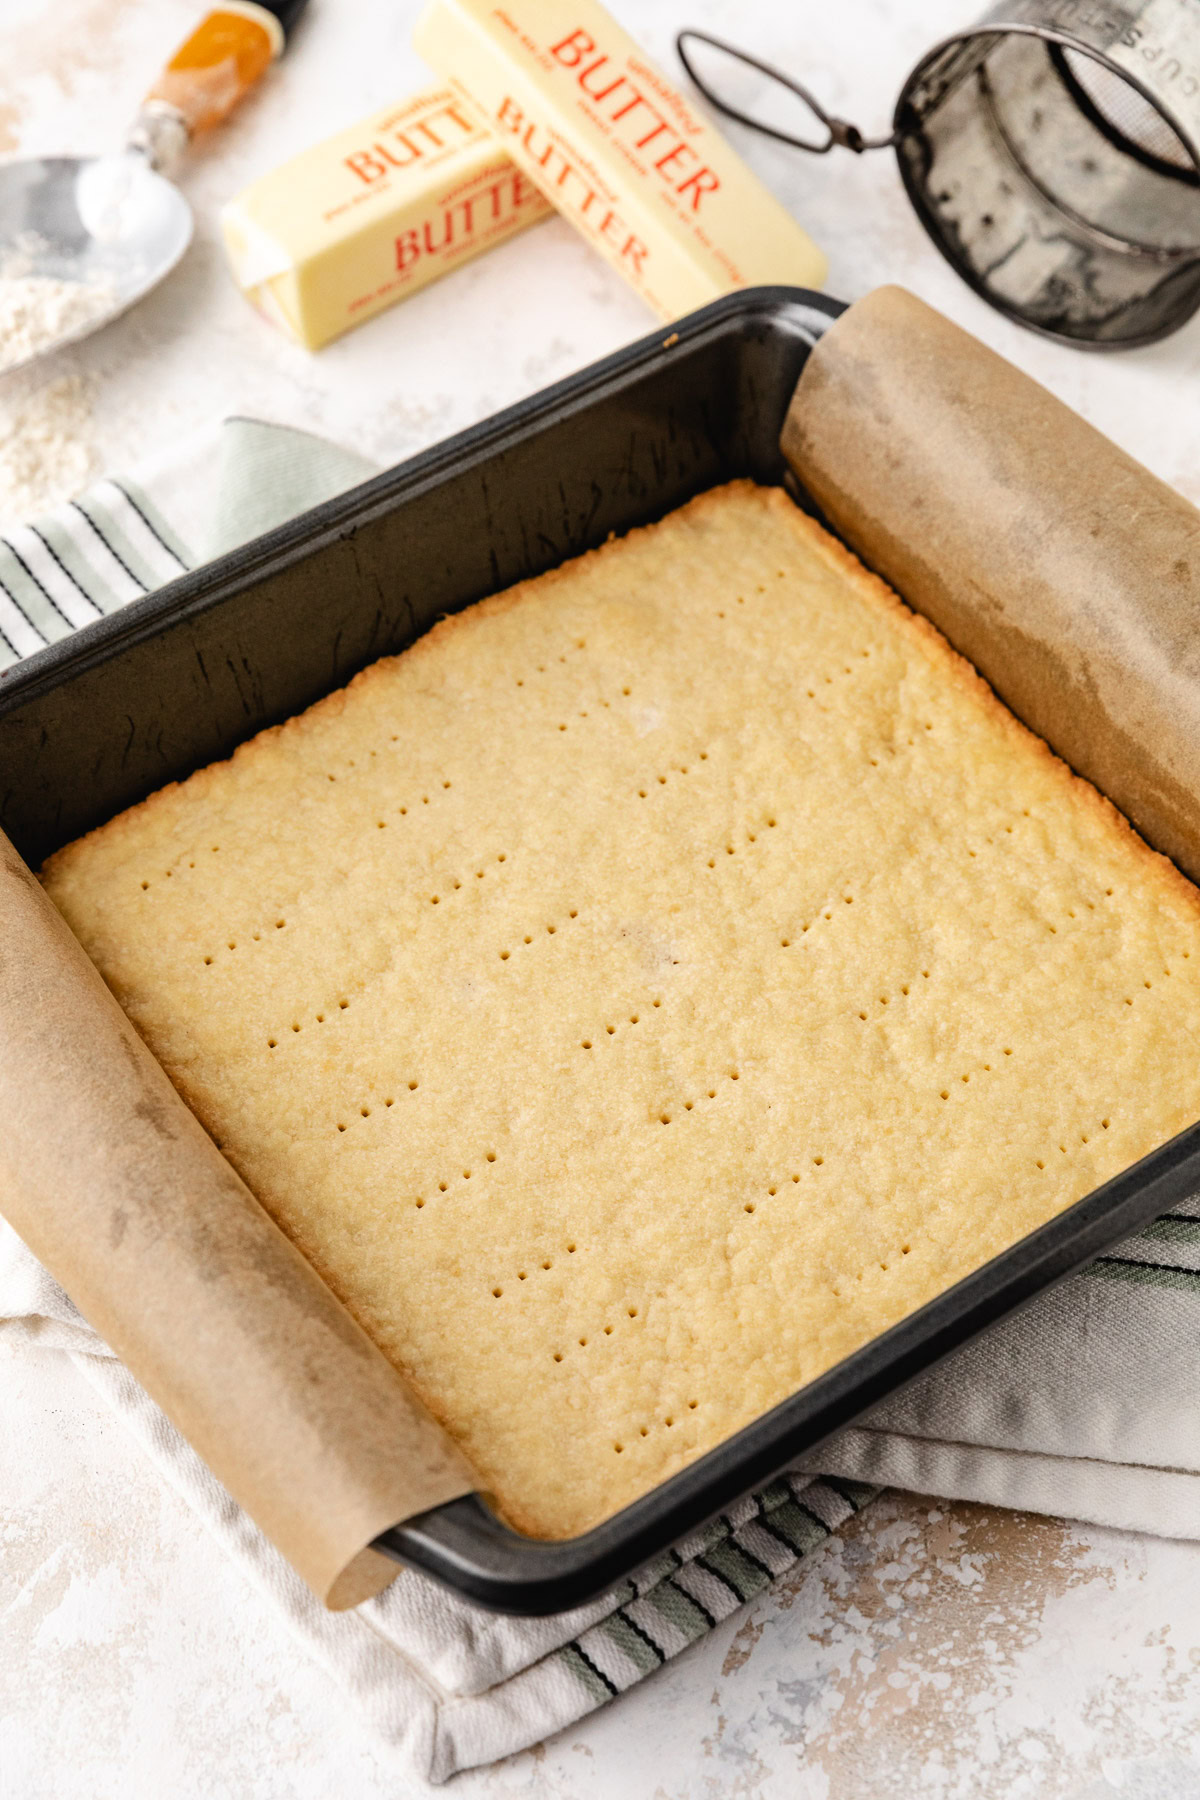
Shortbread Crust for a 9×9 Pan
This shortbread crust recipe came from a very specific annoyance. I needed a 9×9-inch crust for a smaller dessert, and I kept seeing the same advice: use half of a 9×13-inch recipe or just press the full amount into the smaller pan.
Neither one was quite right. Half made the crust too thin, and the full batch was way too thick for what I wanted.
So instead of trying to make someone else’s version work, I adjusted my own 9×13-inch recipe into a 9×9-inch shortbread crust that actually fits the pan the way I want it to.
It’s buttery, lightly sweet, and sturdy enough for bars, cheesecake-style desserts, and other soft fillings without turning into a thick cookie base. It’s the crust I use for my lemon raspberry crumb bars.
How To Make a 9×9 Shortbread Crust
The process itself is simple, but there are a few small things that make a difference.
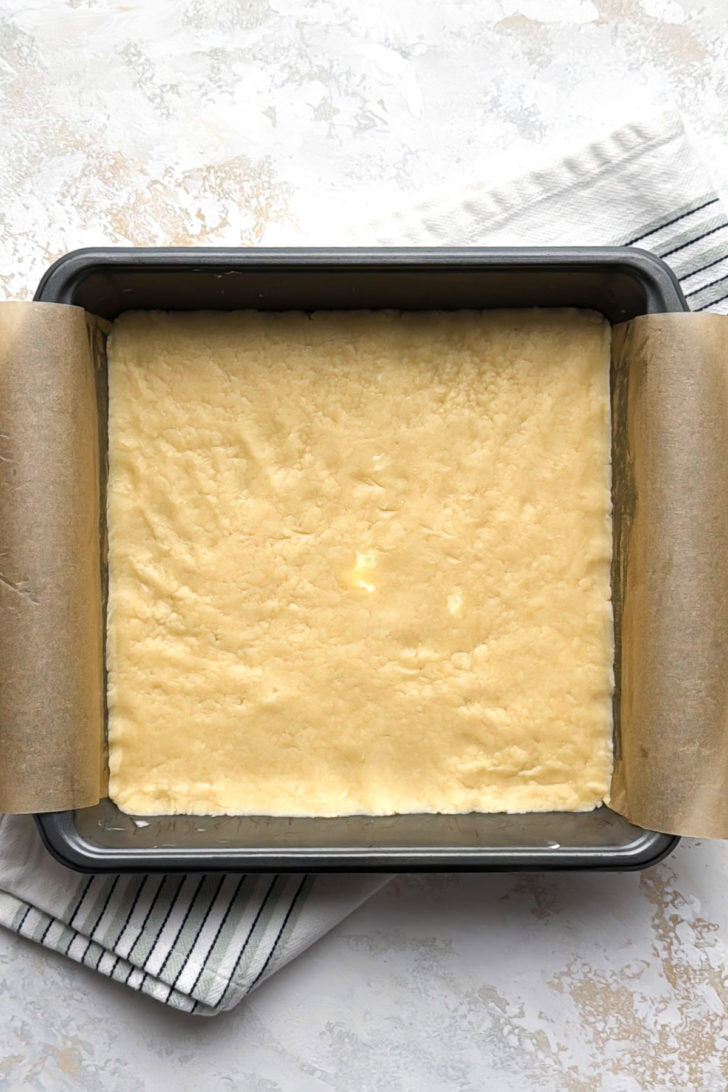
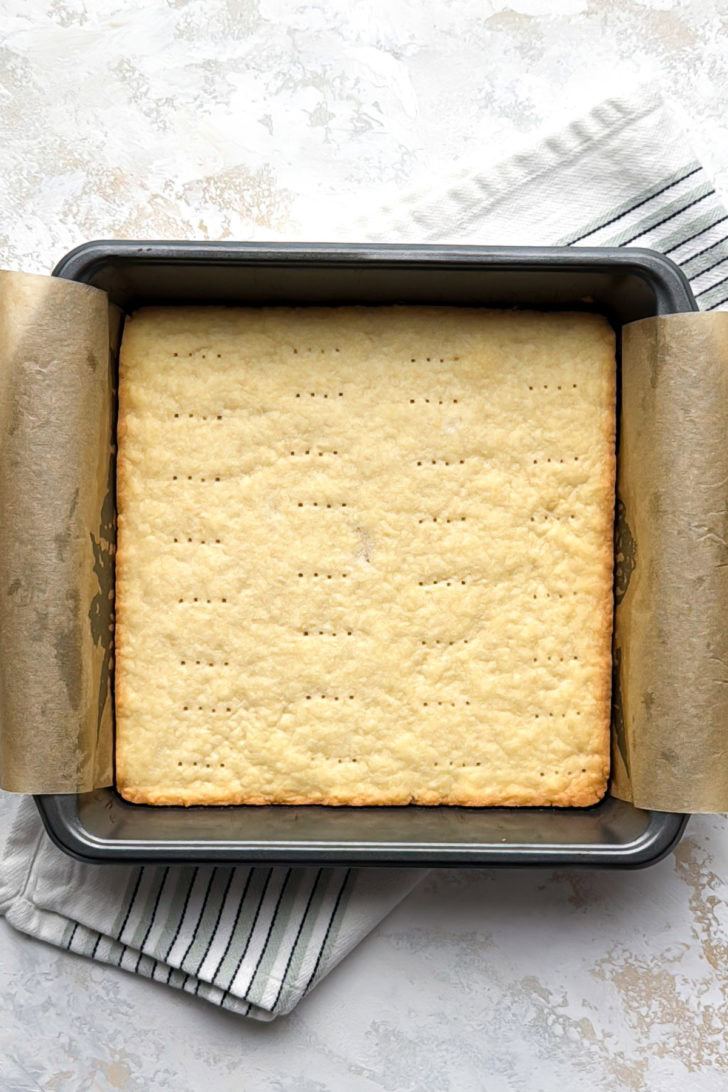
Why This Crust Needs To Chill Before Baking
For this crust, chilling is one of the steps that isn’t optional.
Since the dough starts with softened butter, the rest time in the refrigerator gives the butter time to firm up again before the pan goes into the oven. That helps the crust stay more compact and keeps it from turning overly soft or baking unevenly.
It also makes the dough a little easier to work with once it’s pressed into the pan. By the time it’s chilled, it feels more settled and less likely to puff up all over the place.
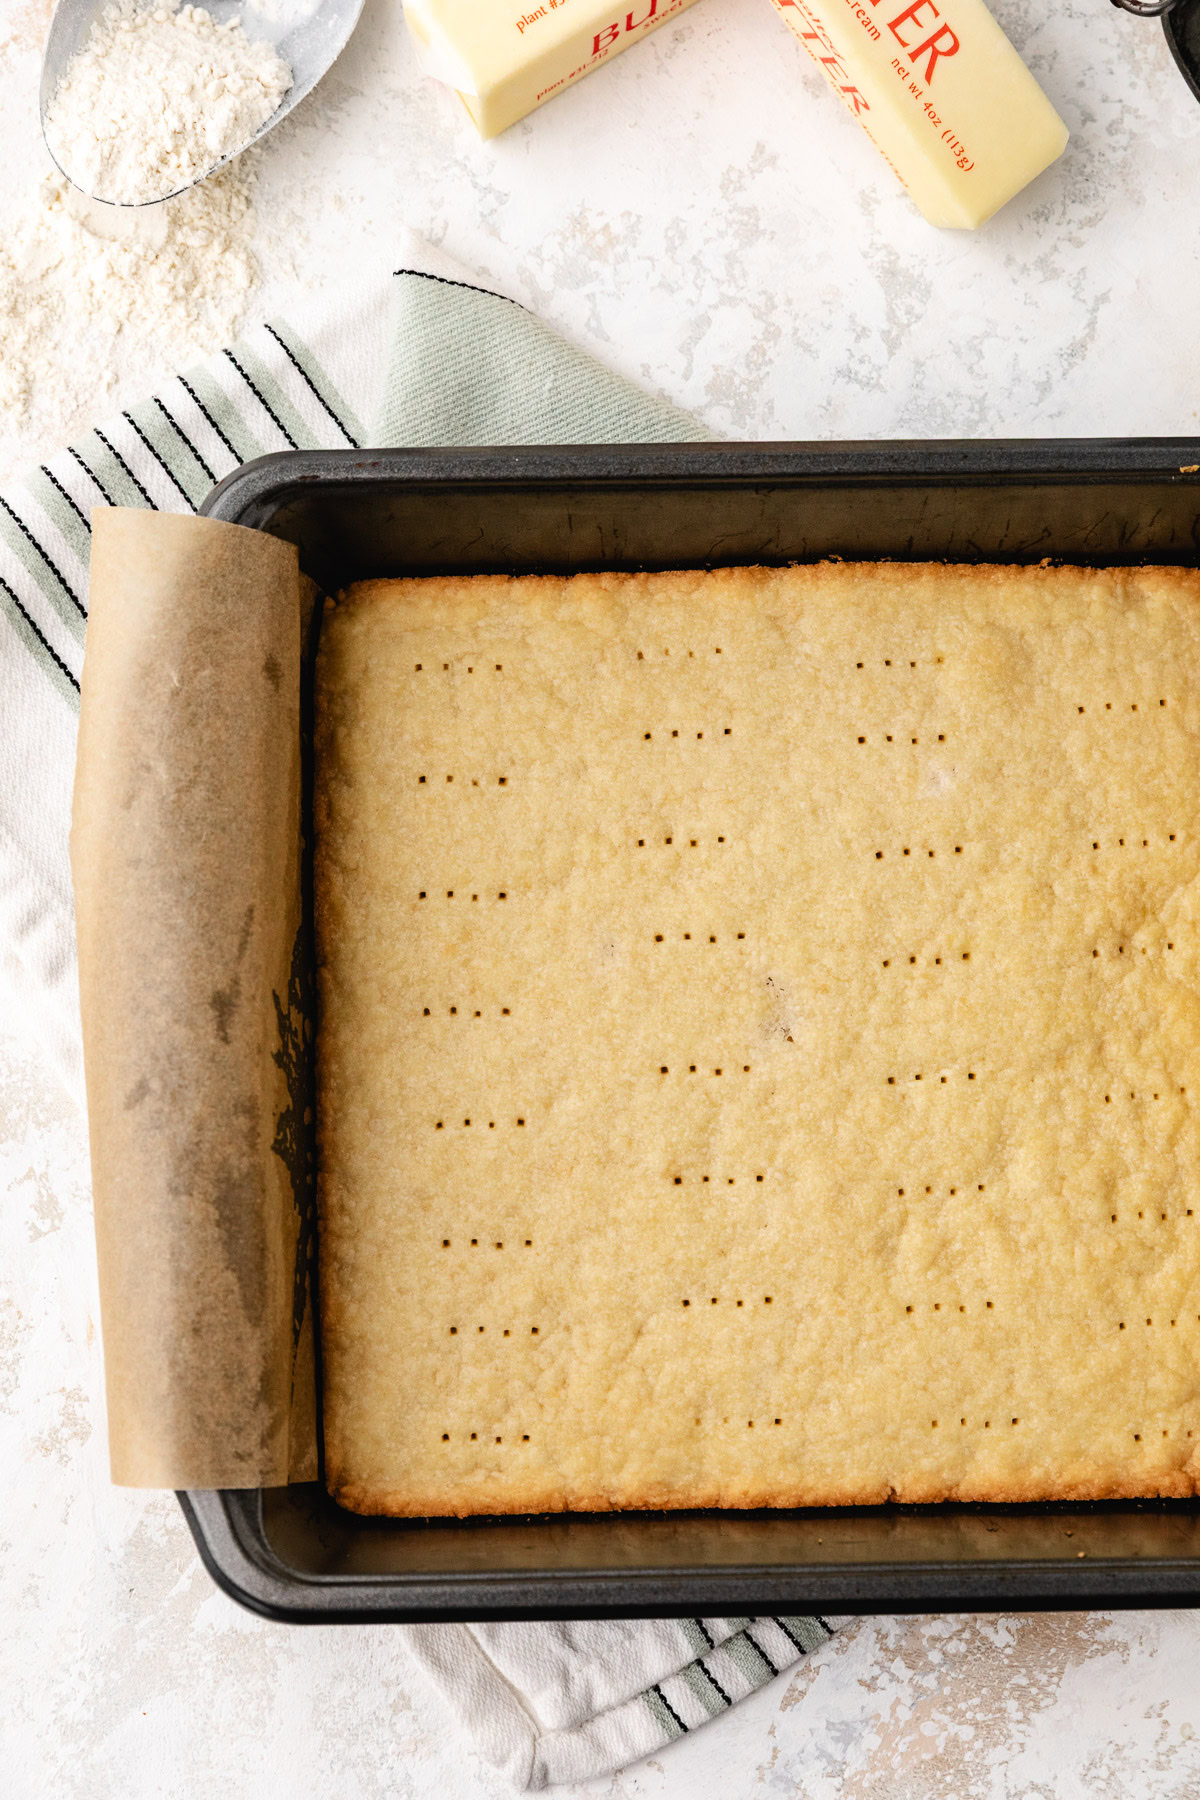
What To Use This Shortbread Crust For
This crust works especially well for recipes with softer fillings or toppings. I use it for dessert bars, cheesecake bars, and other baked treats.
It’s a good fit for:
- lemon bars.
- cheesecake bars.
- chocolate bars.
- jam bars.
- other layered desserts that need a sturdy base.
That’s really where this crust shines. It has enough structure to support the filling, but it still tastes like shortbread instead of plain baked dough.
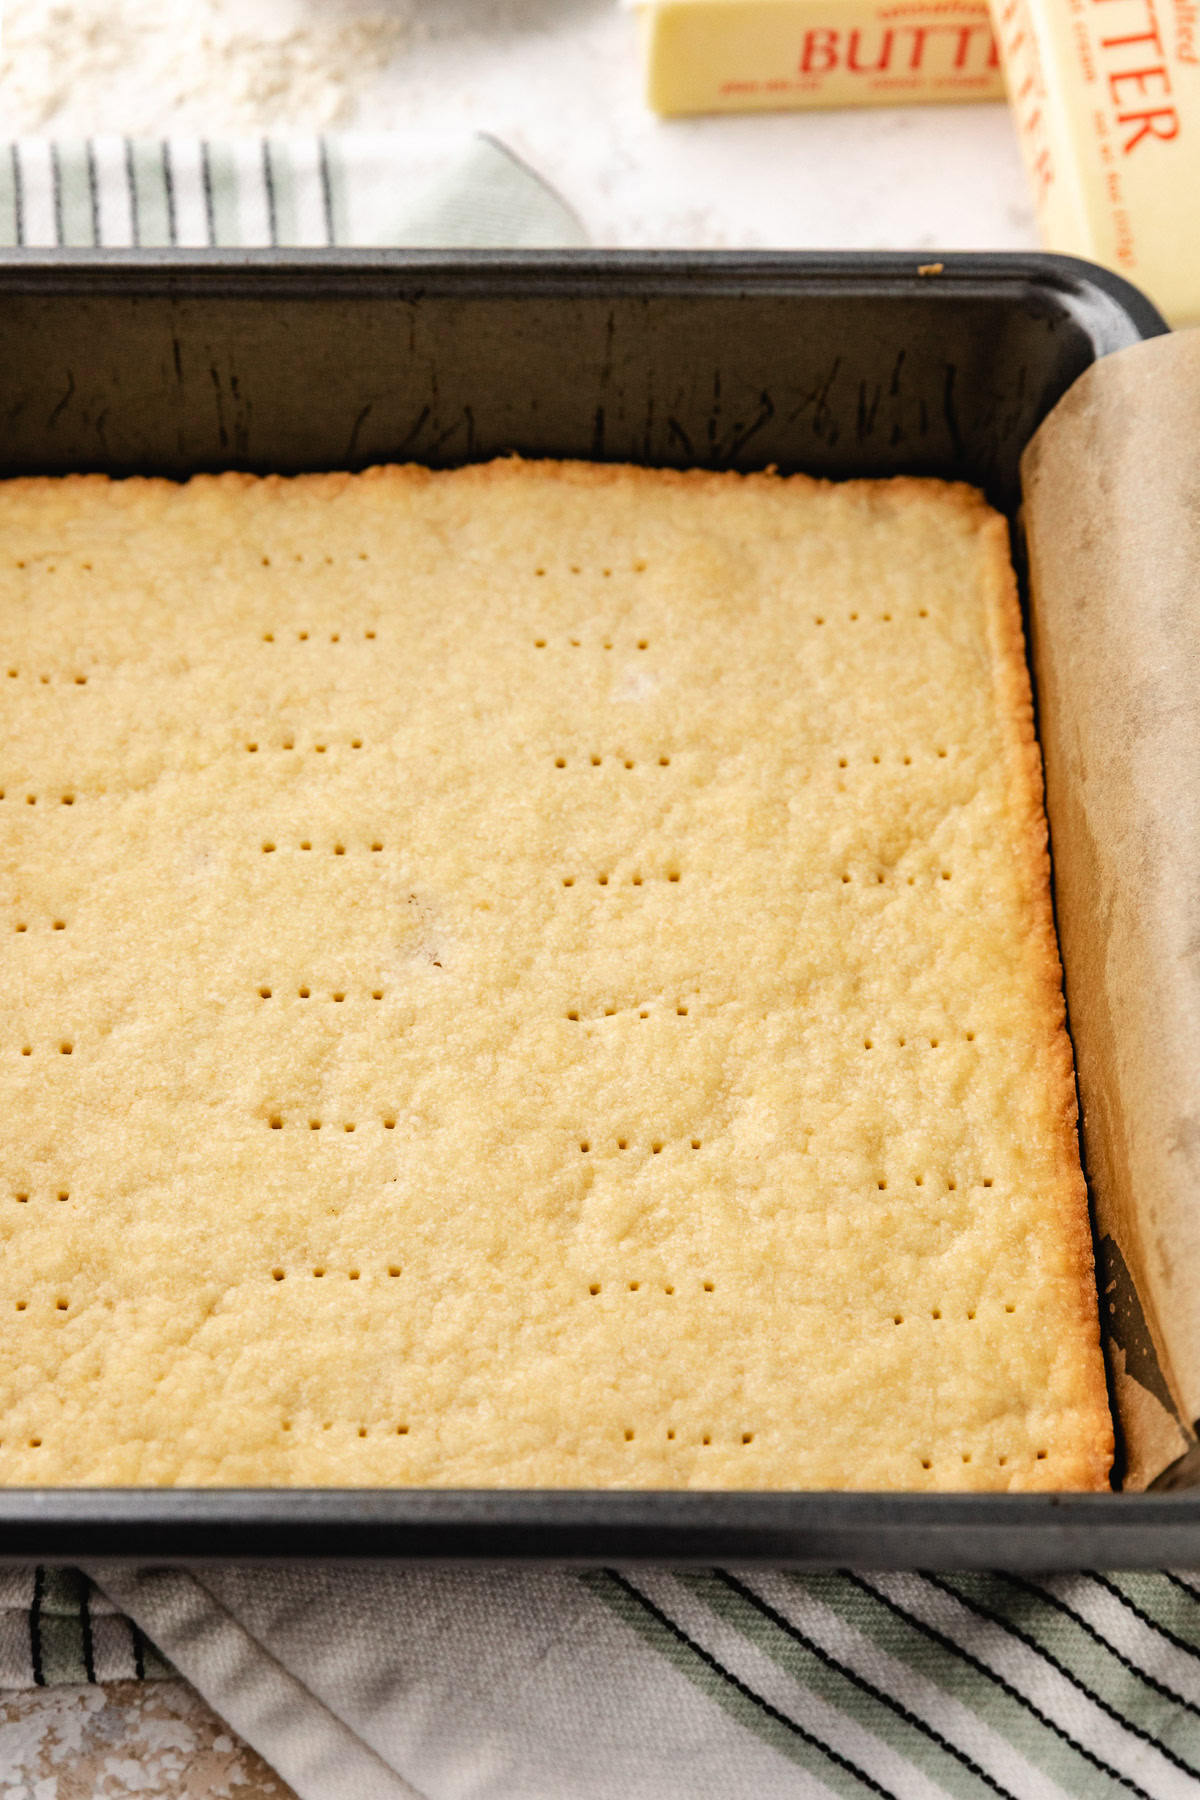
Why This Isn’t Just a Halved 9×13 Recipe
Since this recipe came from adjusting my larger 9×13-inch shortbread crust recipe, I think it’s worth talking about the difference.
The 9×9 version is not just half of the larger one, and it’s definitely not the full 9×13 amount pressed into a smaller pan.
Let’s be honest, that’s just not realistic if you want the same consistency of crust. The dough isn’t going to behave the same way when it’s forced into a smaller pan.
This version gives the crust a better thickness for smaller-batch desserts. It’s still substantial enough to support the filling, but it doesn’t turn into a heavy bottom layer that throws off the whole dessert.
Tips for a Buttery, Sturdy Shortbread Base
A few things I’d keep in mind:
- Press it firmly into the pan. If the dough is loosely packed, the crust can crumble more after baking.
- Keep the layer even. Thin spots can bake faster than the rest of the crust, especially around the edges.
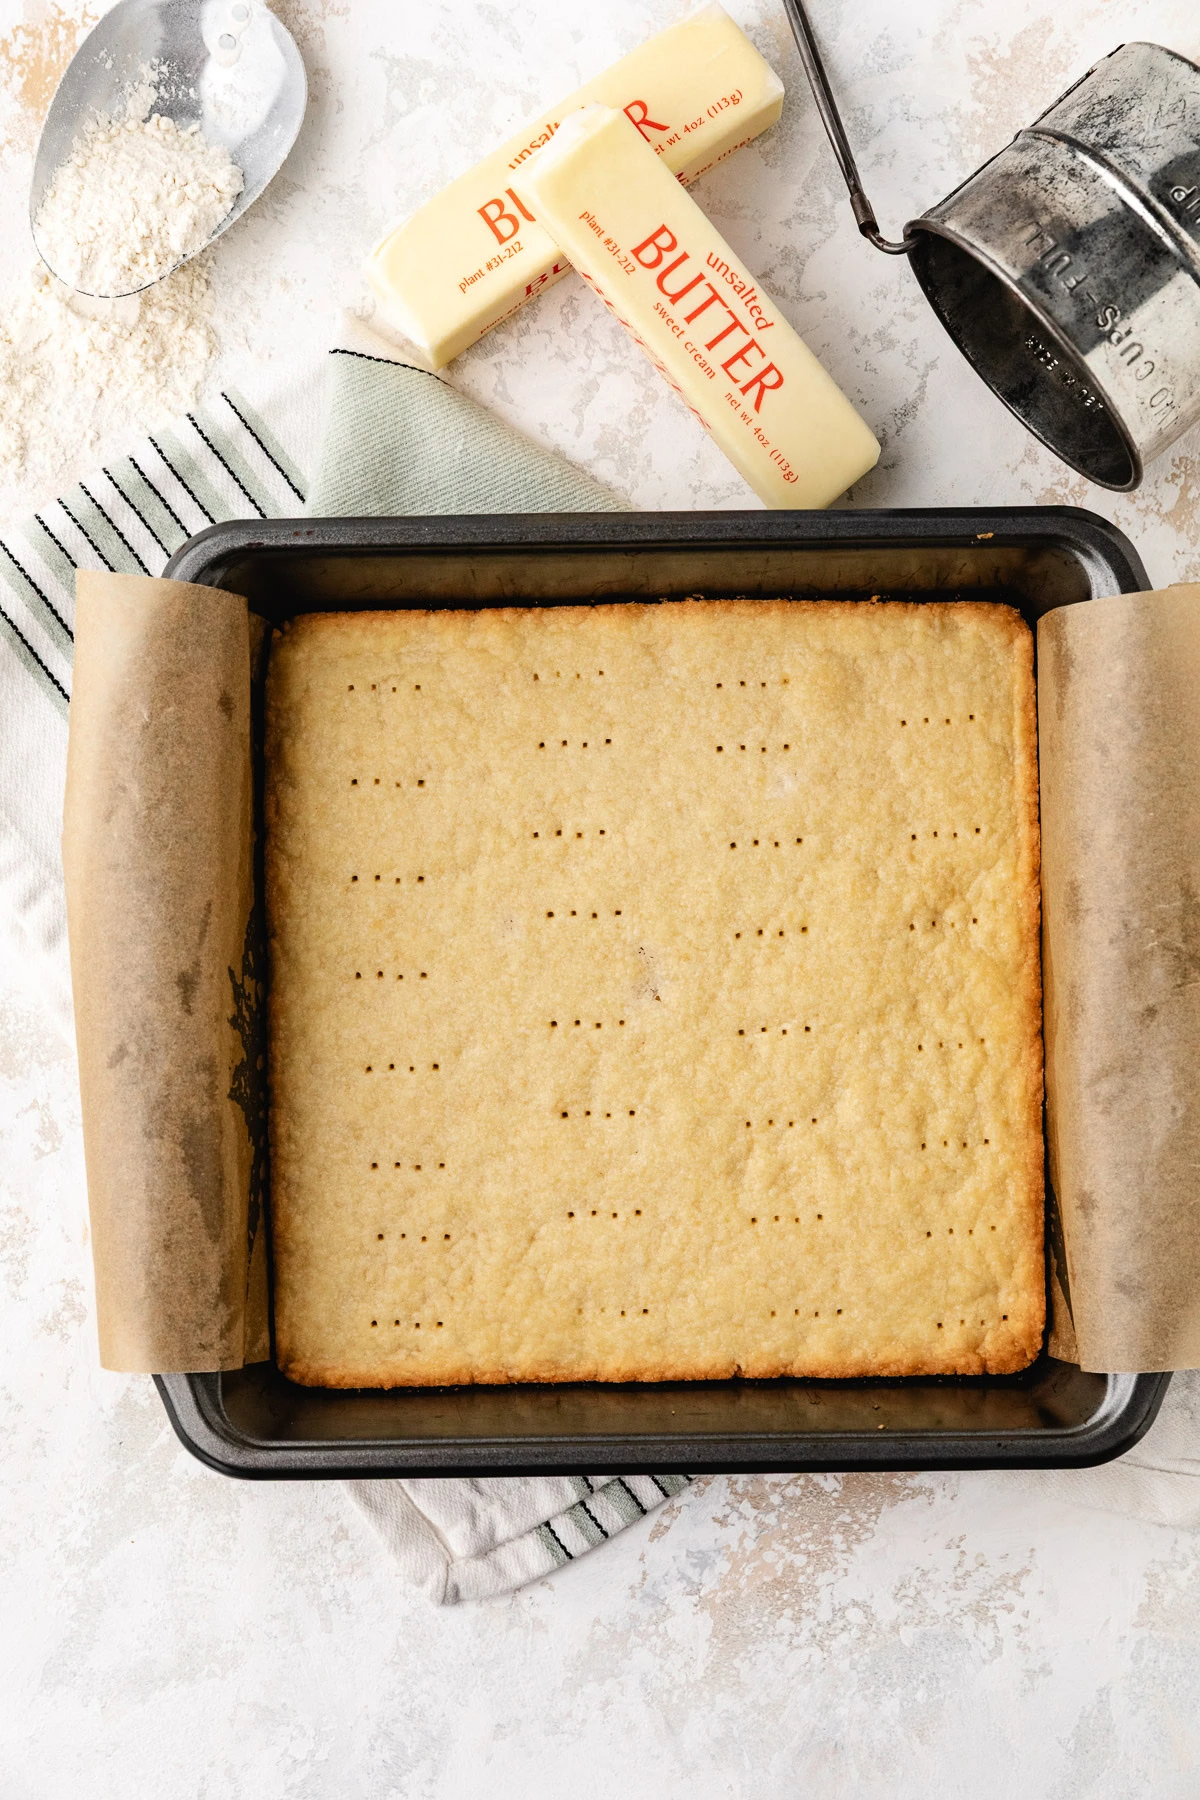
- Don’t skip the fork holes. That quick step helps prevent bubbling.
- Don’t overbake it. You want lightly golden, not deep brown.
- Let it cool before filling it. That gives the crust time to set and helps it hold the next layer better.
Ways To Lightly Flavor the Crust
Vanilla works well, and a little citrus zest can be nice depending on the dessert. You could also tweak the salt slightly if you want a more balanced sweet-salty base for something with chocolate or caramel.
I still like keeping this version pretty basic because it makes the crust more versatile. Once you have a good base recipe, it’s easier to decide later if the filling needs anything extra.
Why I keep this shortbread crust recipe handy
This is one of those small recipes that ended up being more useful than I expected. I made it because I needed a 9×9-inch shortbread crust that actually fit the pan the way I wanted. Now it’s the version I’d use anytime I need a smaller dessert base.
If you’ve ever tried making a 9×13 crust work in a 9×9 pan and ended up with something too thick or too thin, this version fixes that problem pretty nicely.
Make Ahead
You can make this crust a day ahead of time. Bake it as written and let it cool completely. Leave it in the pan, cover with plastic wrap or foil, and refrigerate overnight until ready to use.
This crust is one of my favorites! How are you going to use it? My Twix cheesecake bars are a neighborhood favorite that everyone loves. You can’t go wrong with a batch of ooey, gooey carmelitas on a buttery crust.
More Homemade Crust Recipes to Try
- Graham Cracker (9×13-inch pan)
- Vanilla Wafer (9×13-inch pan)
- Butter Pie Crust (9-inch round)
- Oreo Pie Crust (9-inch round)
Ingredients
- 10 tablespoons unsalted butter, softened
- ⅓ cup powdered sugar
- 1 ½ cups all-purpose flour
- Pinch of salt
- ¼ teaspoon vanilla extract
💌 Don't forget to save this recipe!
Instructions
- In a medium bowl, cream the butter and powdered sugar until smooth and well combined.10 tablespoons unsalted butter⅓ cup powdered sugar
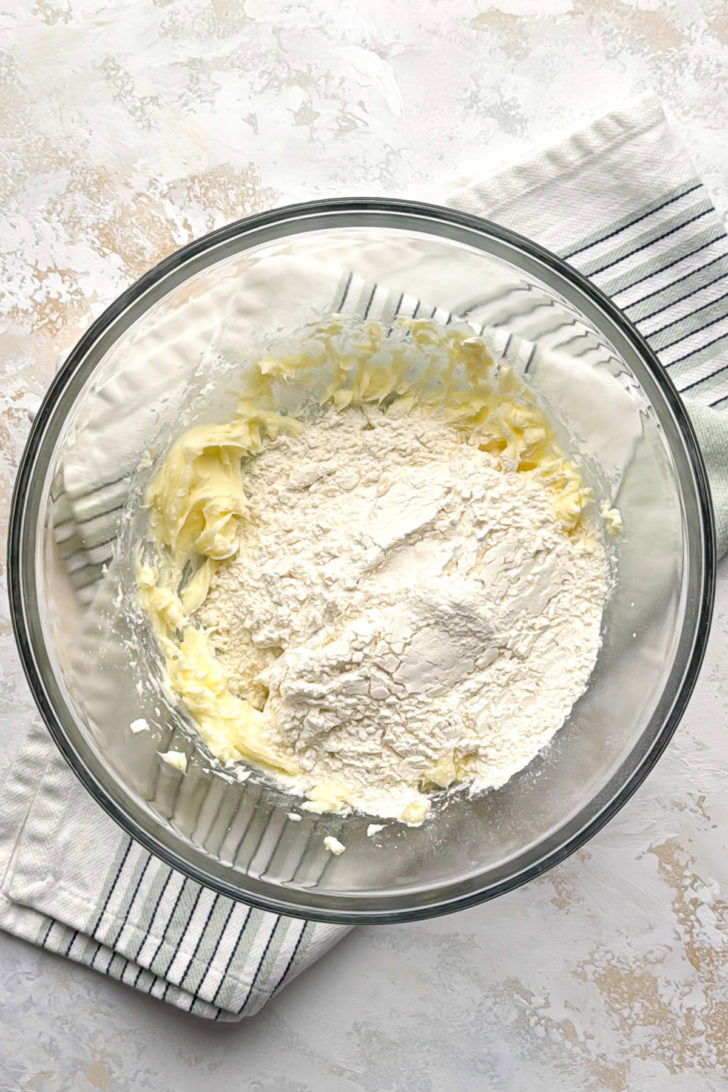
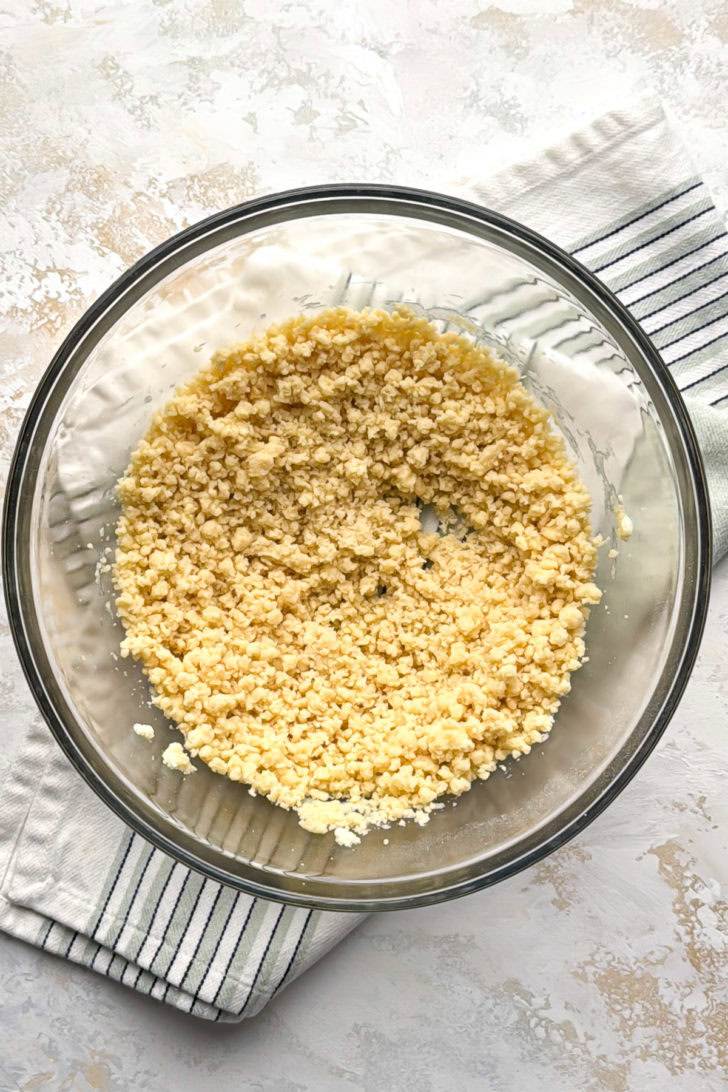
- Add the flour and salt, mixing until a soft dough forms. Stir in the vanilla last. The dough should hold together when pressed but not feel sticky.1 ½ cups all-purpose flourPinch of salt¼ teaspoon vanilla extract
- Press the dough evenly into the bottom of a 9×9-inch pan, keeping the crust fairly thin and compact.
- Refrigerate the crust for at least 30 minutes so the butter firms up.
- Use a fork to poke holes across the surface to prevent the crust from bubbling while baking.
- Bake at 350°F for 18–22 minutes, until lightly golden and set in the center.
- Allow the crust to cool completely before adding the filling.
Notes
- This recipe makes 1 (9×9-inch) crust. The calories listed are for the entire crust.
- Use parchment paper in the pan to make removing the crust easier.
- This crust can be made a day ahead of time and refrigerated until you’re ready to add the filling.