Maple Glazed Candied Walnuts
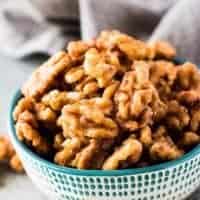
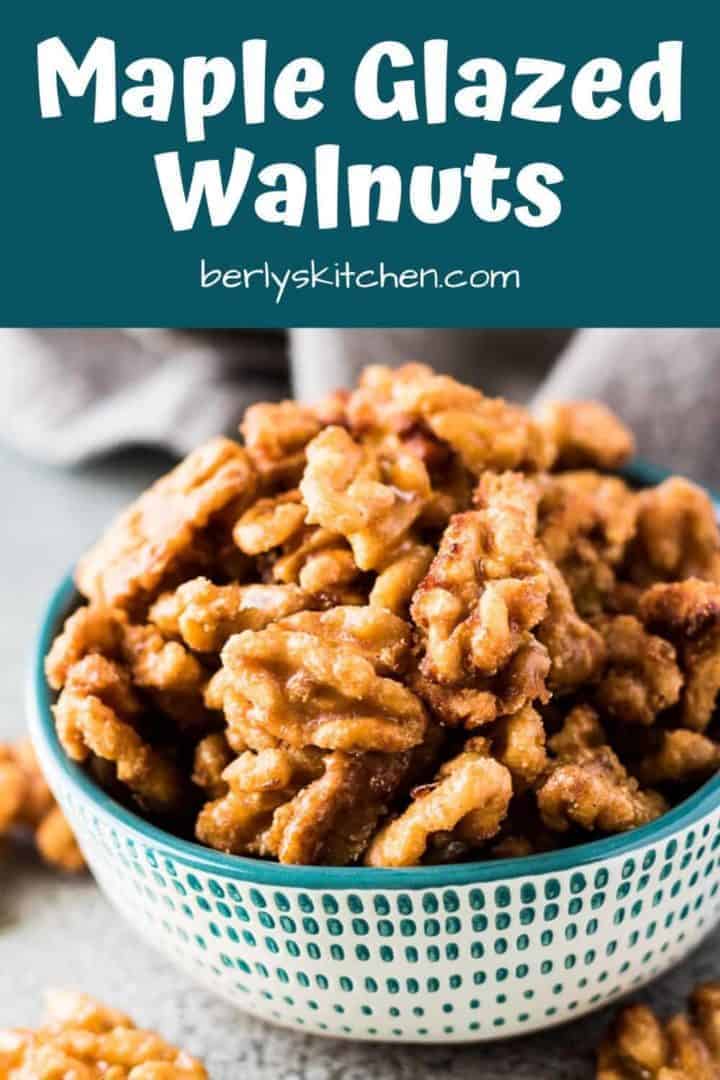
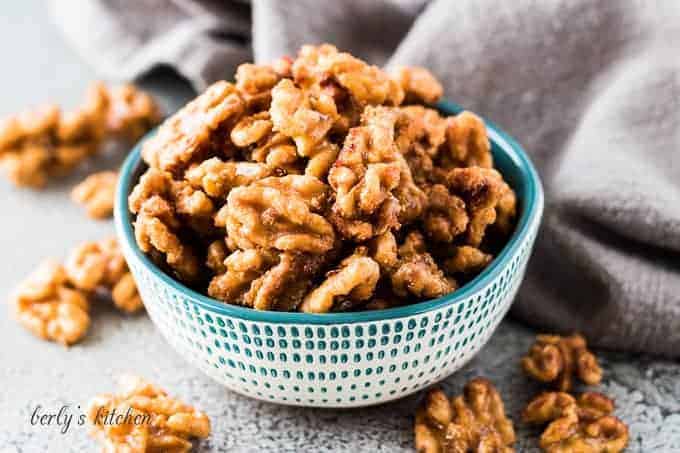
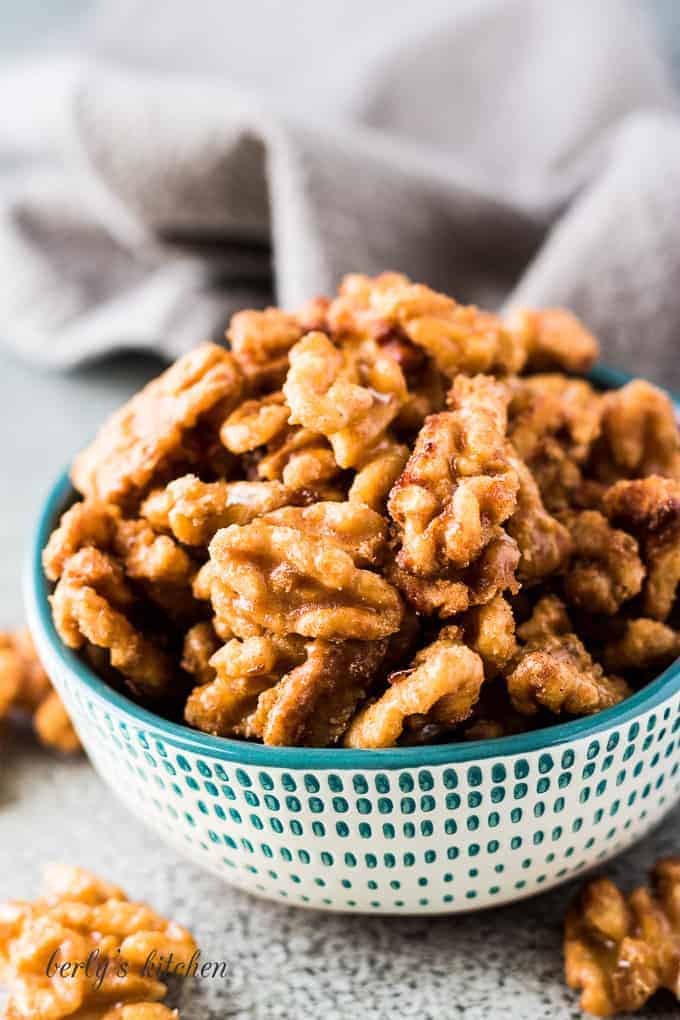
Maple glazed candied walnuts are sweet, crunchy and the perfect snack to satisfy your sweet tooth! All you need are 5 ingredients to create this tasty treat.
The other day Kim and I were craving a sweet snack but didn’t feel like driving to the store to pick something up.
After rummaging through the cabinets for a few minutes, Kim pulled out a couple of ingredients.
The result of her efforts are these maple glazed candied walnuts. Needless to say, we had to share them. So, let’s get started.
How to make candied walnuts?
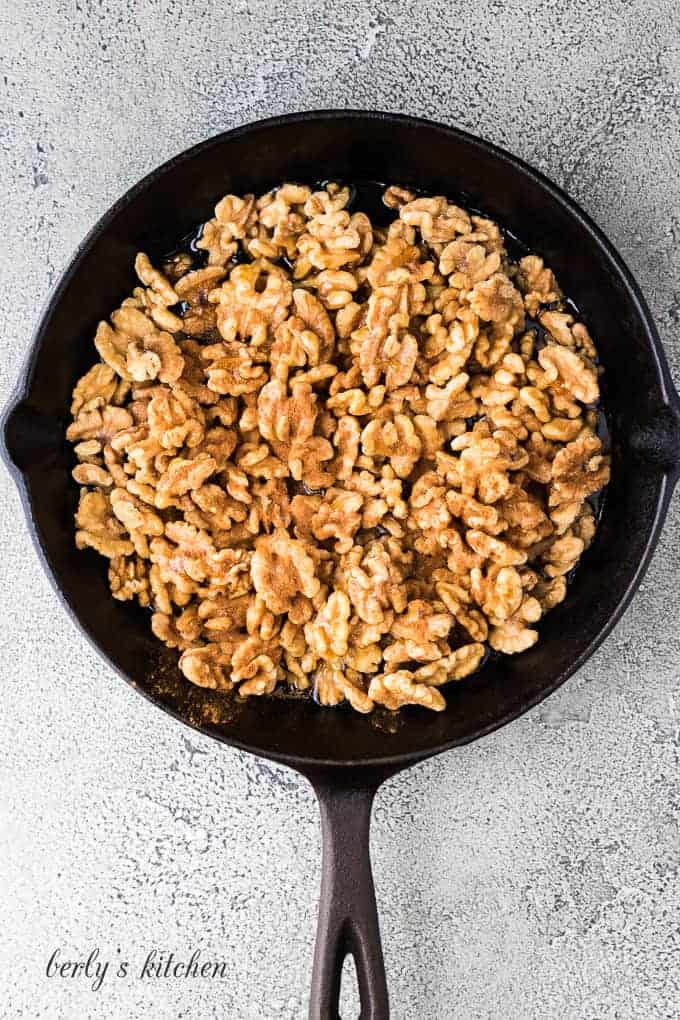
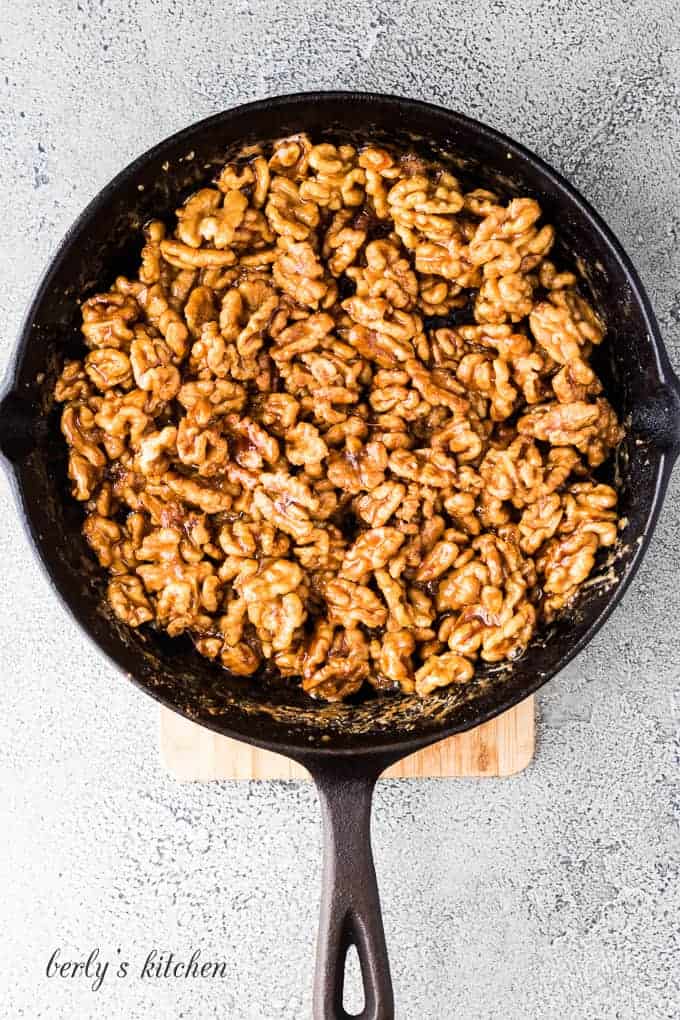
First, grab a large skillet and combine the walnut halves, maple syrup, vanilla extract, salt, and ground cinnamon.
Next, use your wooden spoon to mix everything. Make sure to evenly coat all the walnuts.
Then, place the pan over medium heat and let the candied walnuts cook for about 9 minutes. Stir the mixture as it cooks to keep the sugar from burning.
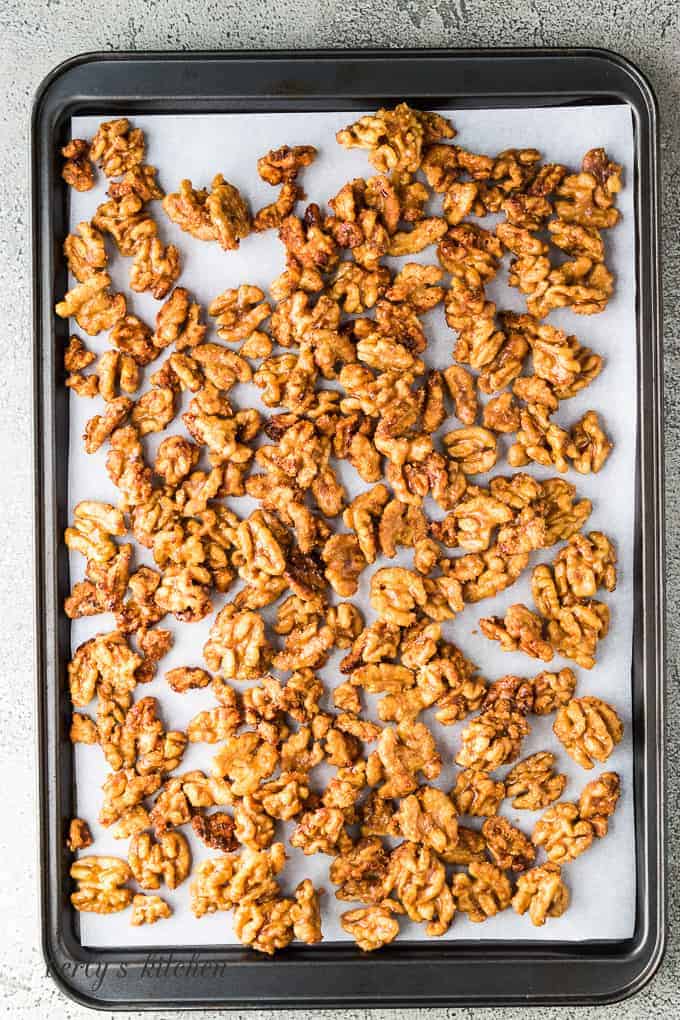
Last, spread the cooked walnuts out onto a baking sheet and let them cool for at least 10 minutes before serving.
That’s it, your maple glazed candied walnuts are done! Kim and I hope you enjoy the treat and wish you all the best 🙂
Recipe Tips:
- If the maple syrup starts to burn, remove the pan from the heat immediately and keep stirring the mixture. Once it starts to cool, place it back on the stove, but reduce the heat to low.
- You could try using salted walnuts for a salty, sweet flavor. However, we’ve never tried that before, we’ve only used unsalted.
- The candied walnuts can be stored in a sealed container on your counter-top for up to 5 days. They should also be freezer safe for up to a month when properly stored.
If you like our maple glazed candied walnuts recipe, please leave us a comment and rate the recipe card. You can also find us on Facebook, Pinterest, Twitter and Instagram searching for Berly’s Kitchen!
Ingredients
- 4 cups walnuts, halved
- 3/4 cup pure maple syrup
- 1/2 teaspoon pure vanilla extract, or to taste
- 1/4 teaspoon salt, or to taste
- 1/4 teaspoon ground cinnamon, or to taste
Instructions
- In a large skillet or pan, combine the walnuts, syrup, vanilla, salt, and cinnamon. Cook over medium heat for 8 to 10 minutes, stirring continuously, until the maple syrup begins to caramelize and the walnuts are toasted.4 cups walnuts3/4 cup pure maple syrup1/2 teaspoon pure vanilla extract1/4 teaspoon salt1/4 teaspoon ground cinnamon
- Transfer the hot walnuts to the prepared baking sheet and arrange in an even layer. Allow them to cool completely before serving.

I made these a year ago and will be making them again for the holidays. So easy, yet impressive. Looking forward to adding them to my charcuterie boards this year.
Thank you Lisa! Kim and I are glad you enjoy the walnuts.
My walnuts seem too sticky. I did heat 8-10 min in a nonstick pan, but when I saw them starting to stick on the bottom of the pan, I figured they were done and removed. Should I have lowered the medium heat and continued to heat them or should I have used only a cast iron pan?
I have them on the counter overnight now to see if they firm up to break apart and put in jars.
I was also surprised to think they would keep only a week. I’ll be putting a moisture removing packet in the jar.
Had wanted to give for gifts, but too sticky. I will try a recipe that calls for oven baking.
Hi!
Sounds like they needed to cook a bit longer. Turning down the heat a touch would be what I would suggest. In regards to using cast iron, that’s my personal preference. I tend to use it for a lot of recipes. Although, I don’t think it’s 100% necessary for this recipe. Have a wonderful evening! 🙂
These are awesome ! Everyone love’s them ! So easy to make ! Thanks 👍😊
Thanks, Penny, we’re glad everyone liked the walnuts!