Cinnamon Rolls
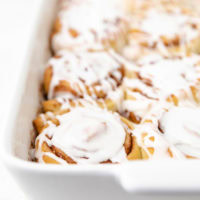
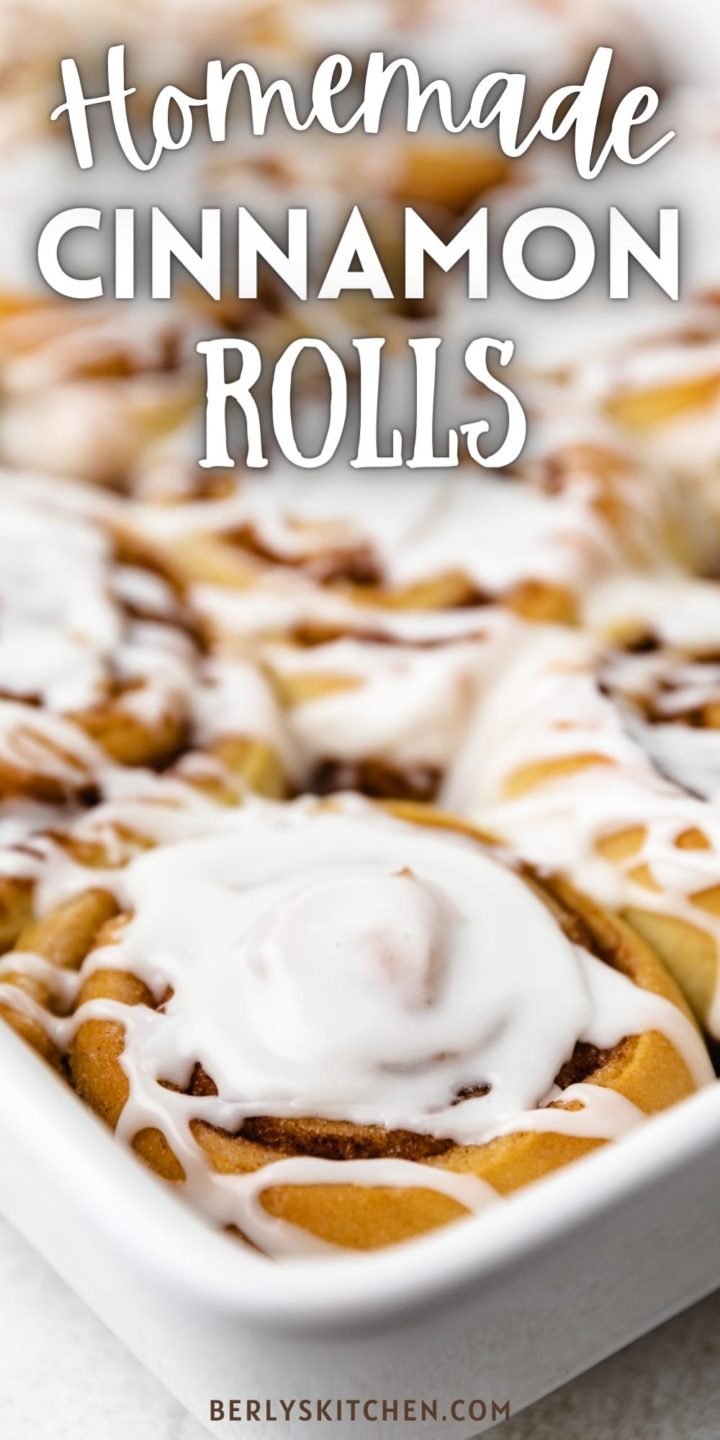
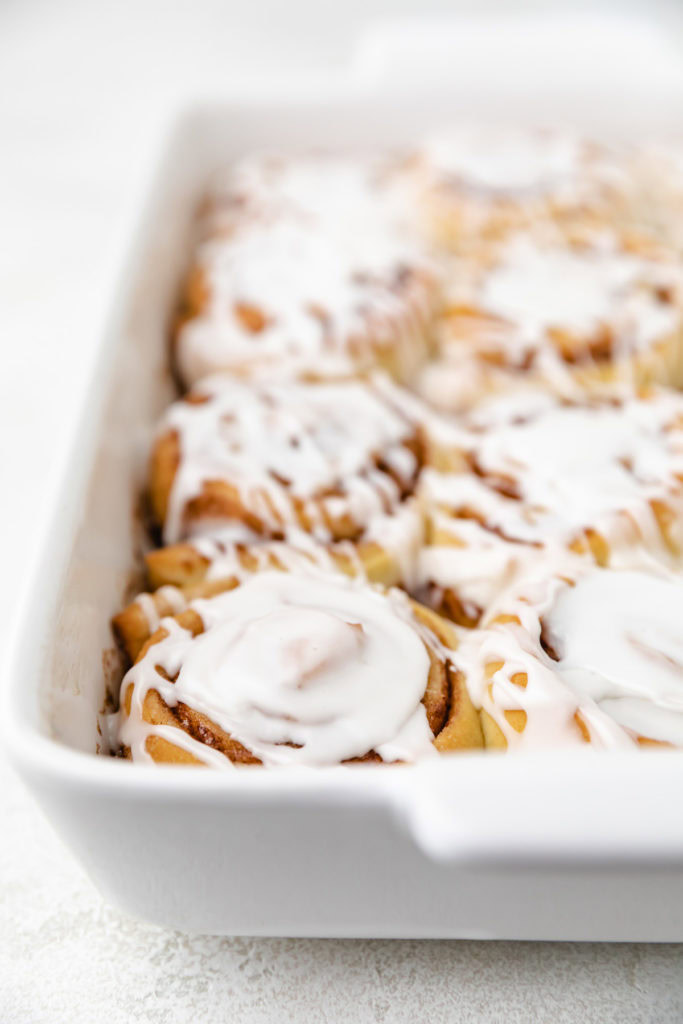
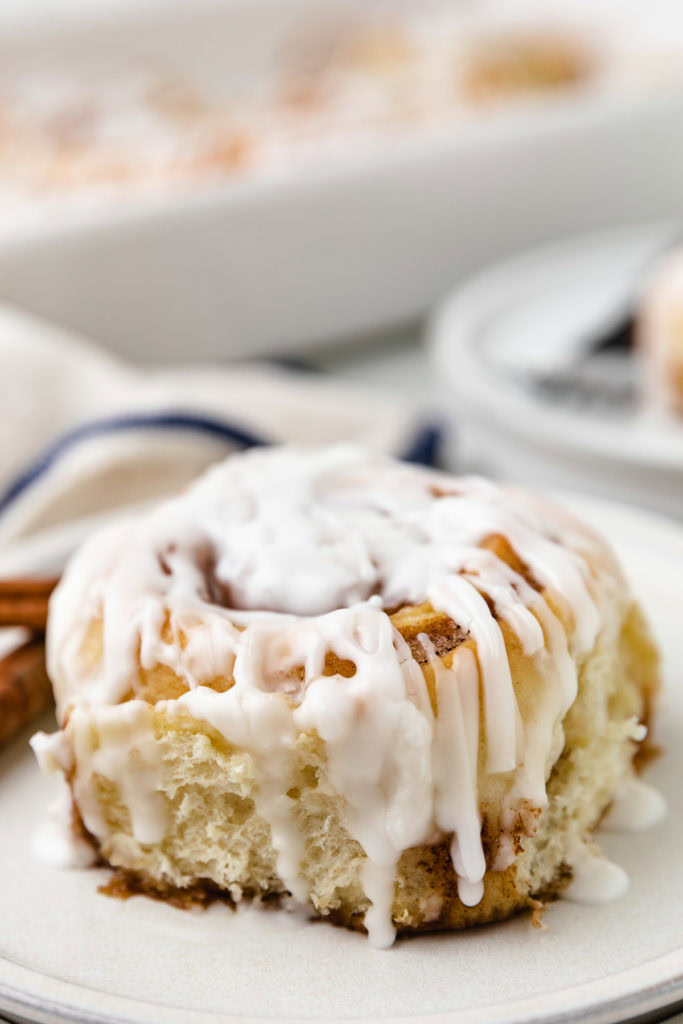
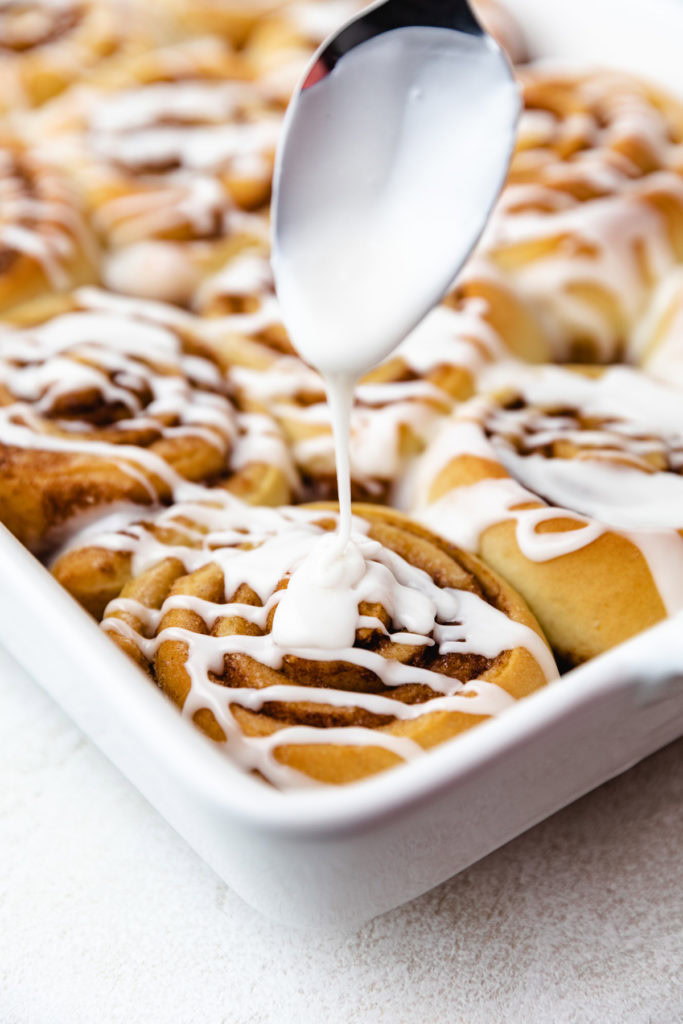
These Homemade Cinnamon Rolls are the best sweet treat. They’re baked to soft, fluffy, golden-brown perfection, layered with brown sugar and cinnamon, then drizzled with a sweet vanilla glaze.
Serve these rolls for breakfast, with a steaming hot bowl of your favorite chili, or as dessert!
Easy Cinnamon Roll Recipe
Who doesn’t love biting into a soft, warm, gooey, sweet, pillowy cinnamon roll? I know I do. And these easy homemade cinnamon rolls are probably my favorite recipe.
These easy cinnamon rolls are simple to prep and come out perfectly every time. They’re soft and pillowy with the best golden-brown finish, layered with the perfect amount of cinnamon and brown sugar, and topped with a simple and sweet icing.
Tips and Notes
Here are a few of my best tips for making these easy cinnamon rolls even easier:
- Use room temperature ingredients. Bringing both the butter and eggs to room temperature first helps them incorporate more easily into the dough.
- Check your yeast. Make sure the yeast you use isn’t expired. Don’t grab the yeast you’ve had in the back of your pantry for years. If it’s expired, the dough won’t rise!
- Check the temp of the liquids. A thermometer is necessary. The liquid mixture needs to be between 110ºF and 115ºF. If it’s too cool, the yeast won’t activate. If it’s too hot, it will kill the yeast. For more details, check out this post on how to activate yeast.
- Add flour as needed. If the dough is too wet and sticky, add ¼ cup flour at a time until you get a smooth, soft, elastic texture.
- Roll the dough to ¼ inch to ½ inch thickness. Thinner dough will result in more rolls, but less “bread-y” rolls. Thicker dough will give you fewer rolls, but they will have a fluffier texture.
- Roll tightly…but not too tight. We want the dough to be rolled up tightly enough that it holds together, but not so tight that there’s no space for the rolls to expand.
- Cut into even slices. Whatever the thickness of your dough, make sure you slice it into even pieces so they all bake at the same rate.
- To let the dough rise, we like to preheat the oven first, then set the baking dish on top of the stove. It typically takes somewhere between 30 minutes and 1 hour depending on the temperature of the kitchen.
- If you like a lot of icing, double the batch!
Storage and Reheating
Storage: Finished cinnamon rolls will last in an airtight container in the fridge for 3-4 days. You can also leave them unfrosted and store them at room temperature for 2-3 days.
Freezing: Cinnamon rolls can be frozen, but I recommend doing so without the icing. To freeze the rolls, let them cool completely, wrap them tightly in a couple layers of plastic wrap followed by a layer of aluminum foil, then store them for up to 1 month.
Reheating: To warm your cinnamon rolls, let them thaw fully in the fridge if frozen, then warm either in the microwave or oven and add the icing if needed!
Frequently Asked Questions
How Do I Adjust Baking for High Altitude?
These cinnamon rolls are simple, but cinnamon rolls in general can be a little bit finicky. So, if you live at a different altitude, in a different climate, or you’re even experiencing different weather, the recipe can change slightly.
Here are a few potential adjustments you may need to make:
- Flour: I’ve used anywhere from 2½ cups of flour to over 4½ in different places. My best tip is to start with less, then add more as needed. You can always add more, but you can’t take any out!
- Bake time and temp: If you live in the mountains, you will likely need to adjust both the oven temperature and the baking time. Check out this article on high altitude baking for more tips.
Can You Make Cinnamon Rolls Ahead of Time?
Totally! This cinnamon roll recipe makes an excellent make-ahead breakfast option.
To prep them ahead of time, assemble as directed, then bake at 325ºF for just 15 minutes. Cool the rolls completely, then place the whole pan into a freezer-safe bag and store in the freezer for up to 2 months.
When you’re ready to serve, thaw the rolls completely, then bake until golden-brown.
For more detailed instructions on par-baking and freezing, check out this post on how to freeze cinnamon buns.
How Do You Keep Homemade Cinnamon Rolls Soft?
Cinnamon rolls should always be soft and fluffy. Never tough and chewy! Here are a few tips to keep the rolls nice and soft…even the leftovers!
- Activate the yeast properly. I’ve already mentioned this, but it really is so important. Make sure you use fresh yeast, then make sure your liquids are between 110ºF and 115ºF in order to activate it. The yeast is what makes the dough rise.
- Don’t over-measure your flour. Start with less, then add more only as you need. Too much flour will dry out the dough.
- Don’t over-mix the dough. Once the dough is the right texture, leave it alone. The more you mix, the tougher it will get.
- Watch the bake time. Baking time can vary, so take my 25 minutes as an estimate. Make sure you keep an eye on the rolls so as not to over-bake them. As soon as they are that perfect golden-brown color, remove them from the oven.
- Store in an airtight container. The more air can reach the rolls, the more quickly they’ll dry out.
Ingredients
For the Cinnamon Roll Dough:
- 2 ½ to 3 ½ cups all-purpose flour
- 3 tablespoons granulated sugar
- 2 ¼ teaspoons instant yeast, 1 standard packet
- 1 teaspoon kosher salt
- ½ cup water
- ¼ cup whole milk
- 3 tablespoons unsalted butter, softened
- 1 large egg, lightly beaten (at room temperature)
For the Filling:
- ½ cup unsalted butter, softened
- ½ cup light brown sugar, packed (or more to taste)
- 1 tablespoon ground cinnamon, or more to taste
For the Glaze:
- 1 cup powdered sugar
- 2 to 3 tablespoons whole milk, adjusted to desired consistency
- 1 teaspoon pure vanilla extract
Instructions
To Make the Dough:
- Lightly grease a 9×13-inch baking dish and set aside.
- To the bowl of a stand mixer, add 2 ½ cups of the flour, sugar, yeast, and salt. Whisk to combine.3 tablespoons granulated sugar1 teaspoon kosher salt2 ¼ teaspoons instant yeast
- In a microwave safe bowl or over the stovetop, heat the water, milk, and butter to about 110°F to 115°F. Pour the mixture into the bowl of the stand mixer along with the dry ingredients along with the softened butter and egg.½ cup water¼ cup whole milk3 tablespoons unsalted butter1 large egg
- Using a dough hook, mix on a low setting until the dough comes together. If the dough is too wet, add remaining flour ¼ cup at a time to form a soft, smooth, elastic dough. Then continue to mix at low-medium speed for an additional 5 to 6 minutes. Next, allow the dough to rest in the bowl for 3 to 5 minutes.
- After the dough rests, turn it out onto a lightly floured surface. Use a rolling pin to roll into a rectangular shape about ¼-inch to ½-inch thick.
To Make the Filling:
- Use a spatula to spread the softened butter on the rectangle of dough. Sprinkle the brown sugar and cinnamon evenly over the softened butter.½ cup unsalted butter½ cup light brown sugar1 tablespoon ground cinnamon
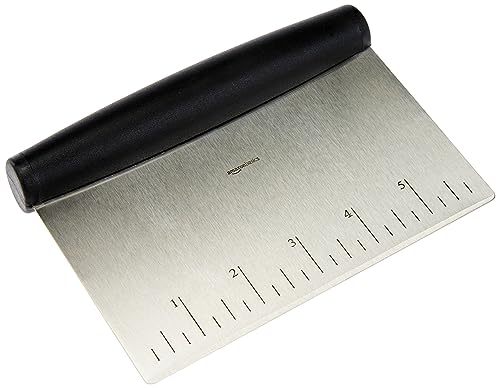
- Beginning with the short side of the rectangle, tightly roll the dough so the cinnamon and sugar are on the inside. Use a sharp knife, dough scraper, or dental floss to cut the rolled dough into 12 even pieces.
- Place the cut dough into the prepared baking dish and cover with a clean towel. Transfer the dough to a warm, draft-free place and allow it to rise until doubled in size. Meanwhile, preheat the oven to 350°F.
- Once the cinnamon rolls have doubled in size, bake for 20 to 30 minutes or until golden brown.
- Remove from the oven and allow the rolls to cool until just slightly warm before adding the icing.
For the Icing:
- In a small bowl, whisk together powdered sugar, 1 to 2 tablespoons of milk, and vanilla. Add more milk until the desired consistency is reached.1 cup powdered sugar2 to 3 tablespoons whole milk1 teaspoon pure vanilla extract
- Use a spatula to smooth over slightly warm cinnamon rolls. Enjoy!
- See post for tips, FAQs, and storage options.



HI there – Can I let the cinnamon roles sit for awhile before they bake? Am planning on making these before going over to a friend’s house to bake, but don’t want them to over-proof and mess them up!
Hi Terri!
That’s a great question! I wouldn’t leave them too long; otherwise, you do run the risk of them overproofing. An extra 20-30 minutes probably wouldn’t hurt, but I wouldn’t leave them much longer. 🙂
Hi can you tell me how to replace active or dry yeast with a starter? I have a sour dough starter I’d like to use when baking these cinnamon rolls.
Good Morning Sandy, that’s a great question. Kim and I chatted and we both came to the same conclusion. Unfortunately, we’re not sure if that’s possible with our recipe. So, I have provided 2 links to 2 different sites with sourdough cinnamon roll recipes. I hope this information helps and we wish you a lovely day 🙂
https://www.theclevercarrot.com/2017/12/how-to-make-sourdough-cinnamon-rolls-step-by-step-guide/
https://www.kingarthurflour.com/recipes/sourdough-cinnamon-buns-recipe
Very good and easy recipe. I have been wanting to try a cinnamon roll recipe and picked this one. The directions are easy to follow and they make a delicious roll. I love a lot of cinnamon so I used Saigon cinnamon 4 1/2 Tablespoons in mine.
Very good and easy recipe. I have been wanting to try a cinnamon roll recipe and picked this one. The directions are easy to follow and they make a delicious roll. I love a lot of cinnamon so I used Saigon cinnamon 4 1/2 Tablespoons in mine.
Thank you for sharing this recipe. My family has been extremely pleased with the results every time, and wait the next batch on edge! I have been happy to serve them this greatness thanks to this post! Great recipe, and I will look into your others. Keeping sweet hunters happy!
Hello, I am wondering if there’s a way to make these using a hand mixer. I don’t have a stand mixer and I know they are expensive… what did they do in the days before stand mixers? Lol!
Good question, Joanna! I asked Kim and she said you can use a hand mixer. With that being said, you will still need to use a dough hook and a good motor (on your hand mixer) for the kneading part. If you’re concerned about burning out your mixer on the kneading step, just use your hands to knead the dough. I hope this information helps and we wish you a lovely day 🙂
Hi!!!!
The best recipe that I’ve tried! Fluffy, thick and sooo delicious! Thank you for the recipe.
Lory
Hi!!!!
The best recipe that I’ve tried! Fluffy, thick and sooo delicious! Thank you for the recipe.
Lory
Hi!!!!
The best recipe that I’ve tried! Fluffy, thick and sooo delicious! Thank you for the recipe.
Lory
Got a new stand mixer this weekend. Never made cinnamon rolls before, so this was my first try. These came out wonderful. Thank you for making my first experience a wonderful one.
Got a new stand mixer this weekend. Never made cinnamon rolls before, so this was my first try. These came out wonderful. Thank you for making my first experience a wonderful one.
First time making cinnamon rolls and this easy recipe did not disappoint. Thanks for sharing
First time making cinnamon rolls and this easy recipe did not disappoint. Thanks for sharing
First time making cinnamon rolls and this easy recipe did not disappoint. Thanks for sharing
Are these really supposed to have that much cinnamon in them? I ended up using about 2.5 tablespoons because I ran out and I’m happy I didn’t do the full 4-5 because my kids were complaining that the rolls burn their tongues. I liked them, but they were definitely VERY cinnamon-y. And I did do the full 1/2 cup brown sugar, so it probably would have been even more overwhelming with only 1/4 cup.
Hi Claire! Yes, these cinnamon rolls are supposed to have a lot of cinnamon. Our family likes a lot of cinnamon flavor and less of a bready dessert. Please use the amount of seasonings (cinnamon, sugar, etc.) in the recipe as a guideline, but adjust as needed. Some people prefer differing amounts of flavors, so definitely make it with your family in mind. 🙂
Thank you so much! These were really delicious even with a lot of cinnamon (I’ll try less next time though). So delicious I made a second batch with strawberry jam in them the same night. Thanks for sharing!
Hi, thought I would share my make the night before steps with everyone who likes sleeping in in the mornings as I do.
Placing my rolls in a greased glass baking dish/pan I then cover with lint free dish towel, set on upper rack in my oven and then place a large pan of very hot tap water in the bottom of my oven and shut the door. In 20 to 30 minutes my rolls have risen more than twice their sizes (which is ok cause they shrink a bit in the fridge over night) I wrap my rolls in the pan tightly with plastic wrap forcing any and all air pockets out, working in sections from one end to the other till fully sealed. I place in fridge till morning when I then take them out and do the oven, pan of hot water trick to get them room temp and let them rise back up. I then bake as directed adding 3 to 5 minutes more since the centers are cooler when starting.
I usually can have the rolls done within an hour from the moment my kids force me out my bed.
Hope this helps other non-morning people out their.