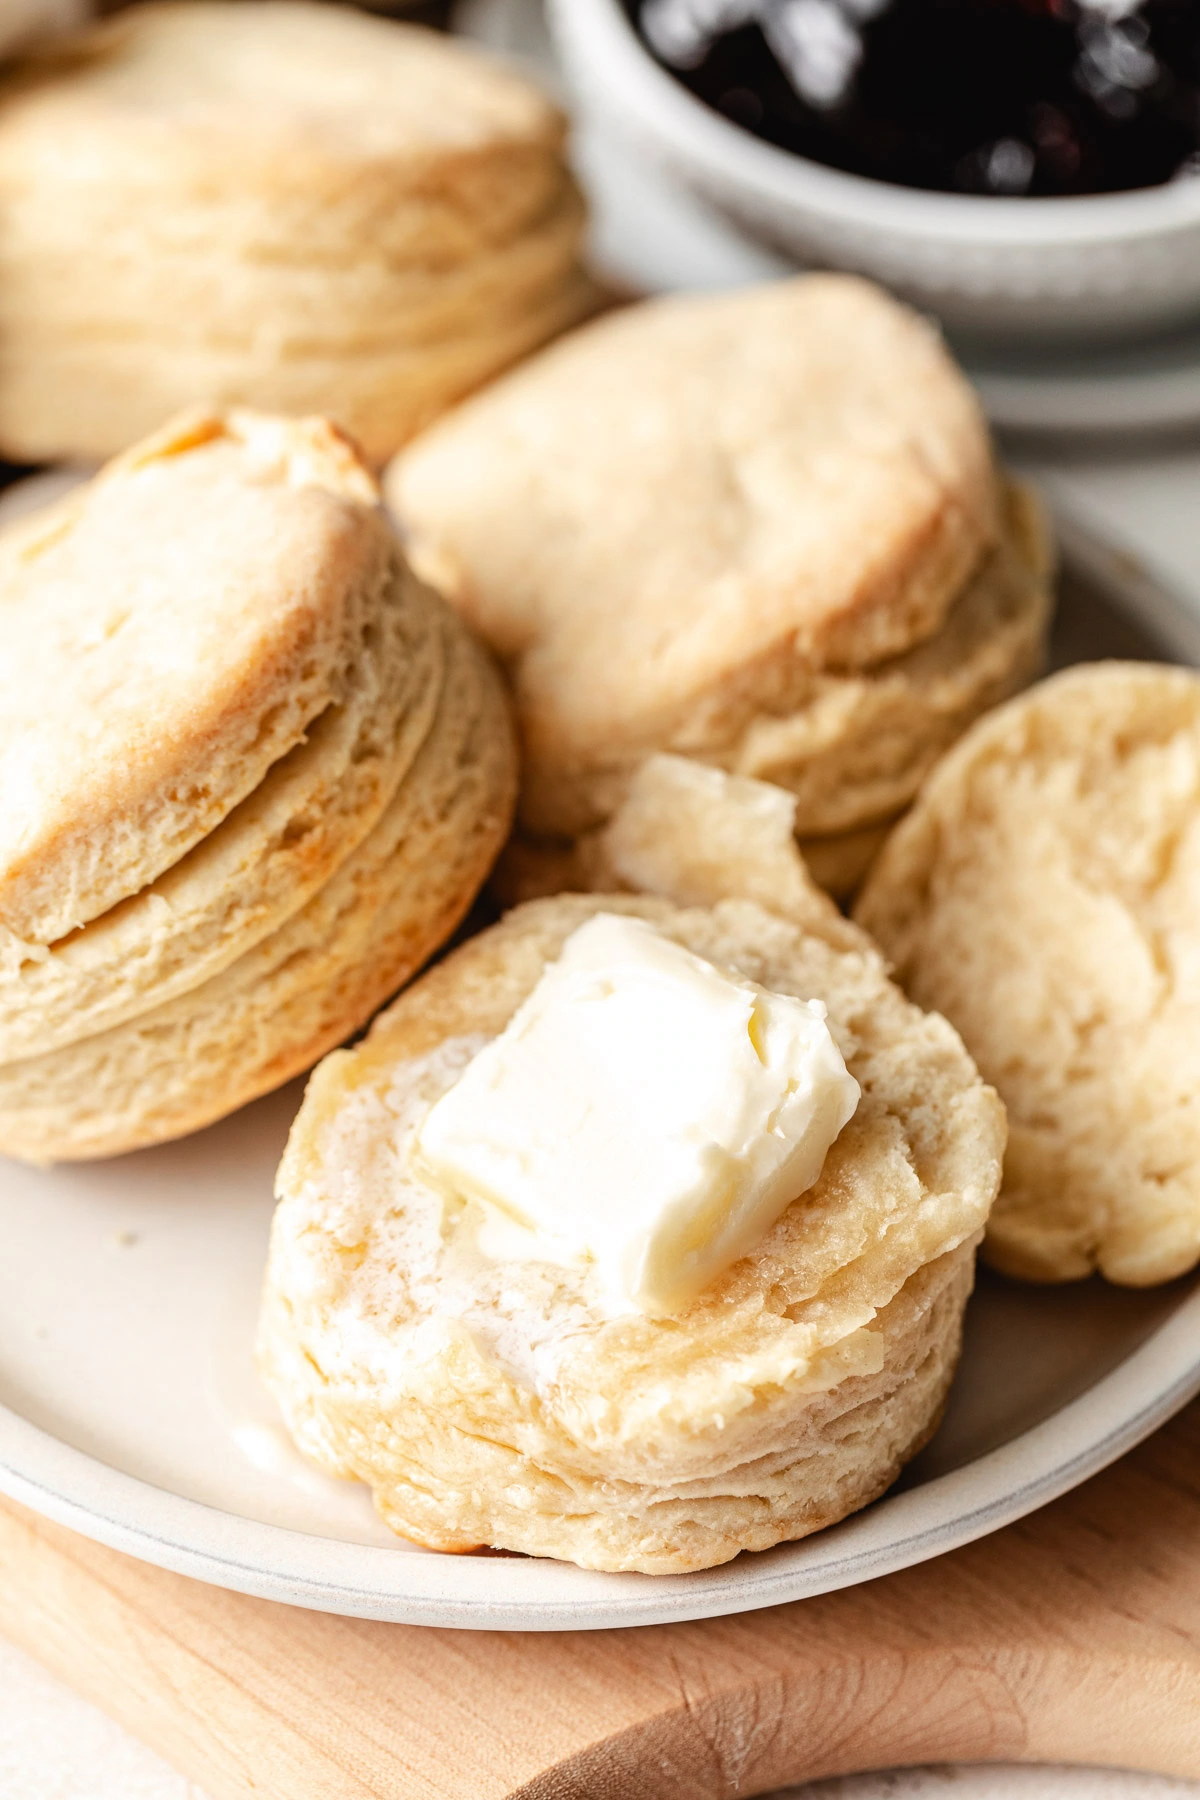
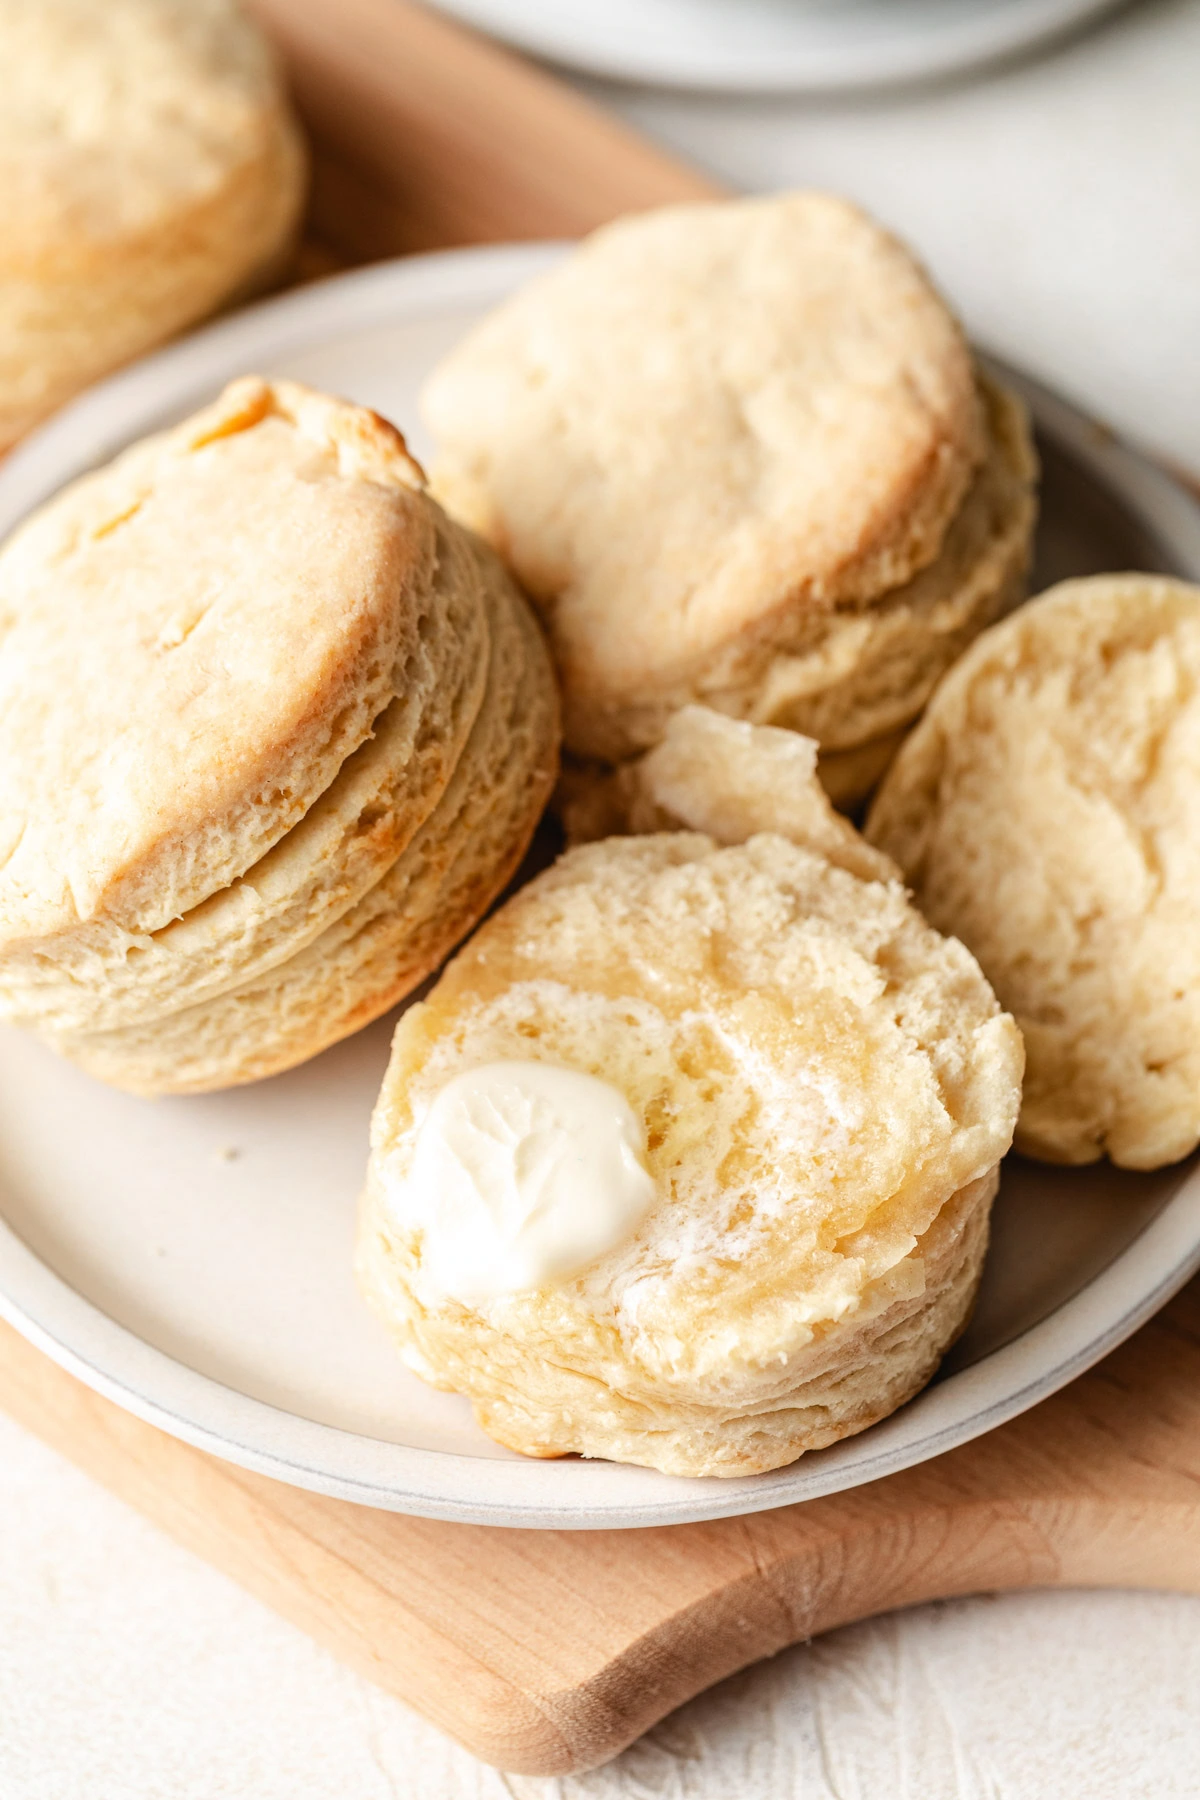
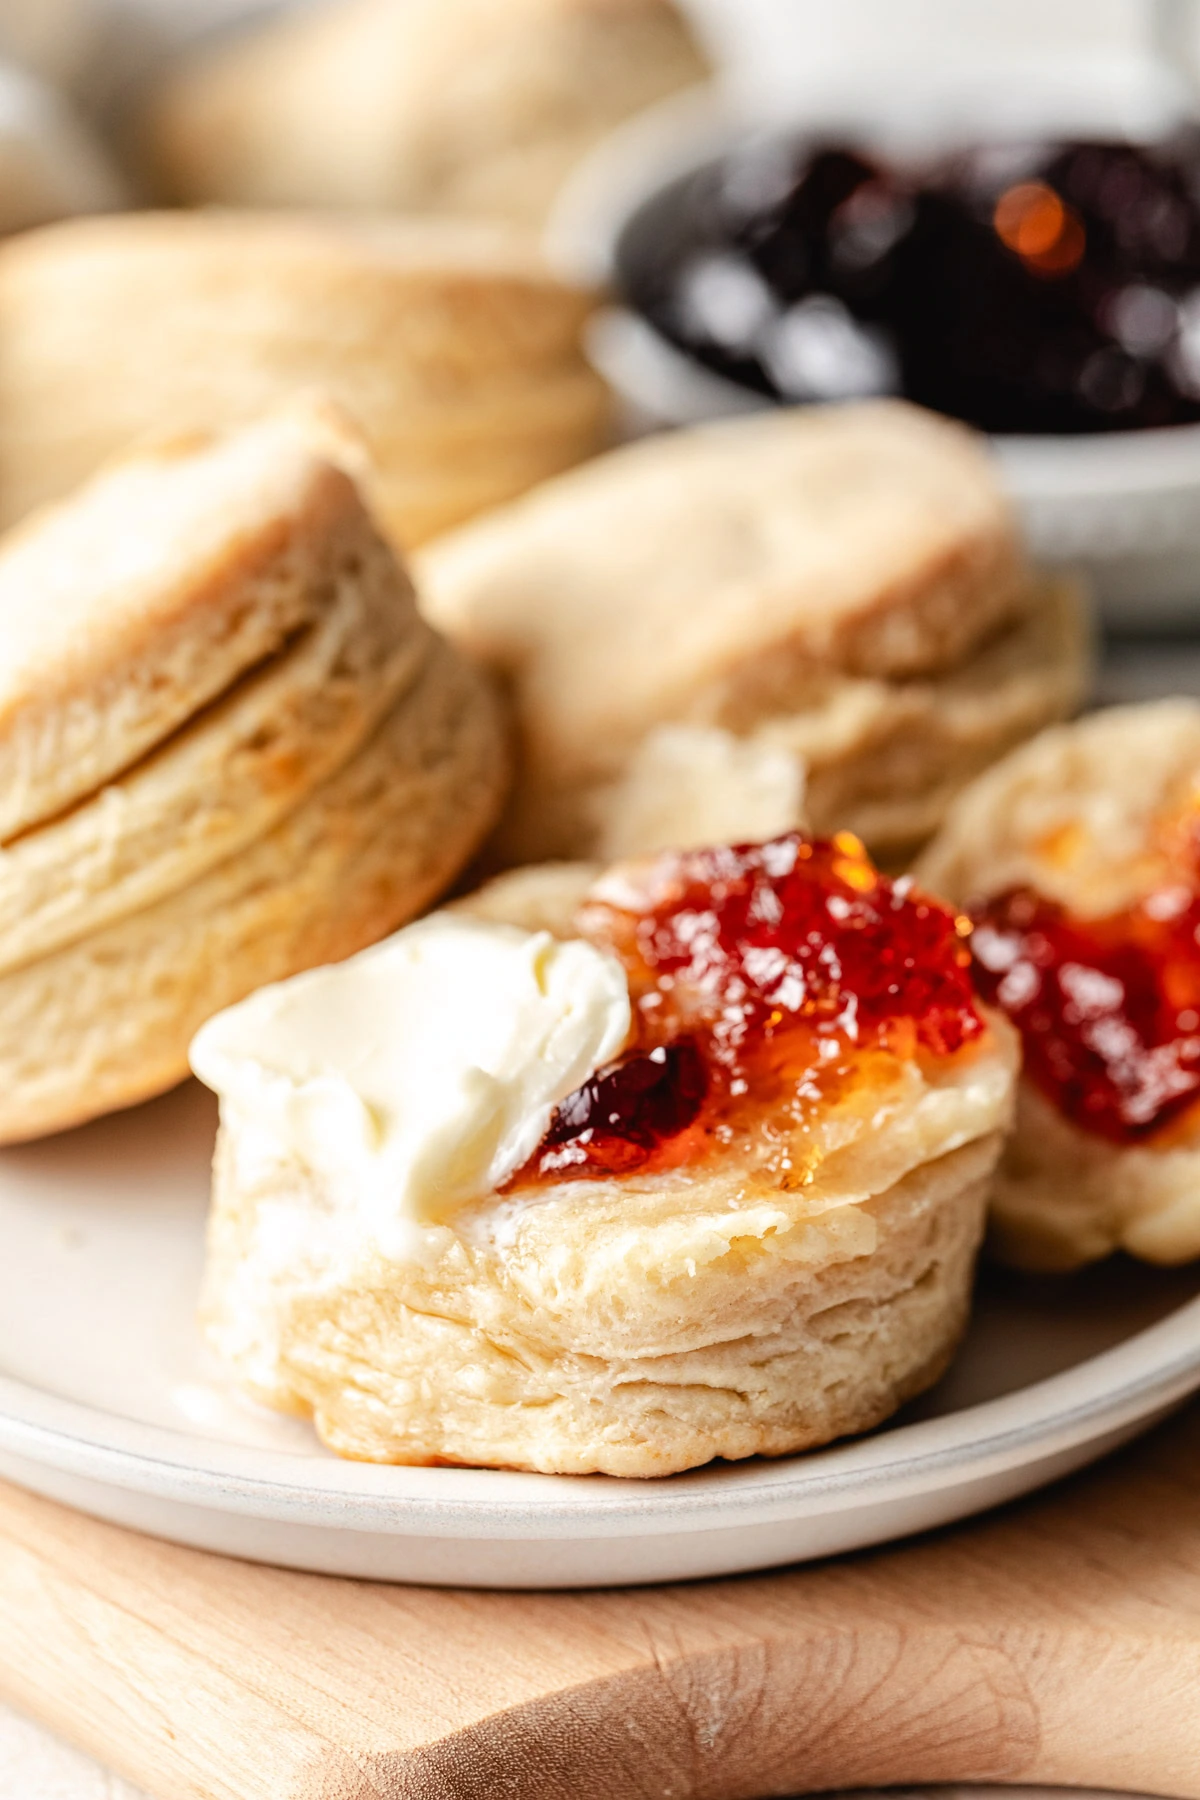
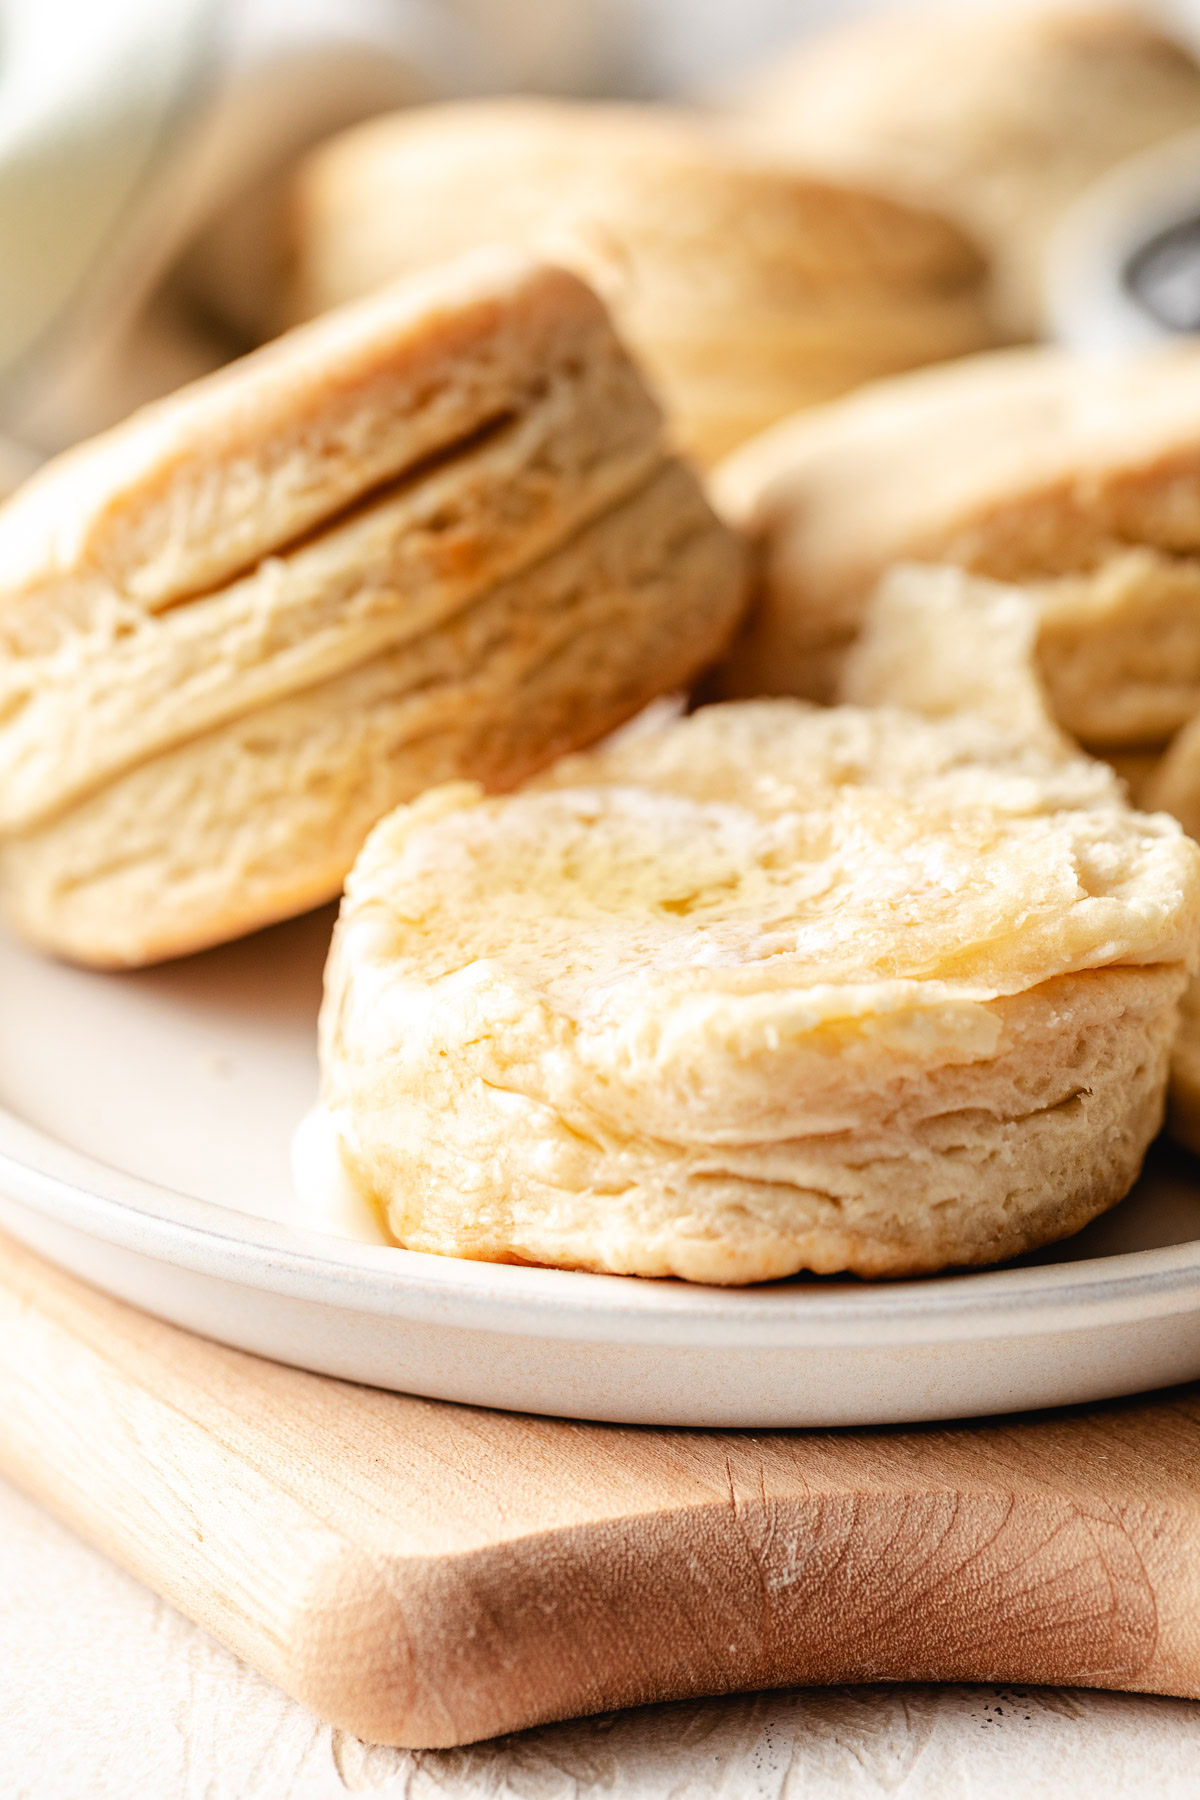
Flaky Homemade Buttermilk Biscuits

Growing up in the Arkansas Ozarks, biscuits weren’t something I looked forward to. Ours came from a can, and the ones I had elsewhere were usually crumbly, dry, and pretty forgettable.
It took me a while to figure out that the problem wasn’t biscuits. It was technique…and the lack of salt.
Once I learned a few simple things about keeping the butter cold and not overworking the dough, everything changed. Now I can have a pan ready in about 20 minutes, and my family goes through them fast.
You can mix these by hand or use a food processor. I’ll walk you through both. The most important thing isn’t which method you pick. It’s making sure that butter stays cold.
You may also love my Jalapeño Cheddar Biscuits and Cheddar Scallion Biscuits.
How to Make Homemade Buttermilk Biscuits
Follow along with the photos below to see how these biscuits come together. You’ll find the full, detailed instructions in the recipe card at the bottom of the post.
Preheat the oven to 450°F and lightly grease a baking sheet or cake pan.
Cut the butter into cubes and place it in the freezer while you gather the rest of the ingredients.
How to Cut In the Butter
Cold butter is the whole secret to flaky biscuits. When those little pieces of butter hit the hot oven, they release steam. That steam pushes the dough apart and creates the layers you see when you pull a biscuit open. If the butter melts into the dough before it goes in the oven, you lose the steam and you lose the layers. That’s why keeping everything cold, the butter, the buttermilk, even the bowl if your kitchen runs warm, makes such a difference.
By Hand or with a Pastry Cutter: This is my preferred method when I can. Using a large bowl with a pastry cutter, two forks, or even your fingertips gives you the most control. You’ll work the butter into the flour until you have a mix of fine crumbs and pea-sized pieces. The goal is to keep the butter cold while breaking it up evenly. If you use your fingers, work quickly so the warmth of your hands doesn’t soften the butter too fast.
Food Processor: A food processor is fast and a good option if mixing by hand is difficult. Pulse in short bursts just until the mixture looks like coarse crumbs with some pea-sized pieces. The main thing to watch is that you don’t overdo it. Too many pulses and the butter warms up and the dough gets overworked. If the dough feels soft or warm by the time you’ve cut your biscuits, pop them in the fridge for at least 30 minutes before baking so the butter can firm back up.
Tips for the Best Flaky Buttermilk Biscuits
- Keep everything cold. If the dough warms up, chill the cut biscuits for 30 minutes before baking.
- Don’t overwork the dough. Handling the dough too much or using a rolling pin can make the biscuits dense and tough.
- Cutting the dough. When cutting the biscuits, press straight down with the cutter. Avoid twisting. It seals the edges and keeps them from rising as tall.
- Placement on the pan. Place the biscuits so the sides touch. They’ll rise higher when they can support each other as they bake.
Learn from the mistakes I’ve Made
I’ve made every biscuit mistake there is at least once.
Overworking the dough is the biggest one. The more you handle it, the tougher the biscuits get. Once the dough holds together, stop.
Too much liquid is another. The dough should hold together when you press it but it shouldn’t be sticky or gummy. You should be able to fold it over on itself and dust the counter lightly with flour if it starts to stick. If it’s clinging to your hands, you’ve gone too far.
Don’t twist the biscuit cutter. It crimps the edges and keeps them from rising the way they should. Press straight down, then lift straight up.
Placement matters too. I put my biscuits so the sides just touch. They climb up against each other as they bake and rise higher for it.
Last one: measure your baking powder carefully. Too much and the biscuits taste metallic and off. A full tablespoon is right for this recipe, but don’t eyeball it.
Substitutions
Buttermilk: If you don’t have buttermilk, whole milk or 2% milk also works. You can also make sour milk by adding 1 tablespoon of lemon juice or white vinegar to 1 cup of milk. Let it sit for 5 to 10 minutes until it thickens slightly.
Self-Rising Flour: Using self-rising flour is an easy shortcut. If you go this route, leave out the baking powder and salt from the recipe. Use the same amount of self-rising flour as all-purpose flour, in this case 2 cups. Self-rising flour already contains leavening and salt, so there’s no need to add more.
Frequently Asked Questions
Do I need a biscuit cutter?
Nope! A drinking glass, a ramekin, or a round cookie cutter all work fine. You can also press the whole piece of dough into an 8-inch pan and cut it into squares with a knife. No wasted scraps, and no re-rolling.
Why aren’t my biscuits rising?
A few things can cause flat biscuits: the butter got too warm before baking, the dough was overworked, the baking powder was expired, or the biscuits were placed too far apart on the pan.
If your kitchen is warm and the dough felt soft by the time you cut them, pop them in the fridge for 30 minutes before they go in the oven. That firms the butter back up and helps them rise.
Can I make biscuits without buttermilk?
Yes. Whole milk or 2% work in a pinch. You can also make a quick substitute by adding 1 tablespoon of lemon juice or white vinegar to 1 cup of milk and letting it sit for 5 to 10 minutes.
Can I freeze the dough before baking?
Yes, and I recommend it. Cut the biscuits out, freeze them on a sheet pan until solid, then transfer to a bag. Bake them straight from the freezer and add 2 to 3 minutes to the bake time.
What does the dough feel like when it’s right?
It should hold together when you press it but not feel sticky or wet. You should be able to fold it onto itself and pick it up without it clinging to your hands. If you need to dust the counter lightly with flour to keep it from sticking, that’s fine, just don’t overdo it.
How to Store Leftovers
Biscuits taste best the day they’re baked, but you can store them in an airtight container at room temperature for up to 2 days or in the fridge for up to 4 days.
For longer storage, freeze baked biscuits in a single layer, then transfer to a bag. Reheat in a 350°F oven for 8 to 10 minutes.
You can also freeze unbaked biscuits. Cut them out, freeze on a sheet pan, then store in a bag. Bake straight from the freezer, adding 2 to 3 minutes to the baking time.
Ways to Serve Homemade Biscuits
These are good with just about anything. My husband John is a sausage gravy person, he’ll take a warm biscuit and smother it completely. He also loves them split open with sliced ham steak or layered with bacon, egg, and cheese for a quick breakfast sandwich.
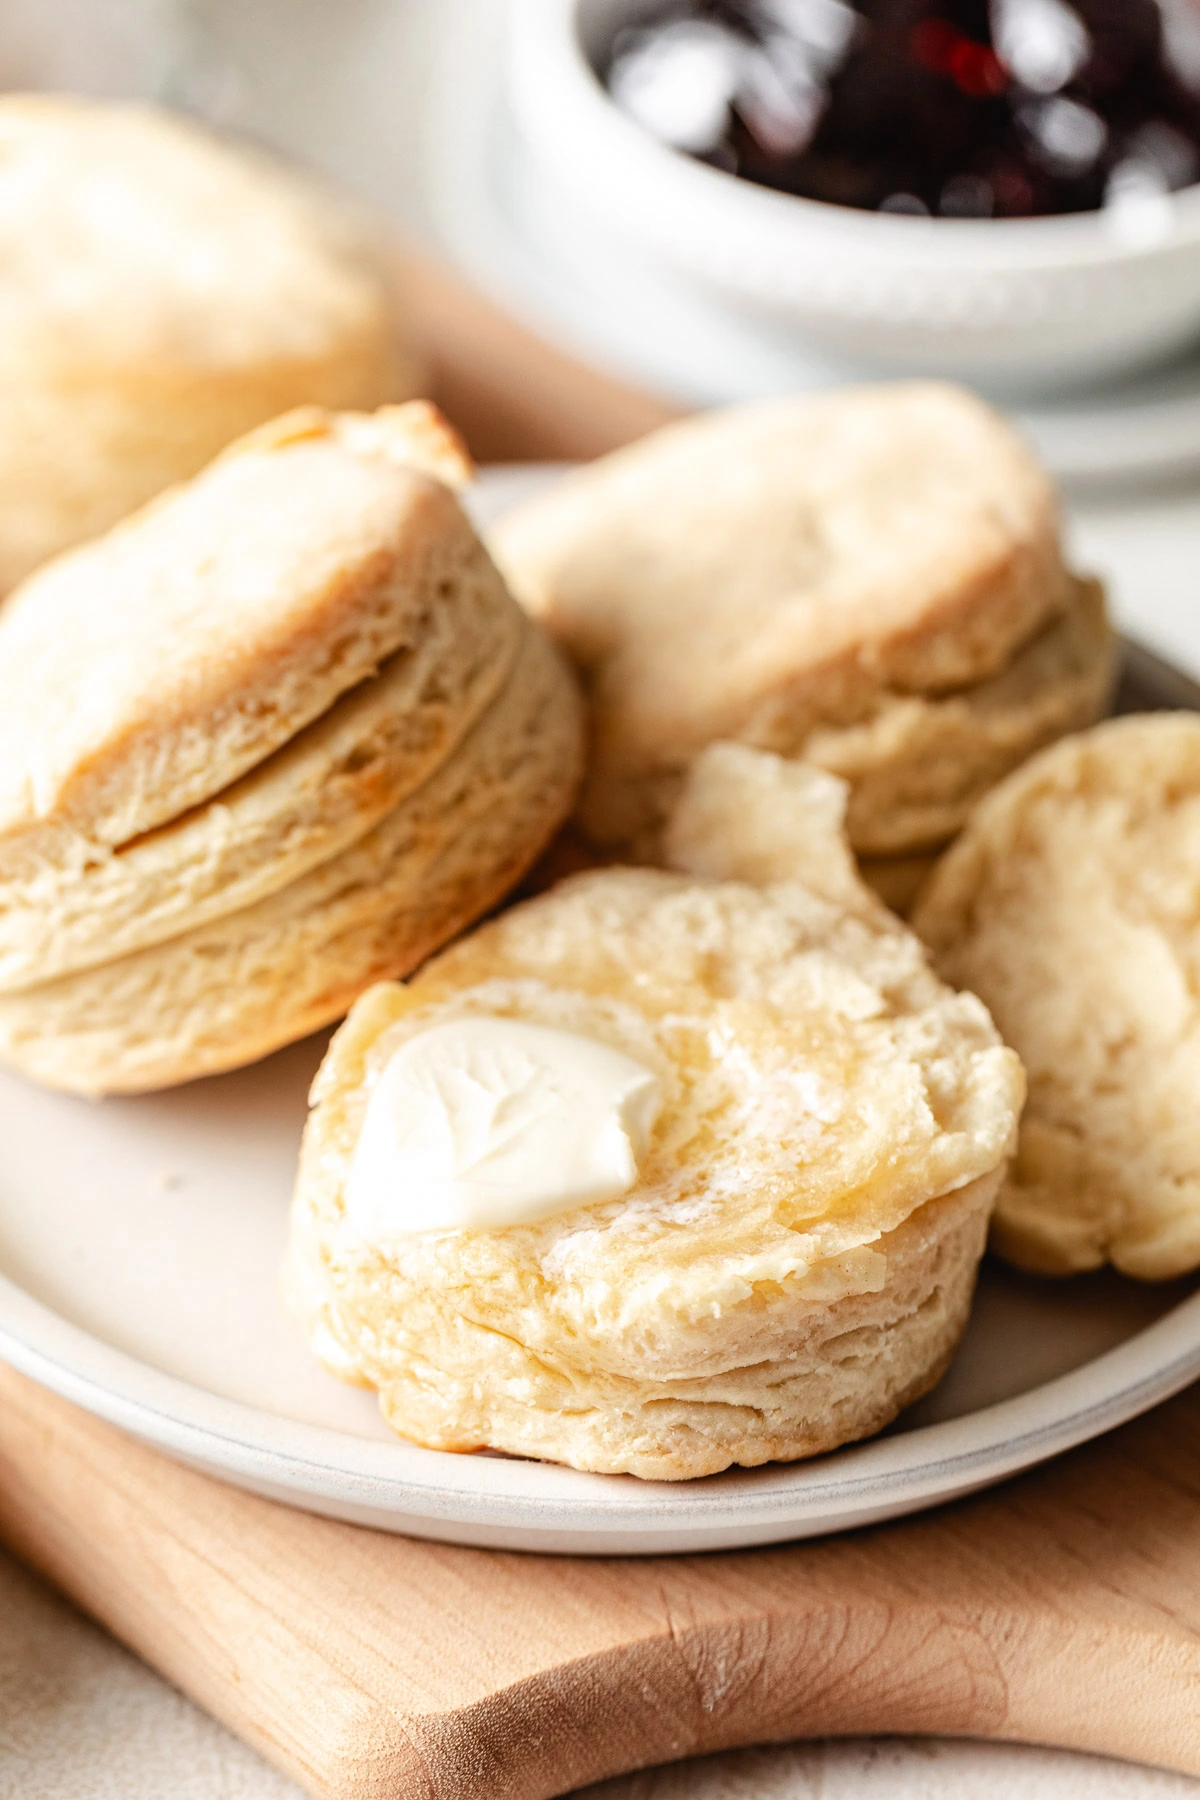
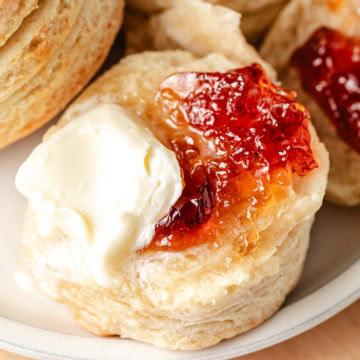
I tend to go the sweeter route. A little honey and butter, a spoonful of fruit curd, or a good compote. Try them with this Blueberry Compote for a really easy topping. Strawberry jam, blackberry, whatever’s in the fridge works great too.
They’re also great alongside soup or a pot of beans if you want something more savory for dinner. Broccoli Cheddar Soup and Creamy Chicken Noodle Soup are both favorites at our house.
More Baking Recipes
How to Video
Ingredients
- 8 tablespoons unsalted butter, very cold and cubed
- 2 cups all-purpose flour
- 1 tablespoon baking powder
- ½ teaspoon salt
- ¼ to ½ cup cold buttermilk, as needed
💌 Don't forget to save this recipe!
Instructions
- Cut the butter into cubes and place it in the freezer while you gather the rest of the ingredients.8 tablespoons unsalted butter
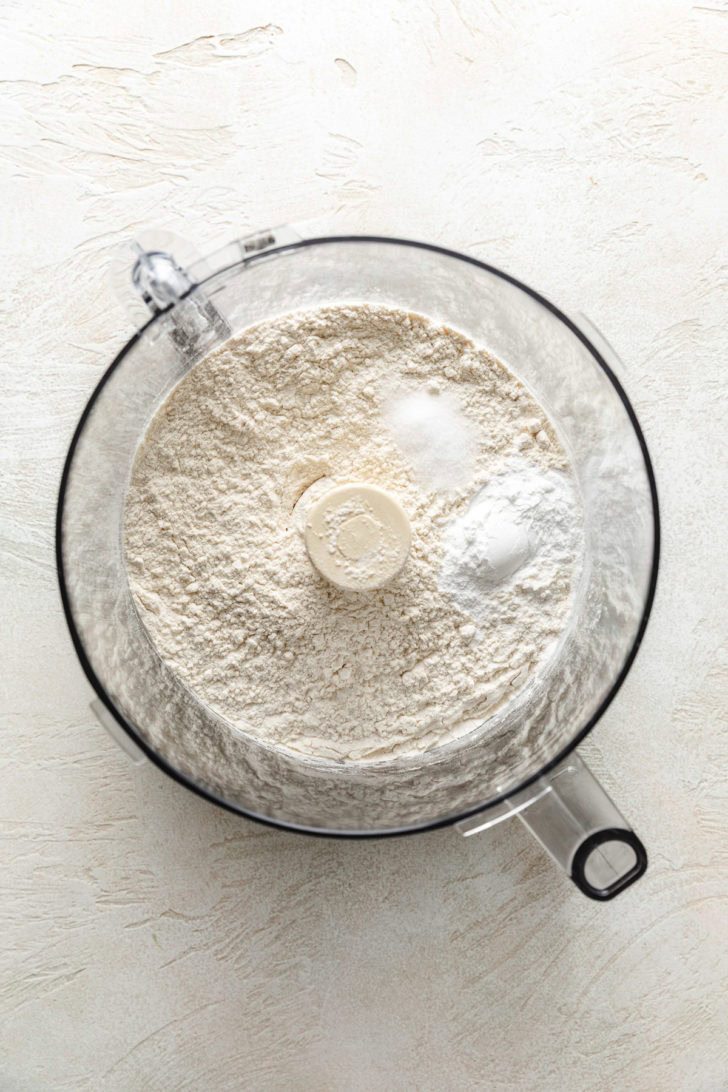
- Add the flour, baking powder, and salt to a food processor. Pulse a few times to combine.2 cups all-purpose flour1 tablespoon baking powder½ teaspoon salt
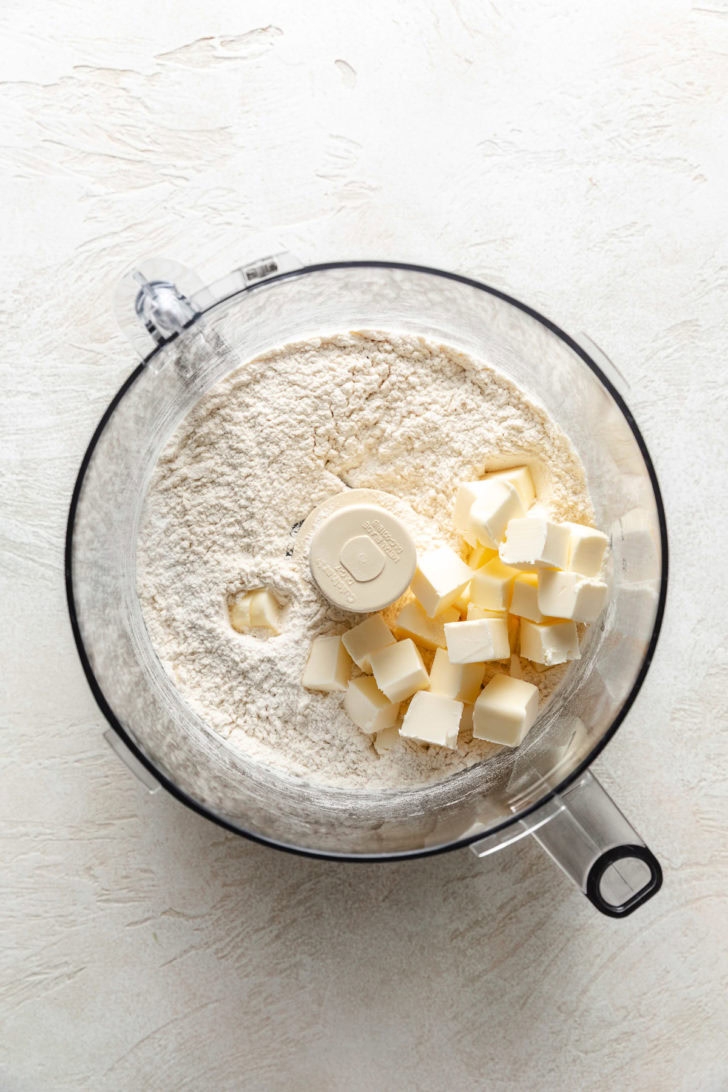
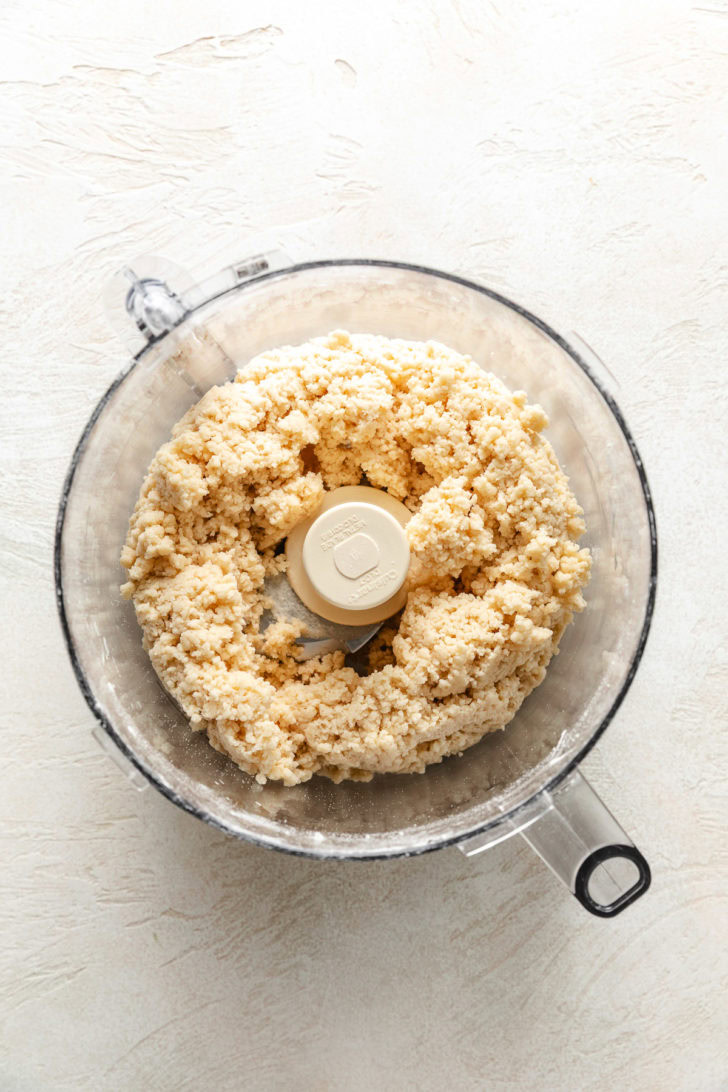
- Add the cold butter and pulse until the mixture looks like coarse crumbs with some pea-sized pieces.¼ to ½ cup cold buttermilk
- With the food processor running, slowly pour in the buttermilk. Stop as soon as the dough is damp and holds together when pressed. It should not be sticky or wet.
- Turn the dough out onto a lightly floured surface. Pat into a rectangle, fold in half, and repeat 4 to 5 times.
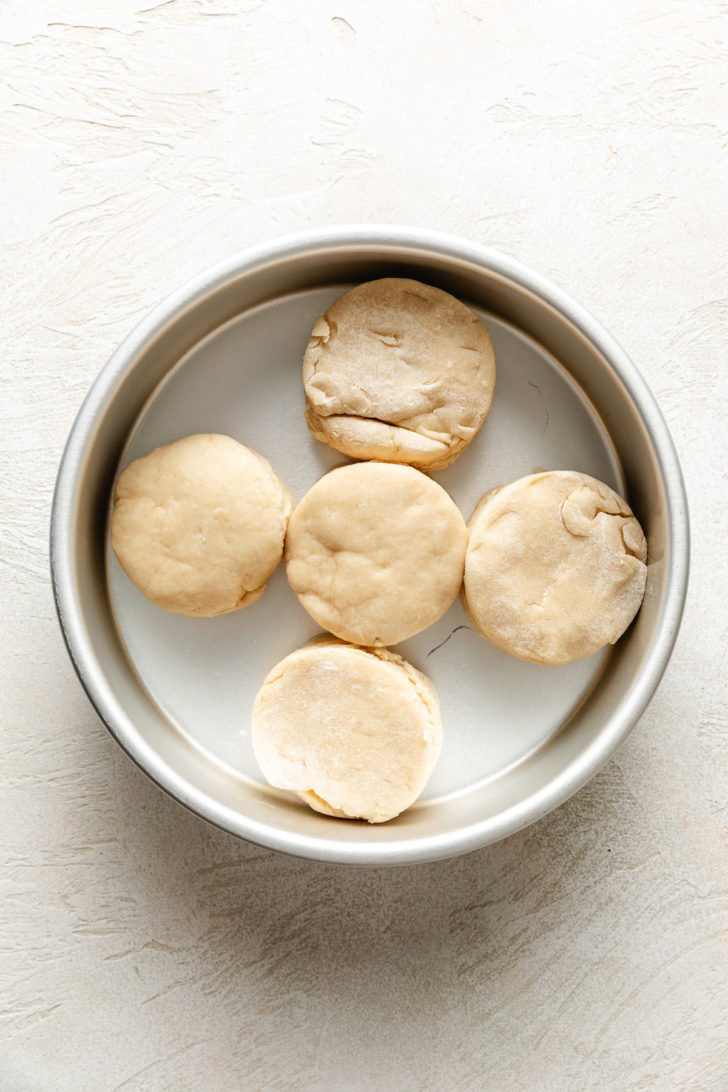
- Pat the dough to half an inch to 1 inch thickness. Dip a biscuit cutter in flour and press straight down without twisting. Stack scraps, pat out, and cut again.
- Place the biscuits on a lightly greased baking sheet or cake pan so the sides are just touching.
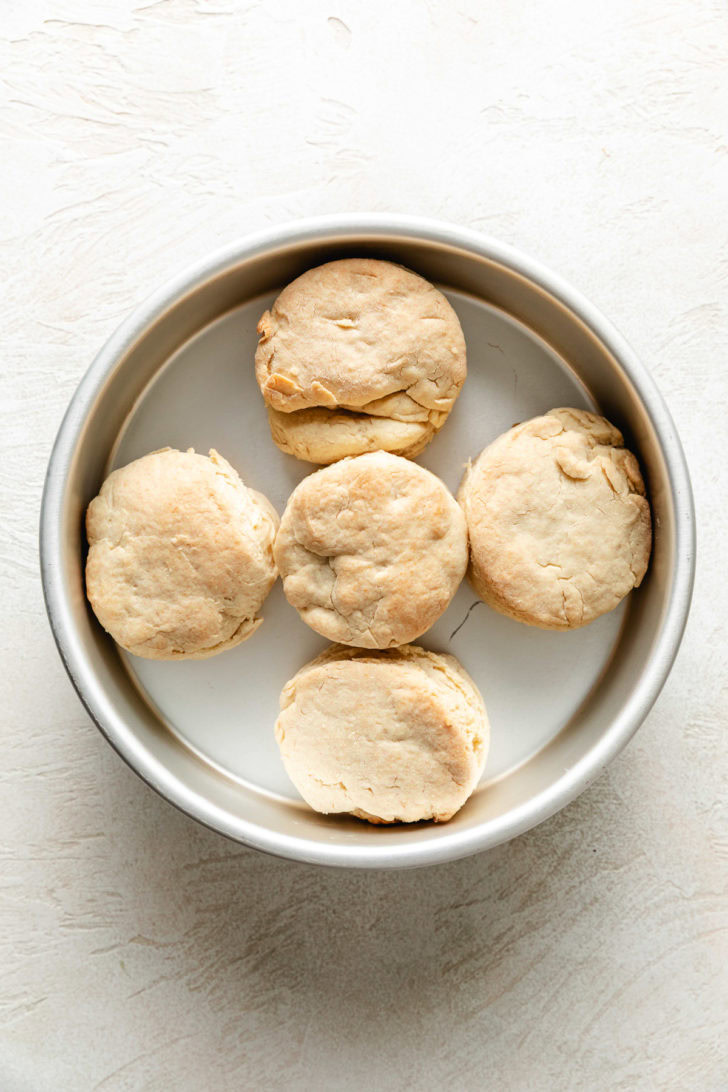
- Bake at 450°F for 10 to 14 minutes until fluffy and golden brown.
- Brush the tops with melted butter and serve warm.
Hello, i am going to try these scones, i would like to know what does 8 tablespoons butter equate to in grams.
Thanks
Hi, Chandra! 8 Tablespoons of butter equals 115 grams. Great question!
@Kimberly,
It’s so you don’t seal the edges and prevent it from rising 🙂
Yes, exactly! 🙂
Thanks Kimberly for a great recipe, and more importantly, your tip on why ‘not to twist your biscuit cutter’ when cutting your biscuits. I’ve read many recipes that tell you not to twist, but never tell why.