Instant Pot Applesauce
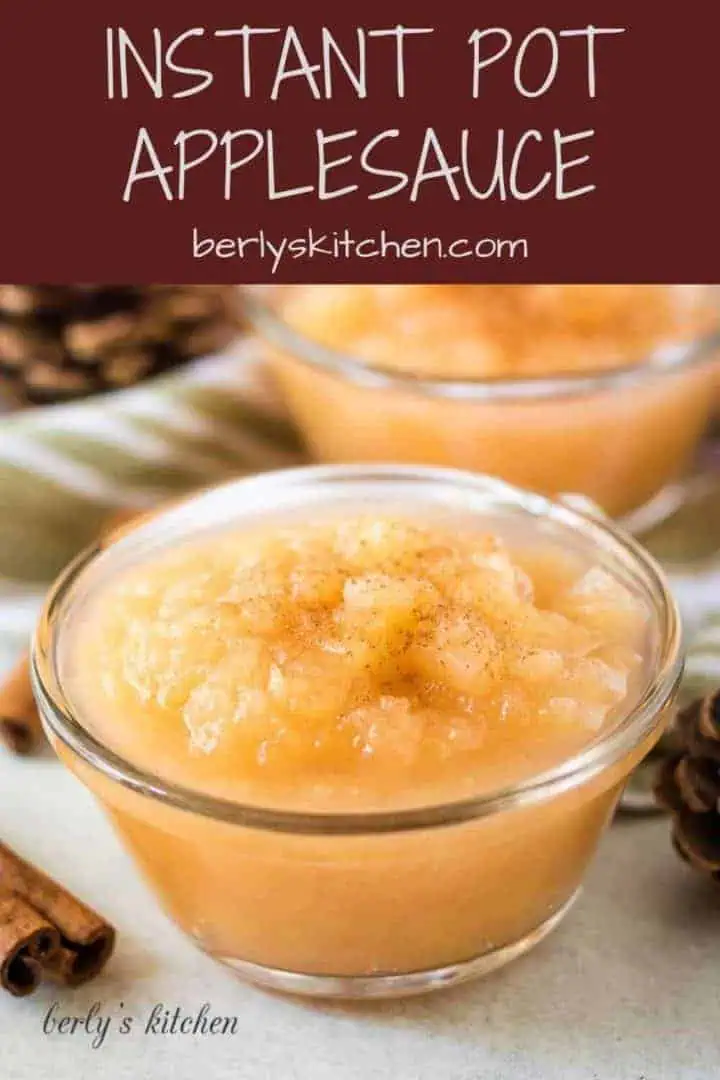
Instant Pot applesauce is quick, simple, and made with fresh apples and ground cinnamon. In less than 20 minutes you can enjoy homemade applesauce!
Every year a town in Northwest Arkansas holds an even called the Apple Festival. It’s a wonderful arts, crafts, and food festival that celebrates all things apple.
In honor of that fun little event, Kim decided to make an Instant Pot applesauce recipe and a slow cooker applesauce recipe.
Super simple and totally tasty, is how I would describe it.
How to make Instant Pot applesauce:
First, you’ll want to weigh out two pounds of fresh apples, wash them, core them, and cut the apples into chunks.
Okay, you can either skin them now or skin them after they cook. As you can see in the photos, Kim decided to skin her apples after they cooked in the pressure cooker.
The instructions are written than way too. Next, dump the apples into the liner of the cooker.
Toss them with lemon juice and pour in the water. Then, close the lid, seal the machine and press the manual or high pressure cook button. Set it to cook for four minutes.
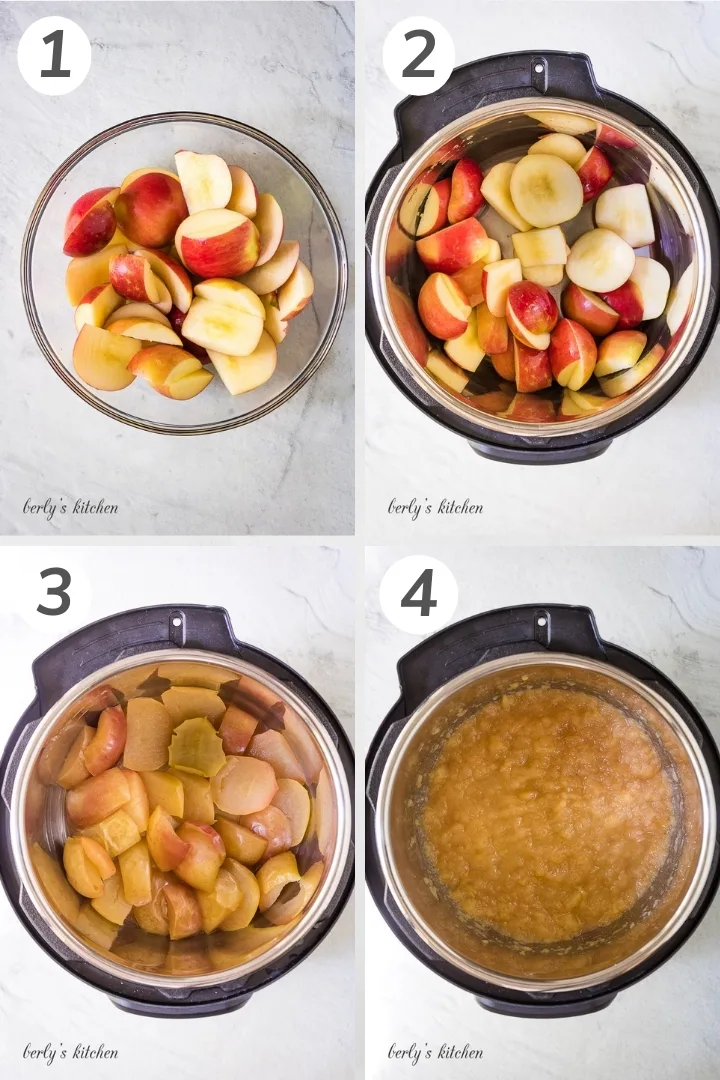
Afterward, allow the machine to complete a five minute natural release before completing a controlled release. A controlled release happens when you open and close the valve multiple times until all the steam is gone.
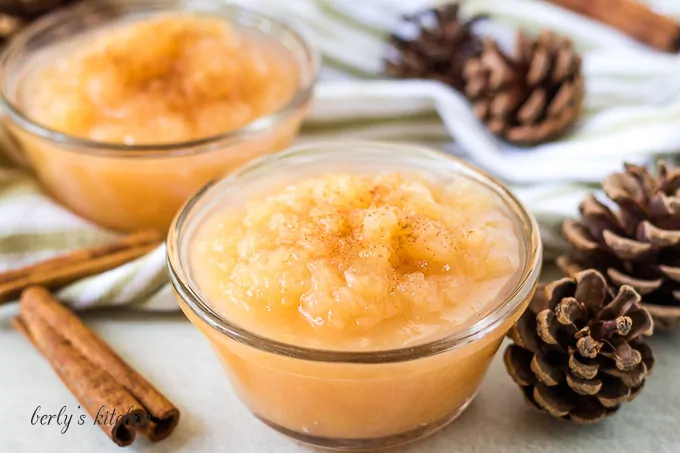
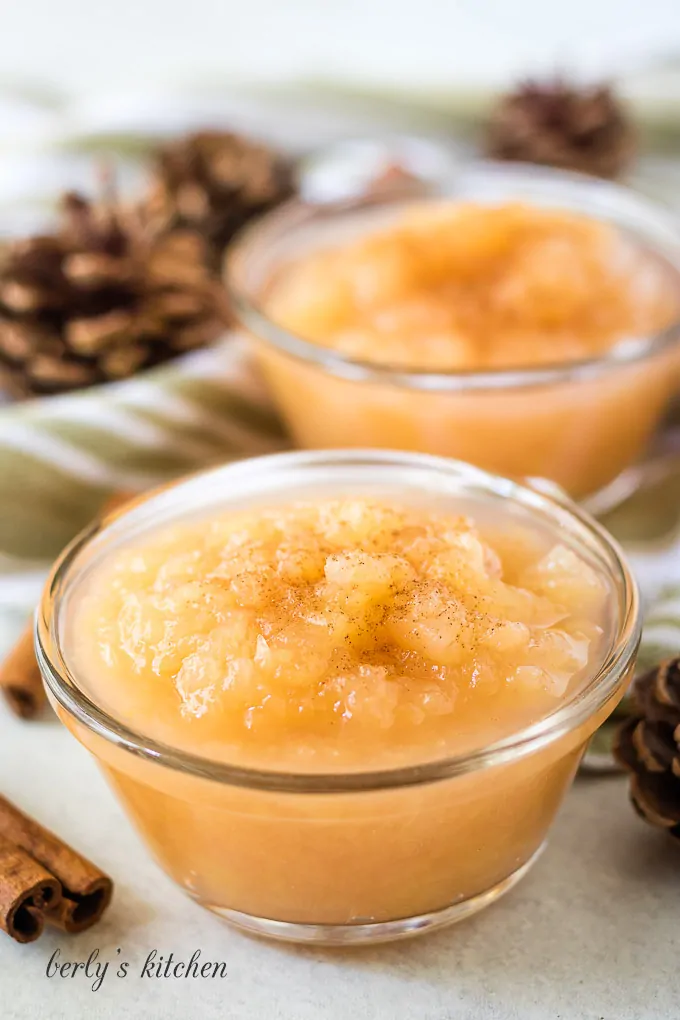
This keeps sugary or starchy foods from spraying food and hot liquid all over the kitchen. At this point, you can add the cinnamon, sugar, and skin the apples.
The skins should come off easily using a fork or tongs. Last, use a potato masher to crush the soft apples into an applesauce.
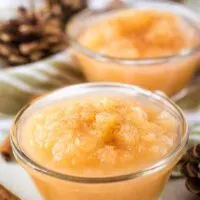
That’s it your Instant Pot applesauce is done! Kim and I hope you enjoy the recipe and wish you all the best 🙂
How long does homemade applesauce last?
Well, if you use canning methods, then it can last quite a while. However, our Instant Pot applesauce only holds in your fridge for up to five days.
What apples do you use for applesauce?
Golden Delicious, Fuji, and McIntosh are good choices because of their soft flesh.
With that being said, the amount of sugar might vary with each type of apple. For example, Granny Smith apples are tart, so you might want to add more sugar.
What can you add to applesauce to make it taste better?
- Maple Syrup
- Cinnamon
- Nutmeg
- Brown Butter
- Apple Pie Spice
- Brown Sugar
- Granulated Sugar
- Coconut Sugar
- Vanilla
Is the recipe the same if you remove the skins?
Yes, the recipe would be the same if you remove the skins. Just skip the part about removing the skins with tongs or a fork.
Can this recipe be made without sugar?
Sure! The sugar can be omitted. If you’d like to sweeten the apple sauce, substitute the sugar with a sweetener of your choice. You can also check out this Instant Pot Applesauce (No Sugar Added) recipe for a better idea on how to make it without sugar.
Ingredients
- 2 pounds apples, any variety; peeled or unpeeled
- 1 tablespoon freshly squeezed lemon juice, optional
- ½ to ¾ cup water, use more water for thinner applesauce
- 2 tablespoons granulated sugar, or to taste
- ⅛ teaspoon ground cinnamon, optional
💌 Don't forget to save this recipe!
Instructions
- Wash the apples, and cut them into large chunks removing the core. If you’d like to peel the apples now, feel free to do so. We left the skins on and removed them after the apples cooked.2 pounds apples
- Place the apple pieces into the Instant Pot, and toss with the lemon juice if using. Next, add the water. Close the lid, and set the valve to sealing. Use the manual (pressure cook) button, and adjust the time to 4 minutes.1 tablespoon freshly squeezed lemon juice½ to ¾ cup water
- After the time is up, allow a 5 natural minute pressure release followed by a controlled quick release (open and close the valve in quick succession to allow the steam to release in small spurts).
- Open the lid, and remove the apple skins. Add the sugar and cinnamon. Use a potato masher, immersion blender, whisk, or wooden spoon to mash up the apples to the desired consistency.2 tablespoons granulated sugar⅛ teaspoon ground cinnamon
- Serve warm or cold. Store any leftover applesauce in the refrigerator for up to 5 days.
Any idea, approximately how many apples equals 2 pounds? I have apples in a bowl I’d love to use, but not sure how many would be 2 pounds. They are average to large size. Also, love the tip of peeling after! Will definitely be doing that!
Hi Erica! We use a scale to measure our ingredients for accuracy, so I just went to check about the apples. Two pounds equals about 4 to 5 large apples (apples the size of softballs or a tad bit smaller). If they are closer to baseball sized, it would be closer to 5 or 6, possibly even 7. If you have a mesh sieve, that’s even easier to use a spatula to press the finished applesauce through and remove the skins. Whatever works best for you! 🙂 Have a great afternoon!
Wow that looks like a great way to save time peeling apples! Thanks for the tip. I made Instant Pot applesauce using gala apples and did a lot of peeling! I froze mine in freezer bags, putting 1/2 cup or so of applesauce, about the amount I’d need at a time. They store flat in the freezer, saving space.
Thank you for Cheryl! The peeling would definitely be a turn off for a lot of people. We’re hoping that little time saver will help someone out in the kitchen. Freezing it in flat portion sizes is a perfect solution. that way you only take out what you need. Thanks again for stopping by Cheryl, have a lovely Saturday 🙂