Chili Cornbread Casserole
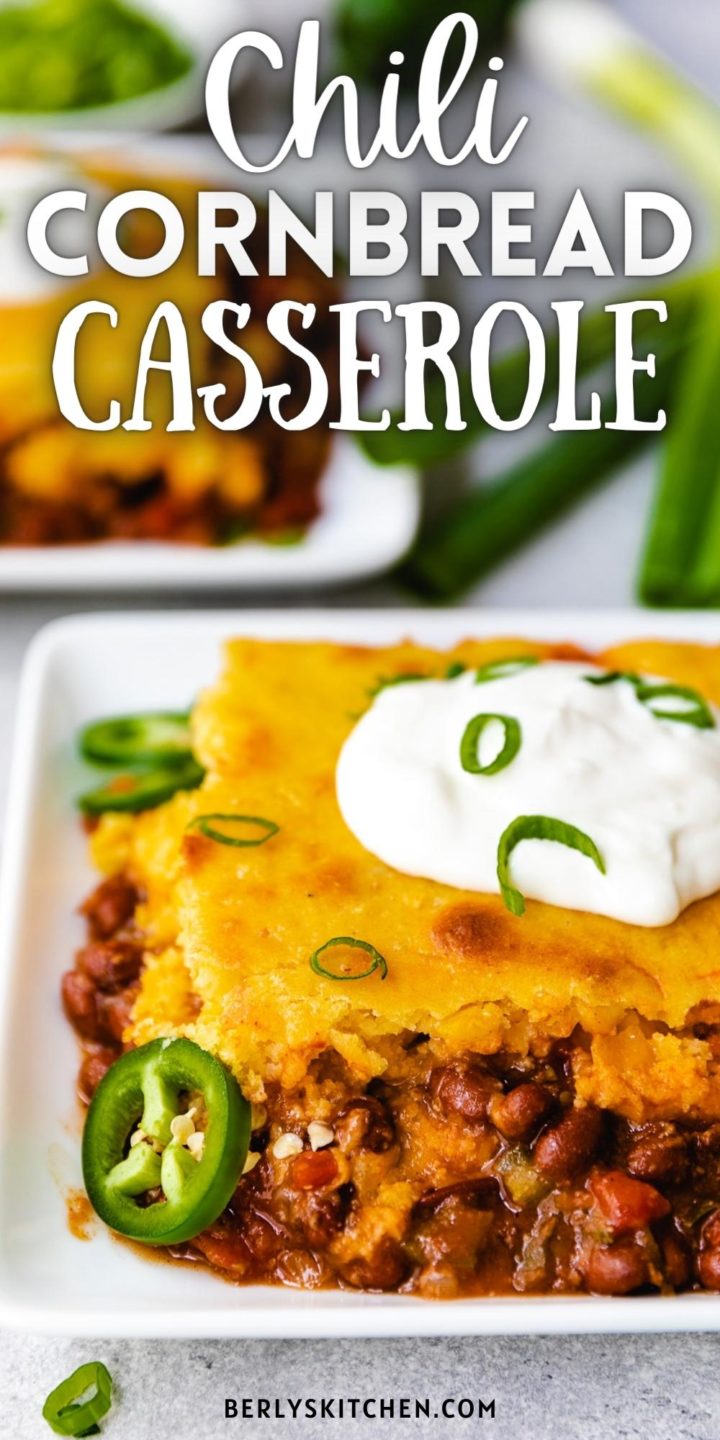
Chili Cornbread Casserole is the definition of easy to make comfort food! Flavor packed chili is topped off with shredded cheese and cornbread batter before being baked to perfection in just half an hour. It’s a kid friendly, hearty, and wholly comforting dinner that the entire family will love!
We wait all year long to indulge in some good chili! As soon as the weather drops to about 65°F outside, we start making big batches of Easy Instant Pot Chili Mac and Easy Three Bean Chili! Both recipes are true to what chili should always be – hearty, comforting, and flavorful.
Chili Cornbread Casserole
A layer of chili topped with cheese and cornbread all baked to perfection in just thirty minutes? Yeah, dinner doesn’t get much better than this!
Nothing goes together quite as well as chili and cornbread, so we thought… Why not just layer it all in one dish and enjoy it together?!
One of the biggest benefits here is only having to clean one baking dish at the end of dinnertime.
Less dishes, more flavor, and it’s big enough to feed the whole family? There’s a whole lot to love about this Chili Cornbread Casserole!
Looking for some other cornbread recipes? Try our green chile cornbread or masa harina cornbread!
How to Make Chili Cornbread Casserole
- Preheat the oven to 425°F, and grease a 9×13-inch baking dish.
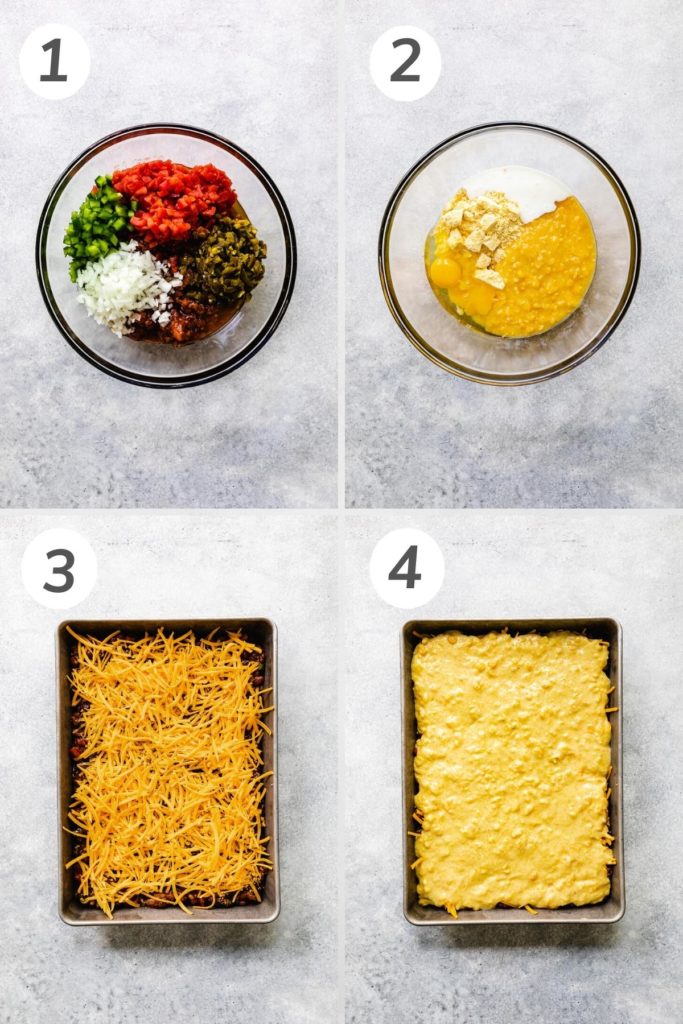
- In a large bowl, combine the chili, tomatoes, bell pepper, onions, and jalapeños if using. Pour the mixture into the prepared baking dish, and spread into an even layer.
- Sprinkle the shredded cheese over the chili mixture.
- In a separate bowl, whisk together the cornbread mix, cream corn, eggs, and buttermilk. Carefully spoon the cornbread batter over the cheese and smooth to the edges of the pan. This doesn’t have to be pretty as long as it’s in an even layer.
- Bake for 25-35 minutes or until the top is golden brown and the edges are bubbling. You may even see some chili bubbling through small holes in the cornbread.
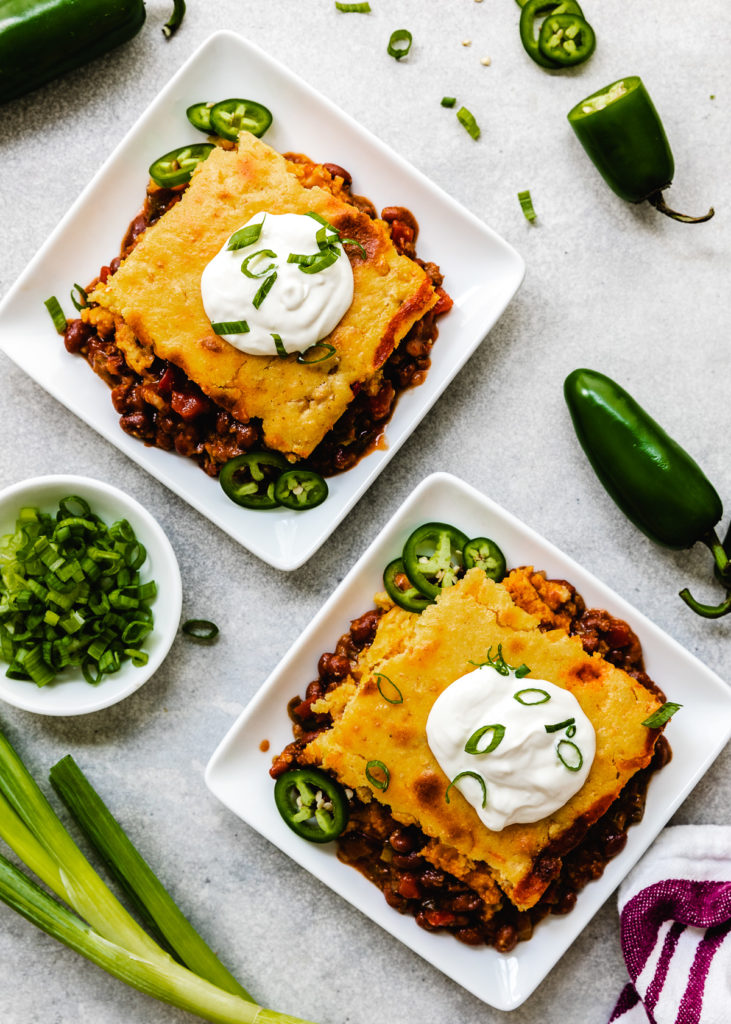
- Serve warm with sour cream, extra jalapeños, green onions, and a sprinkle of cheese.
Tips and Variations:
- This recipe is quite spicy because of the canned jalapeños. Reduce or omit the jalapeños to cut back on the heat. Another option is to use green chiles, tame jalapeños or your other favorite pepper.
- If you have fresh jalapeños on hand, they’ll work as a great substitute for canned. Keep in mind that they may be spicier or less spicy than the canned version.
- Ovens tend to cook differently, so adjust the cooking time as necessary.
- Swap out the shredded cheddar cheese for Monterey Jack, pepper jack, or Colby for a different flavor profile.
- Try to get the cornbread topping spread as close to the edges as possible, but don’t sweat it if you aren’t able to get the chili completely covered.
- Sour milk (whole milk + a tablespoon of vinegar or lemon juice) works in place of buttermilk, but the taste may be altered slightly.
- Have a favorite chili or cornbread recipe? Feel free to use those instead!
Storage
Storage: Chili Cornbread Casserole stores well in the refrigerator for 3-4 days. Make sure you wait for it to fully cool off before storing it in an airtight container. We don’t recommend freezing.
Reheating: Reheat in the microwave until warmed through. For best results, reheat it in 30 second intervals, checking the warmness every time it stops.

Ingredients
- 3 (15 ounce) cans chili with beans
- 1 (15 ounce) can petite diced tomatoes, drained
- ½ green bell pepper, chopped
- ½ cup white onions, finely chopped
- 1 (4 ounce) can jalapeños, diced (optional)
- 2 cups sharp cheddar cheese, shredded
- 1 (8.5 ounce) package cornbread mix
- 1 (15 ounce) can cream style corn
- 2 large eggs
- ½ cup buttermilk
Instructions
- Please note, this recipe is spicy! We've included some ideas on how to reduce the heat in the "Tips and Variations" section of the post.
- Preheat the oven to 425°F, and grease a 9×13-inch baking dish.
- In a large bowl, combine the chili, tomatoes, bell pepper, onions, and jalapeños if using. Pour the mixture into the prepared baking dish, and spread into an even layer.3 (15 ounce) cans chili with beans1 (15 ounce) can petite diced tomatoes½ green bell pepper½ cup white onions1 (4 ounce) can jalapeños
- Sprinkle the shredded cheese over the chili mixture.2 cups sharp cheddar cheese
- In a separate bowl, whisk together the cornbread mix, cream corn, eggs, and buttermilk. Carefully spoon the cornbread batter over the cheese and smooth to the edges of the pan.1 (8.5 ounce) package cornbread mix1 (15 ounce) can cream style corn2 large eggs½ cup buttermilk
- Bake for 25-35 minutes or until the top is golden brown and the edges are bubbling.
- Serve warm with sour cream, extra jalapeños, green onions, and a sprinkle of cheese.

