Cinnamon Rolls
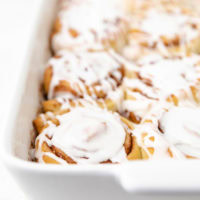
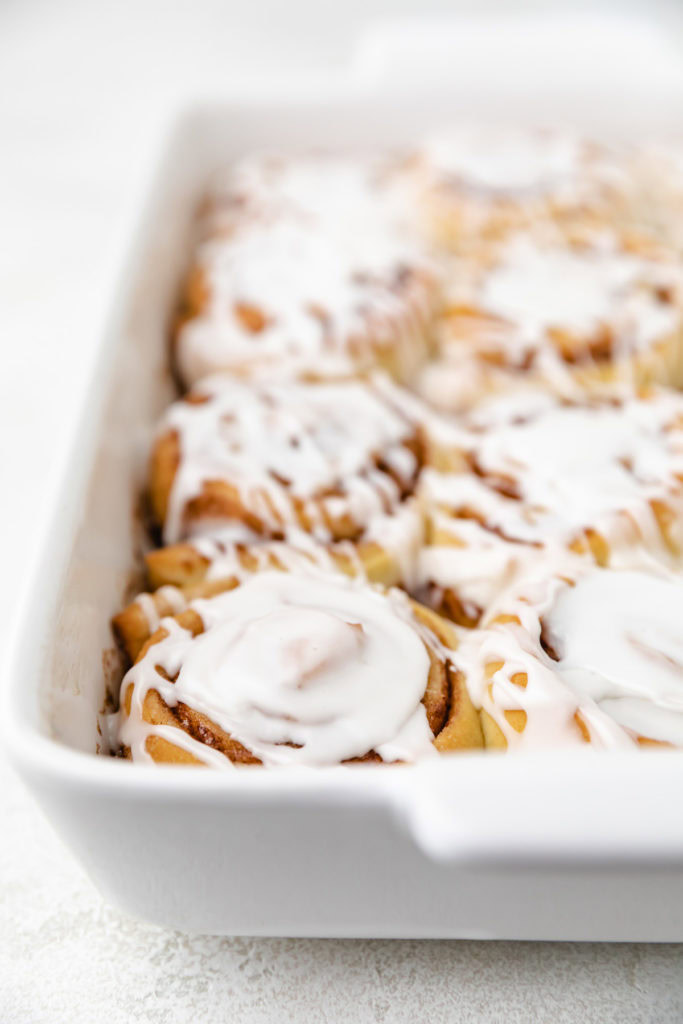
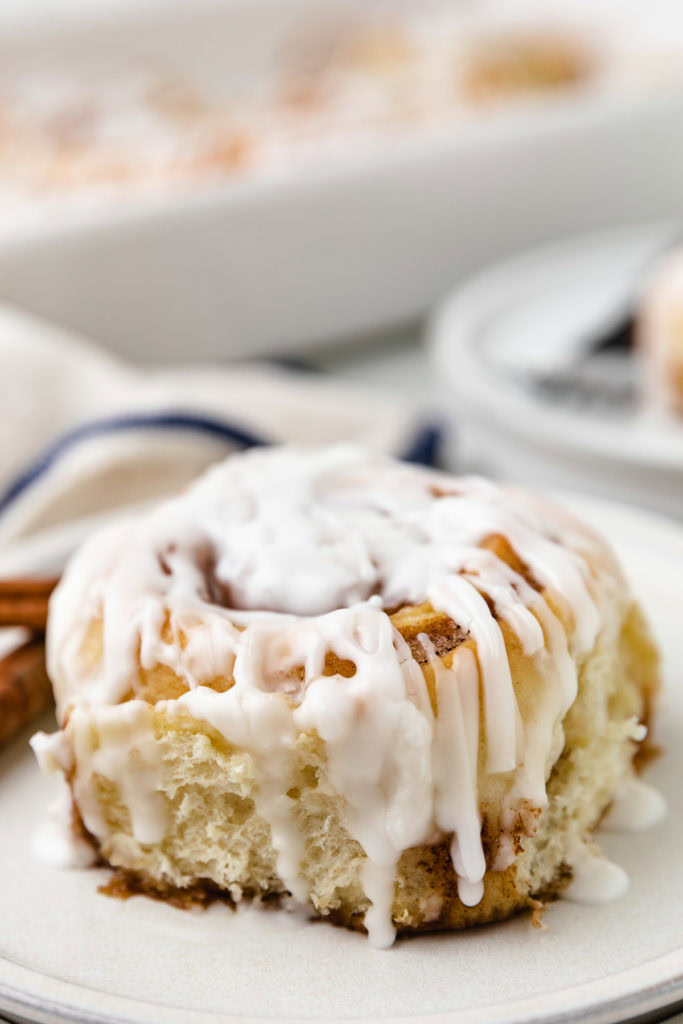
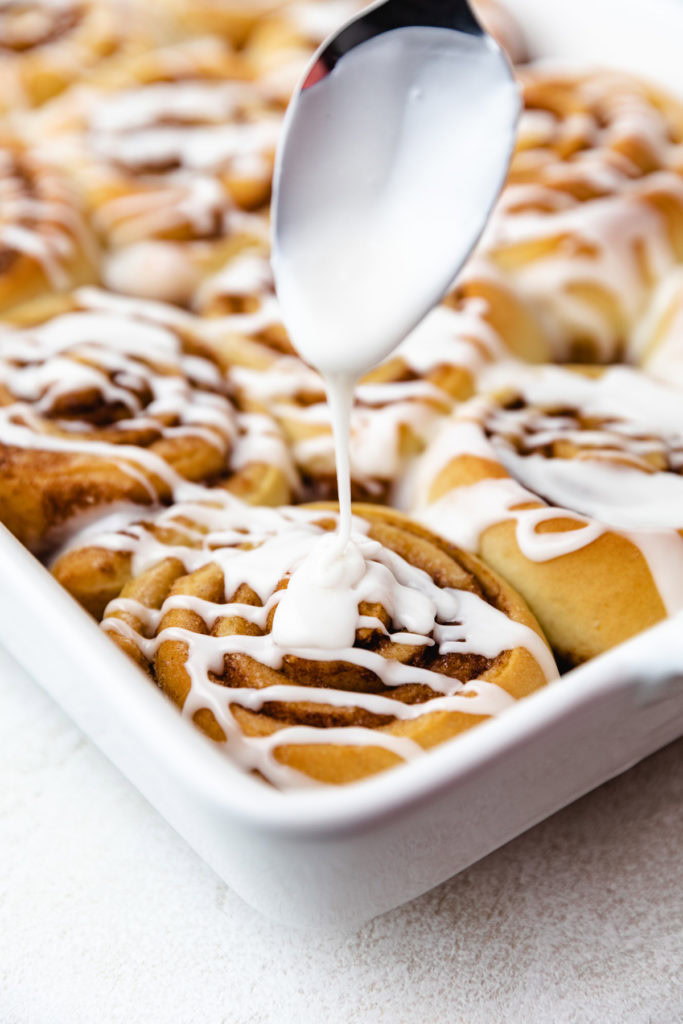
These Homemade Cinnamon Rolls are the best sweet treat. They’re baked to soft, fluffy, golden-brown perfection, layered with brown sugar and cinnamon, then drizzled with a sweet vanilla glaze.
Serve these rolls for breakfast, with a steaming hot bowl of your favorite chili, or as dessert!
Easy Cinnamon Roll Recipe
Who doesn’t love biting into a soft, warm, gooey, sweet, pillowy cinnamon roll? I know I do. And these easy homemade cinnamon rolls are probably my favorite recipe.
These easy cinnamon rolls are simple to prep and come out perfectly every time. They’re soft and pillowy with the best golden-brown finish, layered with the perfect amount of cinnamon and brown sugar, and topped with a simple and sweet icing.
Tips and Notes
Here are a few of my best tips for making these easy cinnamon rolls even easier:
- Use room temperature ingredients. Bringing both the butter and eggs to room temperature first helps them incorporate more easily into the dough.
- Check your yeast. Make sure the yeast you use isn’t expired. Don’t grab the yeast you’ve had in the back of your pantry for years. If it’s expired, the dough won’t rise!
- Check the temp of the liquids. A thermometer is necessary. The liquid mixture needs to be between 110ºF and 115ºF. If it’s too cool, the yeast won’t activate. If it’s too hot, it will kill the yeast. For more details, check out this post on how to activate yeast.
- Add flour as needed. If the dough is too wet and sticky, add ¼ cup flour at a time until you get a smooth, soft, elastic texture.
- Roll the dough to ¼ inch to ½ inch thickness. Thinner dough will result in more rolls, but less “bread-y” rolls. Thicker dough will give you fewer rolls, but they will have a fluffier texture.
- Roll tightly…but not too tight. We want the dough to be rolled up tightly enough that it holds together, but not so tight that there’s no space for the rolls to expand.
- Cut into even slices. Whatever the thickness of your dough, make sure you slice it into even pieces so they all bake at the same rate.
- To let the dough rise, we like to preheat the oven first, then set the baking dish on top of the stove. It typically takes somewhere between 30 minutes and 1 hour depending on the temperature of the kitchen.
- If you like a lot of icing, double the batch!
Storage and Reheating
Storage: Finished cinnamon rolls will last in an airtight container in the fridge for 3-4 days. You can also leave them unfrosted and store them at room temperature for 2-3 days.
Freezing: Cinnamon rolls can be frozen, but I recommend doing so without the icing. To freeze the rolls, let them cool completely, wrap them tightly in a couple layers of plastic wrap followed by a layer of aluminum foil, then store them for up to 1 month.
Reheating: To warm your cinnamon rolls, let them thaw fully in the fridge if frozen, then warm either in the microwave or oven and add the icing if needed!
Frequently Asked Questions
How Do I Adjust Baking for High Altitude?
These cinnamon rolls are simple, but cinnamon rolls in general can be a little bit finicky. So, if you live at a different altitude, in a different climate, or you’re even experiencing different weather, the recipe can change slightly.
Here are a few potential adjustments you may need to make:
- Flour: I’ve used anywhere from 2½ cups of flour to over 4½ in different places. My best tip is to start with less, then add more as needed. You can always add more, but you can’t take any out!
- Bake time and temp: If you live in the mountains, you will likely need to adjust both the oven temperature and the baking time. Check out this article on high altitude baking for more tips.
Can You Make Cinnamon Rolls Ahead of Time?
Totally! This cinnamon roll recipe makes an excellent make-ahead breakfast option.
To prep them ahead of time, assemble as directed, then bake at 325ºF for just 15 minutes. Cool the rolls completely, then place the whole pan into a freezer-safe bag and store in the freezer for up to 2 months.
When you’re ready to serve, thaw the rolls completely, then bake until golden-brown.
For more detailed instructions on par-baking and freezing, check out this post on how to freeze cinnamon buns.
How Do You Keep Homemade Cinnamon Rolls Soft?
Cinnamon rolls should always be soft and fluffy. Never tough and chewy! Here are a few tips to keep the rolls nice and soft…even the leftovers!
- Activate the yeast properly. I’ve already mentioned this, but it really is so important. Make sure you use fresh yeast, then make sure your liquids are between 110ºF and 115ºF in order to activate it. The yeast is what makes the dough rise.
- Don’t over-measure your flour. Start with less, then add more only as you need. Too much flour will dry out the dough.
- Don’t over-mix the dough. Once the dough is the right texture, leave it alone. The more you mix, the tougher it will get.
- Watch the bake time. Baking time can vary, so take my 25 minutes as an estimate. Make sure you keep an eye on the rolls so as not to over-bake them. As soon as they are that perfect golden-brown color, remove them from the oven.
- Store in an airtight container. The more air can reach the rolls, the more quickly they’ll dry out.
Ingredients
For the Cinnamon Roll Dough:
- 2 ½ to 3 ½ cups all-purpose flour
- 3 tablespoons granulated sugar
- 2 ¼ teaspoons instant yeast, 1 standard packet
- 1 teaspoon kosher salt
- ½ cup water
- ¼ cup whole milk
- 3 tablespoons unsalted butter, softened
- 1 large egg, lightly beaten (at room temperature)
For the Filling:
- ½ cup unsalted butter, softened
- ½ cup light brown sugar, packed (or more to taste)
- 1 tablespoon ground cinnamon, or more to taste
For the Glaze:
- 1 cup powdered sugar
- 2 to 3 tablespoons whole milk, adjusted to desired consistency
- 1 teaspoon pure vanilla extract
Instructions
To Make the Dough:
- Lightly grease a 9×13-inch baking dish and set aside.
- To the bowl of a stand mixer, add 2 ½ cups of the flour, sugar, yeast, and salt. Whisk to combine.3 tablespoons granulated sugar1 teaspoon kosher salt2 ¼ teaspoons instant yeast
- In a microwave safe bowl or over the stovetop, heat the water, milk, and butter to about 110°F to 115°F. Pour the mixture into the bowl of the stand mixer along with the dry ingredients along with the softened butter and egg.½ cup water¼ cup whole milk3 tablespoons unsalted butter1 large egg
- Using a dough hook, mix on a low setting until the dough comes together. If the dough is too wet, add remaining flour ¼ cup at a time to form a soft, smooth, elastic dough. Then continue to mix at low-medium speed for an additional 5 to 6 minutes. Next, allow the dough to rest in the bowl for 3 to 5 minutes.
- After the dough rests, turn it out onto a lightly floured surface. Use a rolling pin to roll into a rectangular shape about ¼-inch to ½-inch thick.
To Make the Filling:
- Use a spatula to spread the softened butter on the rectangle of dough. Sprinkle the brown sugar and cinnamon evenly over the softened butter.½ cup unsalted butter½ cup light brown sugar1 tablespoon ground cinnamon
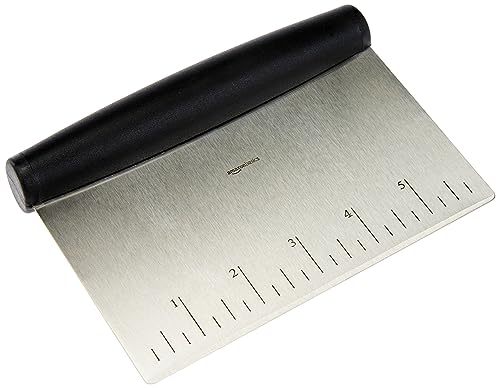
- Beginning with the short side of the rectangle, tightly roll the dough so the cinnamon and sugar are on the inside. Use a sharp knife, dough scraper, or dental floss to cut the rolled dough into 12 even pieces.
- Place the cut dough into the prepared baking dish and cover with a clean towel. Transfer the dough to a warm, draft-free place and allow it to rise until doubled in size. Meanwhile, preheat the oven to 350°F.
- Once the cinnamon rolls have doubled in size, bake for 20 to 30 minutes or until golden brown.
- Remove from the oven and allow the rolls to cool until just slightly warm before adding the icing.
For the Icing:
- In a small bowl, whisk together powdered sugar, 1 to 2 tablespoons of milk, and vanilla. Add more milk until the desired consistency is reached.1 cup powdered sugar2 to 3 tablespoons whole milk1 teaspoon pure vanilla extract
- Use a spatula to smooth over slightly warm cinnamon rolls. Enjoy!
- See post for tips, FAQs, and storage options.



Trying these today! I’ve been looking for a good homemade cinnamon roll recipe and this one sounds perfect!
Trying these today! I’ve been looking for a good homemade cinnamon roll recipe and this one sounds perfect!
Hi,
I’ve decided to try your recipe, but don’t have a cooking thermometer. Is it possible to know if the butter, milk, and water have reached 115 degrees using another method?
Thank you!
Hi Veronica! No worries. We don’t have a thermometer either. It broke a while back. My best advice is to test the liquid with your finger (it sounds silly, but it works). It should be slightly warm but not hot (no steam or bubbles). If it burns you, then it will be too hot for the yeast. My husband put it best when he said, it’s similar to heating up a baby’s bottle. I also highly recommend that you check the expiration date on the yeast prior to beginning, just to make sure it’s not expired. 🙂 If you’d like more tips, please check out the comment section in this recipe. My husband explained in depth how to work with yeast. It may be of some help. Please let us know if you have any other questions!
Thank you for your advice! It turned out pretty well I think! As I am new to using yeast and taking on some harder baking recipes, I think I will get better over time. Thanks again for your help!
Thanks for letting us know how they turned out. 🙂 Working with yeast takes practice, but keep at it. It gets a lot easier with time. Have a great day!
hola. culsulta. zucar granulada seria azucar comun? y si uso levadura fresca que cantidad necesito? muchas gracias
Hola, Estefi. Estoy usando Google translate. Espero que esto tenga sentido. El azúcar granulada funcionará, pero el sabor será ligeramente diferente. El azúcar moreno contiene melaza y una textura diferente a la del azúcar blanco granulado. Para el relleno, use la misma cantidad de azúcar granulada que el azúcar moreno. Para la levadura, activarla antes de añadirla a los demás ingredientes. Coloque la levadura en 1/2 taza de agua tibia (de las instrucciones no añadir más) hasta que se vuelve de color marrón claro y espumoso a continuación, agregue a los otros ingredientes según las instrucciones. ¡Gracias por sus preguntas! Por favor, hágamelo saber si tiene preguntas adicionales. 🙂
Just made these with my four year old daughter. They really are pretty easy and quick! I used a flour blend instead of pure white flower and they turned out great! We haven’t even put the icing on yet and they are delicious! Thanks for the recipe! ?
Just made these with my four year old daughter. They really are pretty easy and quick! I used a flour blend instead of pure white flower and they turned out great! We haven’t even put the icing on yet and they are delicious! Thanks for the recipe! ?
My did not rise. I did do the step 2 method
Hi, Di! I’m sorry to hear the dough didn’t rise. Just a quick question, where you using active yeast? If not, that may be the issue. If so, you may find the information regarding yeast in the comment section of our brioche buns post helpful. Please let us know if you decide to give them another try and have any questions. 🙂
I used active dry yeast and just mixed it with the flour sugar and salt as is.. are they still going to come out ok?
Hi, Monica! That’s exactly how I make them, so they should work wonderfully. 🙂 If they don’t for some reason, don’t get discouraged. Please let us know and we’ll try to help you figure out how to make them work.
So I have probably a dumb question for y’all experienced bakers lol. But I’m just getting my feet wet in the kitchen. And when you say add the yeast to mixture, do you just open the package of yeast and pour the little seed like things directly into the mix or do you dissolve it first and if so with how much water? I really want to make these tho. Just don’t always comprehend all the kitchen lingo.
Thanks,
Jillian
Hi, Jillian! That’s not a dumb question at all. I’m glad you asked ahead of time and will update the recipe accordingly in case someone else wonders the same thing. 🙂 There are a couple of different ways to work with the yeast. This particular recipe works by adding the dry (active yeast) straight from the packet right into the flour and other ingredients. I use Fleischmann’s Active Yeast. However, if you don’t have active yeast, it should be activated ahead of time. In regards to the liquid for activating the yeast, use either the water or the milk already listed in the ingredients. Don’t add any additional liquid. Here’s a link to another post where my husband answered a yeast activation question earlier today. Hopefully, it will be helpful, too. https://www.berlyskitchen.com/brioche-buns/ Just a side note here, start off with less flour and add more as needed a tablespoon at a time. If you don’t need the full amount, don’t use it. 🙂 Weather, humidity, altitude and air temperature all play huge roles in baking. The exact amounts I use may not work for you. Please let us know if you have any more questions.
I was really disappointed in these. Before adding the tablespoons of flour my dough was already very stiff and hadrd to work with. It was much too stiff to roll so I ended up throwing it out. 🙁
Hi Dana! I’m so sorry the cinnamon rolls didn’t work out. If you decide to try them again, I’d like to offer a couple tips. Start off with less flour, maybe 1 1/2 to 2 cups. Only add additional flour if needed. The end result should be a smooth, elastic dough. Also, scoop the flour into the measuring cup with a spoon then level it off with a knife, that way there’s not excess flour packed into the measuring cup. One more thing to consider, the weather can play a role in baking. If the air is dry, it will suck the moisture out of the dough. You’ll definitely want to start with less flour. Hopefully, this helps some. 🙂
I want to try these for Christmas morning. How long does it take for the dough to rise, per step #14.
Hi, Beth! If you put the dough in a really warm area, it may only take about 30 minutes. If you place the dough in a room temperature area, it could take 30 minutes to an hour. Using rapid rise yeast makes it rise faster, too. 🙂 Sometimes I will preheat my oven to the very lowest temperature (170 degrees), then turn it off. Next, I place the rolls in the oven to rise and crack the oven door. Just make sure the oven is turned off and don’t leave the rolls in too long, otherwise, they will dry out. Thanks for your question!
Hello I’m new to this, how do I know when to pull them out is there a time frame (20min?) Or should they be so tall?
Hey, Melissa! It takes around 25 minutes in our oven, but every oven cooks a little differently. The cinnamon rolls should turn a light to medium golden brown color then they can be removed from the oven. Sometimes they do bake up fairly tall. The weather, altitude, pan, oven, etc. all play a huge role in how these turn out from person to person.
These look awesome! Can I make these as refrigerate over night and Bake in the morning?
Hi, Kat! I haven’t tried to refrigerate them, so I don’t want to tell you wrong. However, here’s a great post that explains how to freeze cinnamon rolls and bake them. http://blog.kingarthurflour.com/2010/12/10/freeze-cinnamon-buns-in-20-minutes/ Maybe it can be of some help. Thanks for stopping by and for the comment!
This recipe it’s AMAZING, I did this today and my whole family loved it. The best cinnamon rolls I’ve ever tried. Thank you! Greetings from Chile. (Sorry if my english wasn’t correct!)
Awesome recipe!! Thank you for sharing! I was just wondering was the temp for the milk and butter is it 115 Fahrenheit or in Celsius?
Hi, Fan! It’s 115 Fahrenheit. Thank you for your comment and for stopping by. 🙂
Is it possible to do this by hand? I dont have a stand mixer.
Hi, Tonia. Absolutely! Go ahead and mix the ingredients as instructed but instead of using a stand mixer, knead the dough with your hands like you would bread dough. You’ll have to knead it for about 8-10 minutes until it’s smooth and elastic.
At what stage could I refrigerate or freeze these delicious rolls?
Hi Maris! I refrigerate our leftover cinnamon rolls and reheat them in the microwave for 15 seconds. That makes them wonderfully warm and gooey! I’ve never frozen or refrigerated the dough during the preparation process, but here’s a great article that explains exactly how to do it. I hope you find it helpful! FREEZE:Cinnamon Buns in 20 Minutes
Just made these with my four year old daughter. They really are pretty easy and quick! I used a flour blend instead of pure white flower and they turned out great! We haven’t even put the icing on yet and they are delicious! Thanks for the recipe! ?