Pie Crust (with Shortening)
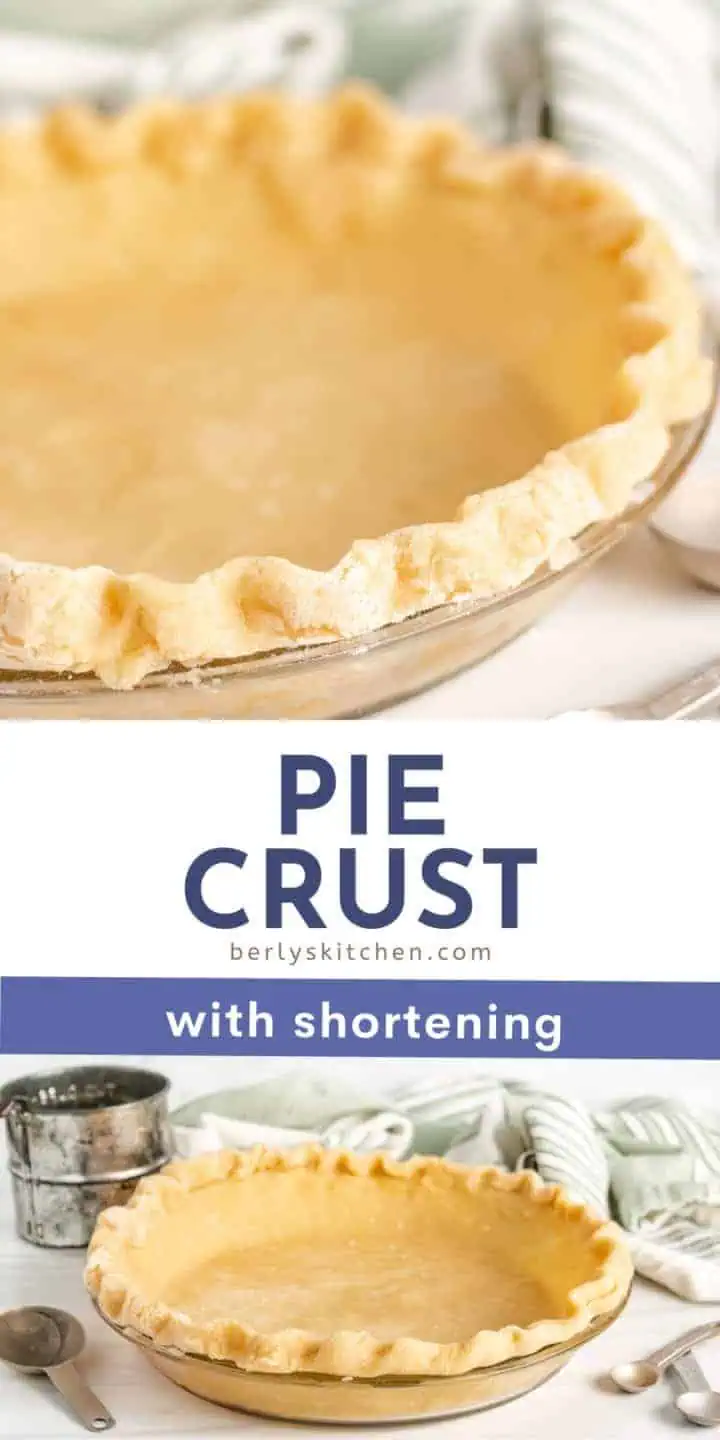
This easy recipe for Pie Crust with Shortening is made with a mix of butter AND shortening for a perfectly flaky and buttery crust. Use this simple pie crust to make your favorite sweet desserts and savory dinner pies!
Making the perfect pie crust can seem a bit daunting. A lot of people are either in camp butter pie crust or part of the shortening crowd. We choose both!
While we love a good homemade butter pie crust, we also think that shortening definitely helps this crust become nice and flaky. Before we get into the recipe, let’s talk a bit about what shortening does to a pie crust recipe.
Want to skip the pie crust completely? Try our vanilla wafer crust and make dessert bars instead!
What is shortening?
Shortening is any fat that stays solid at room temperature though butter is not usually associated with shortening. It can be made out of vegetable oil, lard, or margarine. It gives baked goods a crumbly flaky texture without the need to have the perfect temperature as you would with butter.
For this crust recipe, a mix of butter and shortening are used to make a pie crust that has the benefits of both. A buttery taste with a flaky texture. You just can’t go wrong making this pie crust for any dessert or savory pie recipe!
Shortening Pie Crust Ingredients
- All-Purpose Flour – Makes up the bulk of the crust allowing the butter and shortening to have something to stick to.
- Unsalted Butter– Very cold or frozen butter adds a rich buttery taste throughout the pie crust.
- Granulated Sugar – Adds a slightly sweet note to the flavor of the pie crust that pairs well with sweet desserts.
- Salt – Helps to balance all of the flavors in the pie crust.
- Shortening – Gives the crust dough a classic flaky texture that everyone enjoys.
- Ice Water – Used to thin out the crust dough while keeping the butter and shortening from melting.
Equipment:
- Food Processor
- 2 Pie Pans (9 inches)
- Rolling Pin
How To Make Pie Crust with Shortening
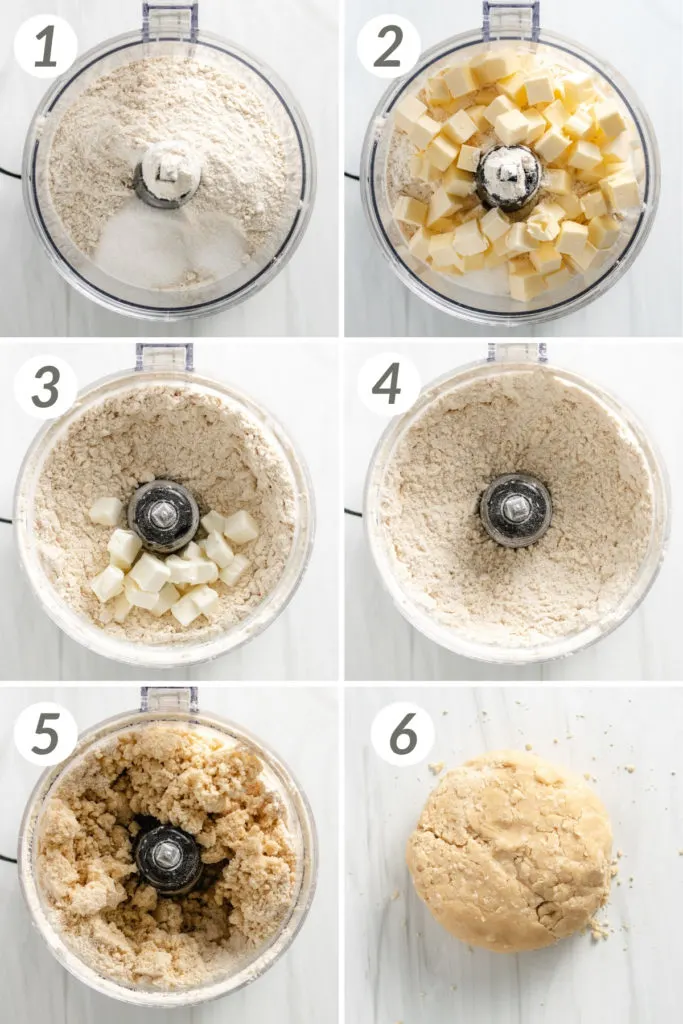
- Make a coarse meal: Add the flour, butter, sugar, and salt into a food processor. Pulse everything together until the mixture is a crumbly cornmeal texture. Next, add the shortening and pulse until all of the ingredients are combined.
- Thin out the crust: Keep running the food processor, then slowly start to pour in the ice water. Once the ingredients begin to form together, stop adding the water. When the pie crust can be held together by pressing, water is no longer needed.
- Form the dough ball: Remove the dough from the food processor and transfer it to a flat work surface. Using your hands, form the dough into a ball. If it’s too dry, add another tablespoon of water until the dough is at a workable consistency.
- Divide and chill: Cut the dough into two even pieces and form it into disc shapes. Flatten the discs, then wrap them with plastic wrap. Transfer them into the fridge to chill and set for at least one hour. Once the dough has chilled, remove it from the fridge and let it sit at room temperature for 10 minutes before working with it.
- Form the crust: While the dough is coming to room temperature, lightly flour a work surface. Place each disk on the floured surface, then use a rolling pin to roll out the dough to a 12-inch circle that is ¼ inch thick.
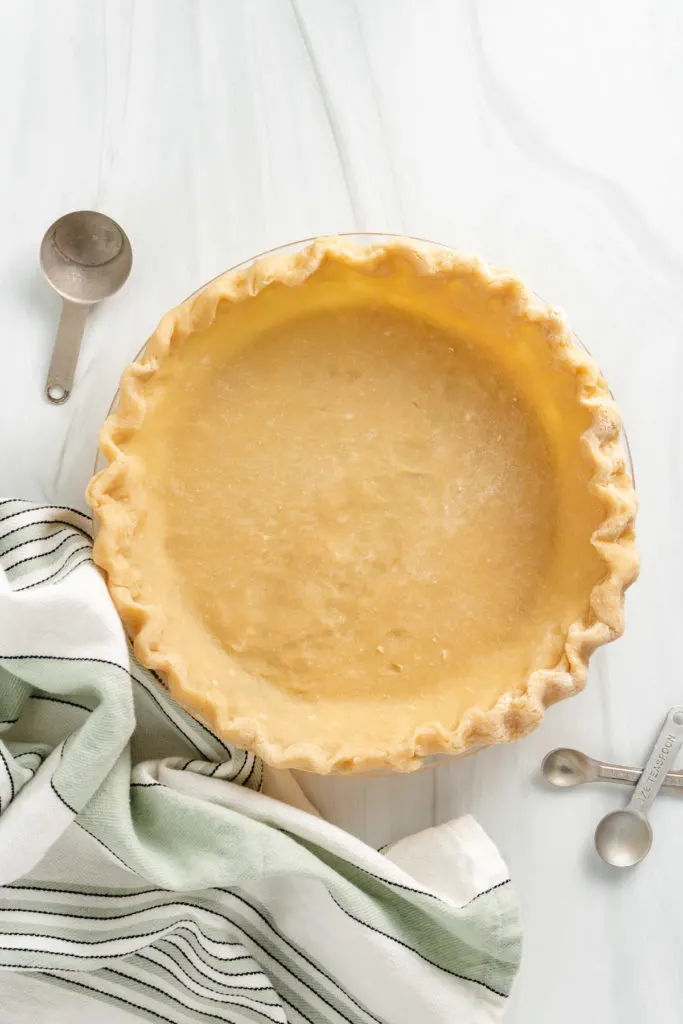
- Place crust in pie pans: Fold each circle into fourths. Place on top of an ungreased 9-inch pie plate and unfold carefully. Press each crust into place and trip the outer edge of the pie crust which will leave about ½ inch hanging off the side.
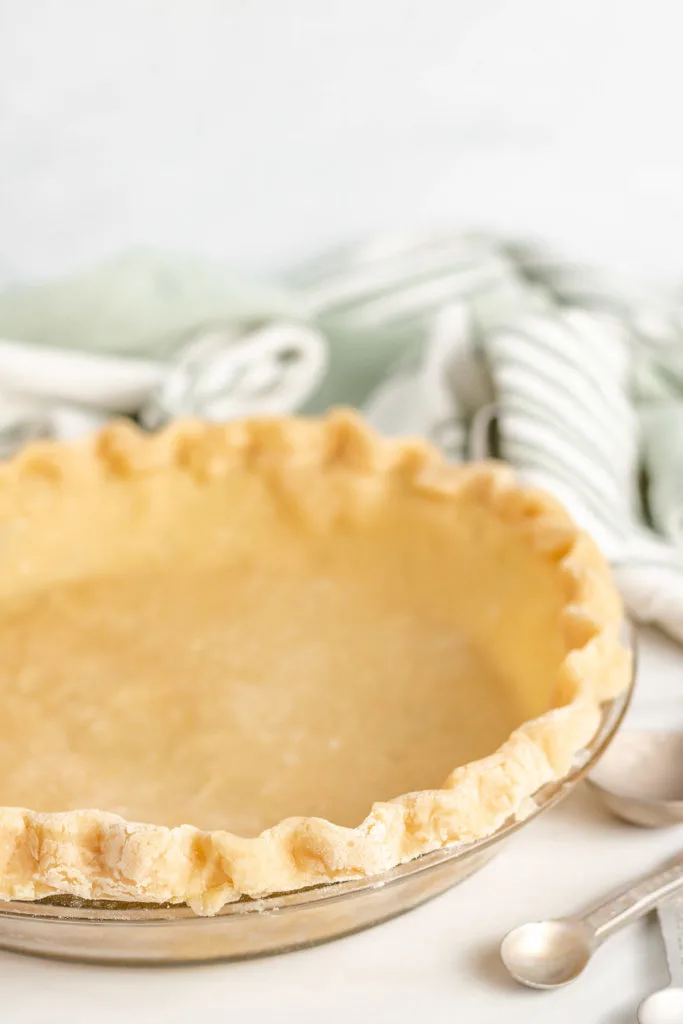
- Flute the crust: Use your fingers to flute the excess pie crust hanging off the side. This will crimp it to the outer edge of the crust making a thicker layer on the ring of the crust. Place the crust back in the fridge to set for at least 1 hour before using it in a recipe.
Recipe Tips
- Use unsalted butter for this recipe as salted butter will interfere with the salt used in the recipe. If you only have salted butter, make sure you omit the salt.
- Not all of the ice water will be needed to make this recipe. The amount needed depends on the consistency of the pie crust and should be monitored individually.
- This crust will chill in the fridge twice. Both sessions are needed to make sure the butter and shortening do not melt as the pie crust will not have its classic flaky texture if it’s not kept cold.
- Be gentle when handling the rolled-out crust. The layer is only ¼ inch thick and can tear easily. This is why it’s recommended to fold the dough into fourths before layering it onto a pie plate.
- It’s important to make sure the shortening and butter are frozen or very cold. This will keep the heat from the food processor or your hands from melting it.
Variations
- If you’re making a pie crust for a savory dish, you can completely omit the sugar from the recipe. For savory flavor, add some pepper or garlic powder to the pie dough.
- For fall desserts, try adding some cinnamon or pumpkin pie spice to the dough for a warming flavor.
- A gluten-free pie crust with shortening can be made using a gluten-free flour blend that contains xanthan gum and is a 1:1 ratio with all-purpose flour.
- If you don’t have a food processor, you can use a pastry cutter or two forks to cut the butter and shortening into the flour. If either seems to be melting, chill in the fridge until they both become solid again.
- Add two tablespoons of unsweetened cocoa powder for a chocolatey homemade pie crust.
Storing and Freezing
Storing: If you’re making homemade pie crust ahead of time, store it in the fridge BEFORE rolling into circles. This will help keep the moisture intact. You can wrap in plastic wrap then store in the fridge for up to 5 days before using at room temperature.
Freezing: Wrap the prepared pie crust dough balls tightly in plastic wrap, then a layer of aluminum foil. The crust will stay fresh for up to 6 months. Thaw in the fridge overnight before setting at room temperature before rolling out and using for recipes.
What is the best shortening to use for pie crust?
You can use margarine, lard, or a vegetable shortening such as Crisco to make a perfectly textured crust.
Should shortening be chilled before making pie crust?
Yes! You’ll want frozen or very cold shortening to make crust to keep it from melting.
Does shortening make pie crust flaky?
Yes! Cold pockets of shortening are responsible for making the flaky layers in a pie crust as it bakes.
Pie Recipes Using Pie Crust
- Hearty Beef Pot Pie
- Sweet Potato Pie Recipe
- Homemade Pumpkin Pie
- Frozen Peanut Butter Pie
- Fresh Strawberry Pie
Like This Recipe?
We’d love it if you would leave a 5 Star ⭐️⭐️⭐️⭐️⭐️ rating below.
Ingredients
- 3 cups all-purpose flour
- 1 ¼ cups unsalted butter, very cold or frozen (2 ½ sticks)
- 3 tablespoons granulated sugar
- 1 teaspoon salt
- ⅓ cup shortening, very cold or frozen
- ½ cup ice water
💌 Don't forget to save this recipe!
Instructions
- Place the flour, butter, sugar, and salt into a food processor. Pulse until the mixture resembles coarse cornmeal. Add the shortening, and pulse a few more times until its incorporated.3 cups all-purpose flour1 ¼ cups unsalted butter3 tablespoons granulated sugar1 teaspoon salt⅓ cup shortening
- With the food processor still running, very slowly pour in the water. Stop just as the ingredients begin to come together. There may still be some dry areas. If the ingredients can be pressed and hold together, there’s enough water.½ cup ice water
- Transfer the dough to a work surface. Continue to work the ingredients together, and form the dough into a ball. If it’s not holding together, add another tablespoon or two of water.
- Divide the dough into two equal parts, and flatten each disc slightly. Wrap the discs with plastic wrap, and refrigerate for at least 1 hour.
- After the dough has chilled, remove it from the refrigerator and allow it to sit at room temperature for about 10 minutes. Meanwhile, lightly flour a work surface and rolling pin. After the dough is warmed up enough to roll out, place it on the work surface and roll it out to a 12-inch circle about ¼-inch thickness.
- Fold the pie dough into fourths, and transfer it to an ungreased 9-inch pie plate. Unfold the pie dough onto the pie plate, and carefully press it into place. Trim the outer edge of the dough leaving ½-inch hanging on all sides.
- Roll the excess up onto the edge of the pie plate, and use your fingers to crimp (flute) the dough. Place the dough back in the refrigerator for at least an hour before using in a recipe. Use the second crust as a top crust or save it for later.
- See post for storage recommendations.