
Instant Pot Long Grain White Rice

If you struggle to make plain white rice on the stovetop, this recipe is for you, my friend. My Instant Pot long grain white rice comes out fluffy and perfectly cooked every time.

💌 Don't forget to save this recipe!
I can cook a lot of things, and I can cook a lot of things really well. Unfortunately, plain white rice on the stovetop has always thrown me for a loop. Give me cilantro lime rice, coconut rice, or my herb rice, and I’m fine. Plain rice is another story.
John is completely different. He’s a pro at making rice in a saucepan, so he usually handles it when we’re having rice with fish, tacos, red beans, or another main dish. If he can’t get to it, that’s when I pull out my trusty Instant Pot.
The Instant Pot makes the process much more predictable. Add everything, stir it together, seal the lid, and set the timer. There are still a few things you need to know, especially since different Instant Pot models and rice brands can cook a little differently.
The water ratio has changed over time
I used to make this with a 1-to-1 ratio of rice and water, and it worked well for years. More recently, the rice started coming out undercooked, so I increased the water to 1 ¼ cups for every 1 cup of rice.
I can’t say for certain whether that’s because my Instant Pot is more than 10 years old, something about the rice has changed, or it’s a combination of both. The 1 ¼ cups of water is what works most consistently for me now.
Your pressure cooker and preferred rice brand may give you slightly different results. If the rice is softer than you like, try reducing the water slightly the next time you make it.
What kind of rice works?
I normally use long grain white rice, but jasmine and basmati rice also work with this method. Don’t use instant or Minute Rice. Those products are partially cooked and absorb liquid differently, and that’s a different recipe entirely. My one minute rice and vegetables recipe explains how to do it.
I don’t usually rinse my rice unless I notice debris or a lot of loose starch. When I do rinse it, I rinse until the water is clear. The recipe works for me either way.
Measure carefully
I measure the dry rice in a metal measuring cup and the water separately in a glass liquid measuring cup. That way, I’m less likely to accidentally add too much of either one.
Before adding anything, check the stainless steel liner carefully. Bits of food can collect around the bottom edge and may trigger a burn notice during cooking.
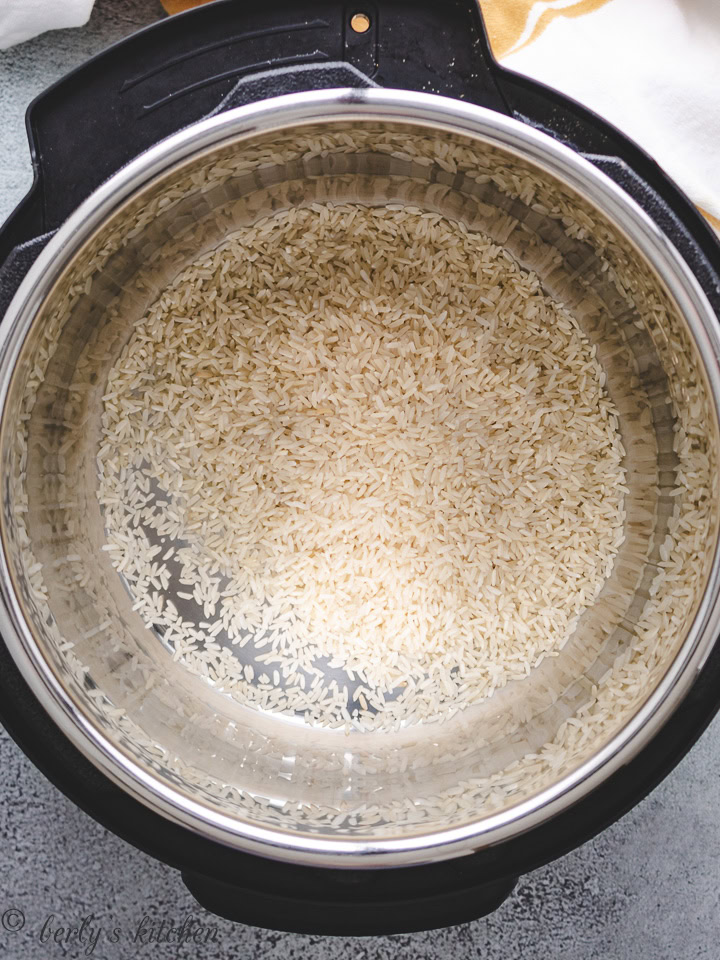
Add the rice, water, olive oil, and salt to the liner. Stir everything together so the rice is evenly distributed and covered by the liquid. Don’t leave the rice sitting in a mound in the center. The portion above the water can stay hard while the rice underneath becomes gummy.

Use the Rice setting on low pressure
Check that the sealing ring is seated correctly, close the lid, and turn the valve to the sealing position. On my Instant Pot, I use the Rice button set to low pressure for 12 minutes.
Once the cooking time ends, turn the Instant Pot off completely. Older models may automatically switch to Keep Warm, but the continued heat can keep cooking the rice from the bottom and eventually dry it out.
Leave the lid and valve alone for a 6-minute natural release. I usually set a separate timer on my phone, watch, or microwave. Once the 6 minutes are up, release the remaining pressure, open the lid, and fluff the rice.
That combination of low pressure, turning off Keep Warm, and using a short natural release currently gives me the most consistent rice.
Troubleshooting
If the rice is too soft, use slightly less water the next time. I would start by gradually reducing the water rather than making a large change all at once.
If it has hard or crunchy spots, make sure the valve was fully closed and the sealing ring was seated correctly. Escaping steam also means losing some of the liquid needed to cook the rice.
For rice that is only slightly undercooked, add 1 to 2 tablespoons of water, replace the lid, and let it sit on Keep Warm for about 5 minutes. I wouldn’t restart the Rice program because that could overcook it.
If rice sticks to the liner, make sure you added the oil and stirred everything together before cooking.
For frequent burn notices, start with a completely clean liner, double-check the sealing ring and valve, and measure the water carefully. Rinsing excess starch from the rice may also help.

Scaling the recipe
One cup of dry rice makes approximately 2 cups of cooked rice.
For a double batch, use 2 cups of rice, 2 ½ cups of water, 2 tablespoons of olive oil, and 1 teaspoon of salt. The recipe can be increased again as long as the rice and water stay safely below the pressure cooker’s maximum fill line. Rice expands considerably as it absorbs the water.
Adding more flavor
For more flavor, replace the water with an equal amount of low-sodium chicken broth. You can reduce or omit the added salt depending on the broth.
Butter can be used in place of the olive oil. For garlic rice, add ½ teaspoon of garlic powder or one small minced garlic clove.
The finished rice works well in burrito bowls and taco bowls or alongside Tex-Mex dishes, fish, gumbo, or red beans.

How to Video
Ingredients
- 1 ¼ cups water
- 1 cup long grain white rice
- 1 tablespoon olive oil
- ½ teaspoon salt
💌 Don't forget to save this recipe!
Instructions
- Add the water, rice, olive oil, and salt to the Instant Pot. Stir until the rice is evenly distributed and covered by the water.1 ¼ cups water1 cup long grain white rice1 tablespoon olive oil½ teaspoon salt
- Close the lid and make sure the valve is set to Sealing. Select the Rice setting, choose Low Pressure, and set the cook time for 12 minutes.
- When the cook time ends, turn off the Instant Pot. Leave the lid closed and allow a 6-minute natural pressure release.
- Carefully turn the valve to Venting to release the remaining pressure. Once the pin drops, open the lid.
- Fluff the rice with a fork and serve.
Notes
- This recipe was tested using long grain white rice. Jasmine and basmati rice also work, but don’t use instant or Minute Rice.
- Rinsing is optional. If you rinse the rice, drain it well before measuring the water.
- Different pressure cooker models and rice brands may produce slightly different results. If the rice is softer than you prefer, reduce the water slightly the next time.
- For more flavor, replace the water with an equal amount of low-sodium chicken broth and adjust the salt as needed.
- Store leftovers in the refrigerator for up to 3 days or freeze for 3 months..
I’m glad you do 1-1/4 cups water to 1 cup rice. 1:1 is prevalent on the internet and it needs more water. I’m also glad you have a low pressure recipe. I like to add rice to the “runny” part of chili or ham/beans and cook again. This doesn’t work very well on high. On low I hope to have better results. Thanks!!
Thank you Trawg! We hope you enjoy the recipe. Have a great day!
I have the IP duo 8qt and when I used the rice button after it came to pressure it started at eighteen minuets. I did make six cups though, could this be the reason?
Hi Don!
That’s a great question! We’ve never used an 8-quart, so I’m not sure why it would’ve had an 18 minute cook time. It may have been the 6 cups volume of rice or possibly that the 8-quart is pre-programmed for 18 minutes instead of 12 minutes. Instant Pot customer service may be able to answer that one better than we can. Sorry I couldn’t give you a more definitive answer. We hope you have a great weekend! 🙂
I had a rice cooker for years that made a perfect pot of rice. After a piece broke and parts were not available I began to search for a new one. The Instant Pot was all the rage at the time and the price difference between them was not much. The IP was so much more versatile and when I saw it had a rice button I decided to try it. Found this recipe and I delighted with the results. So far this is the only successful thing I’ve cooked. All chicken recipes I’ve tried I haven’t been pleased with results yet. Still searching and experimenting. But glad my IP makes the rice perfectly.