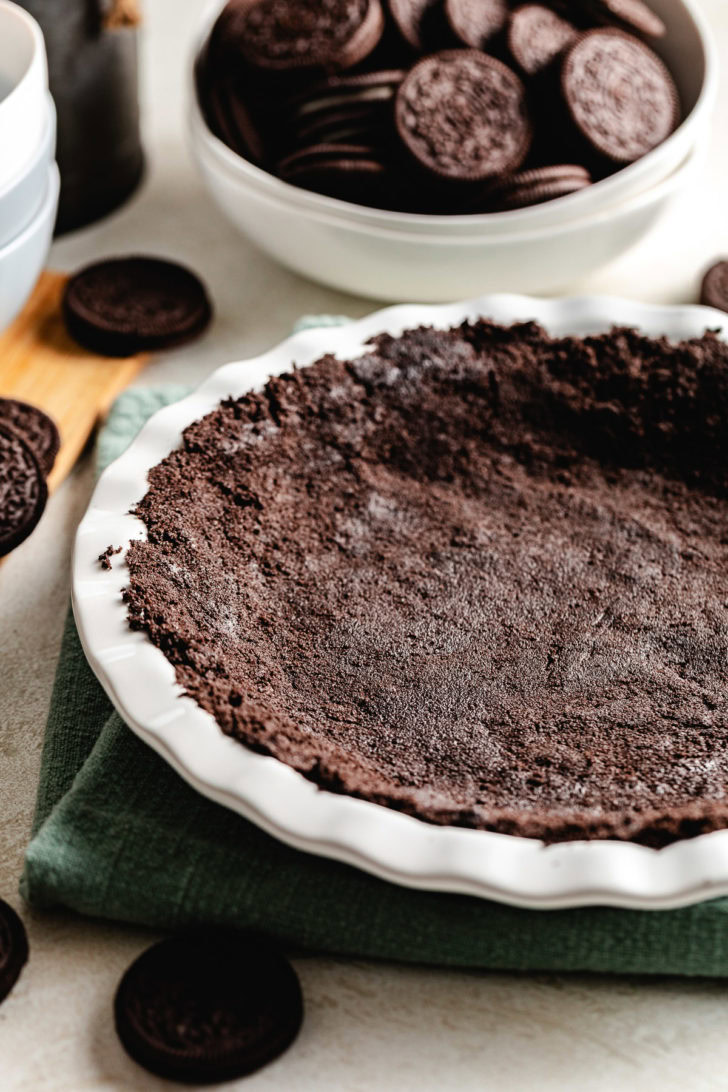
Oreo Pie Crust
This Oreo pie crust is crisp, chocolatey, and buttery. It’s easy to make and works for pies, cheesecakes, and more.
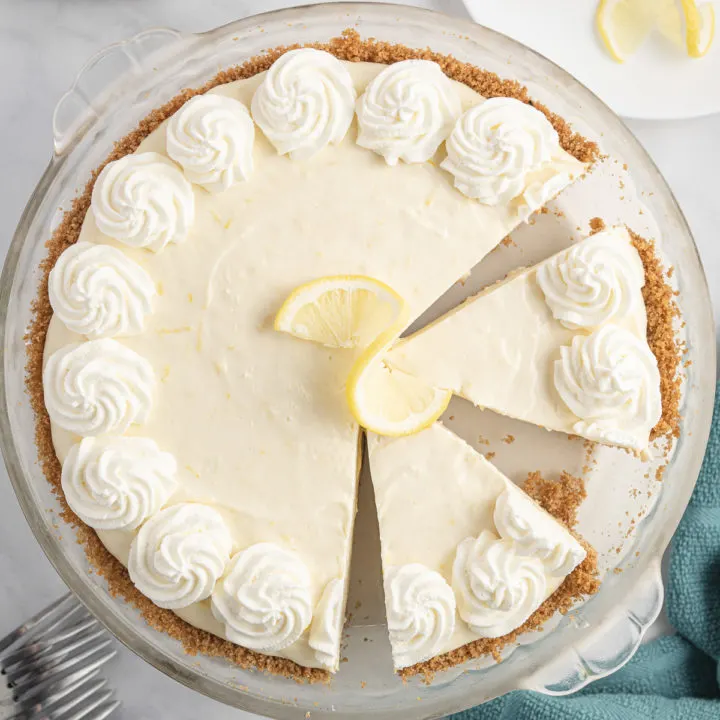
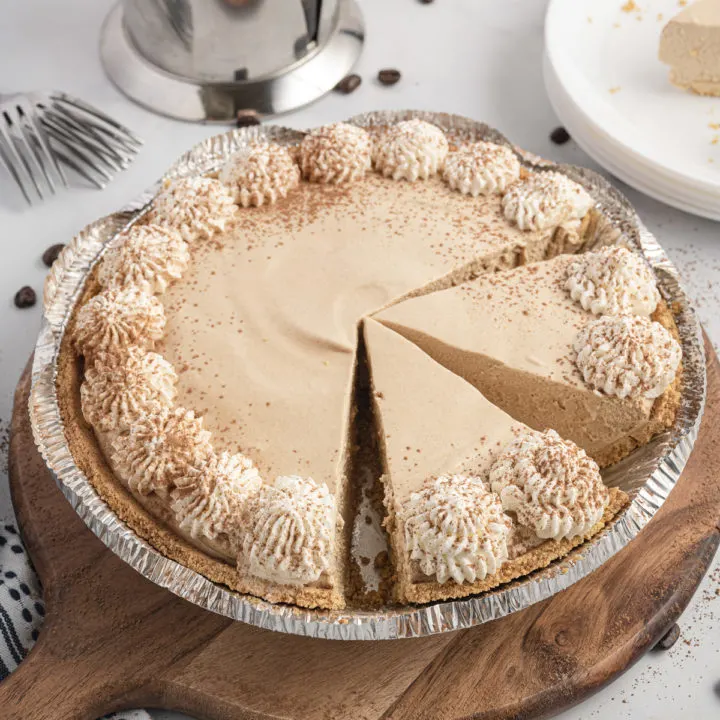
This crust goes great with my frozen peanut butter pie and grasshopper pie recipes!
I love using this Oreo crust recipe for several of my no-bake pies, cream based pies, and cheesecakes. It’s the one I always make for my peanut butter cup pie.
This crust adds tons of chocolate flavor, and gives pies a crunchy crust in the best way possible. It’s an easy recipe that tastes sweet and buttery all at the same time.
You can bake it for a sturdier base, or skip the oven for a softer texture.
Either way, you get that classic Oreo pie crust that makes your best pies taste that much better!
What you’ll need
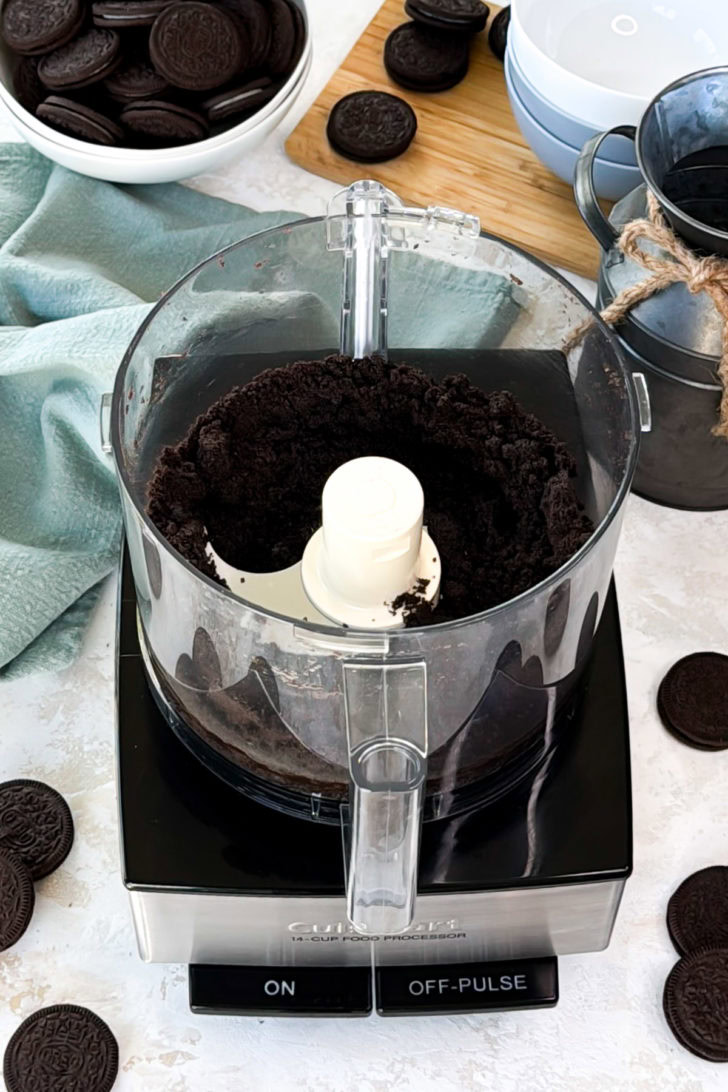
All you need are two simple ingredients: whole Oreo cookies and melted butter. I use a food processor for the fastest grind, but a rolling pin and a zip-top bag also works.
Have a pie dish ready, plus a bowl and a spoon to stir if you’re mixing everything by hand.
How to make an Oreo crust
Heat the oven to 350°F.
Add 24 whole Oreo cookies (cookies and the filling) to a food processor and grind them into fine crumbs.
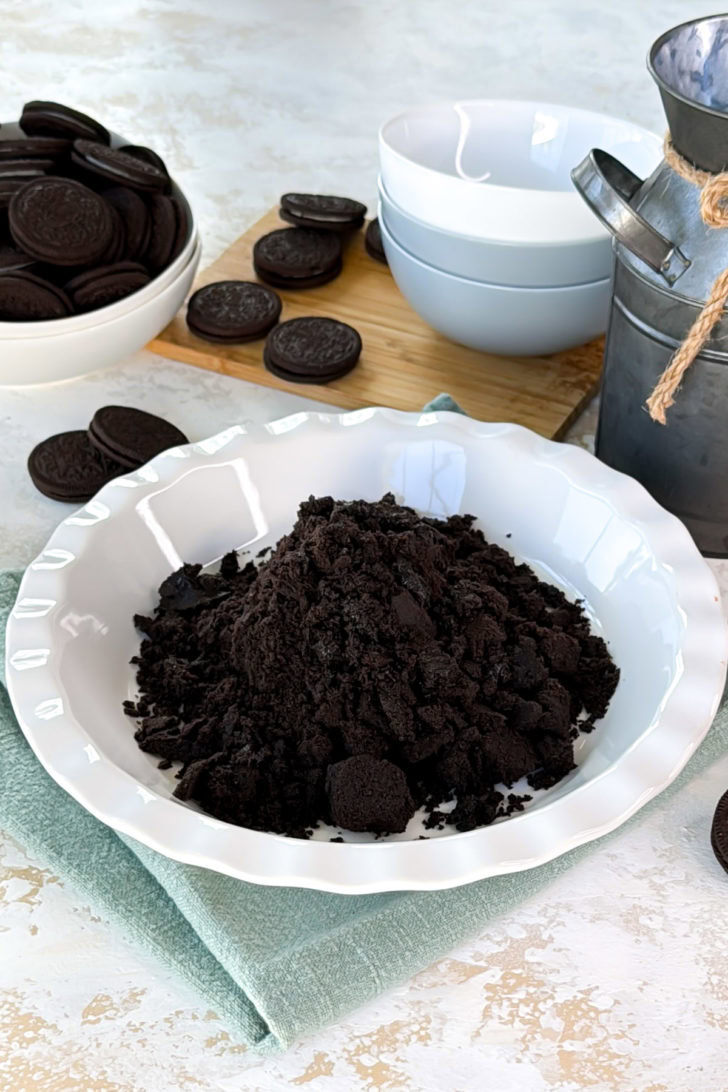
With the processor running, drizzle in the melted butter. Stop once the mixture looks like damp sand.
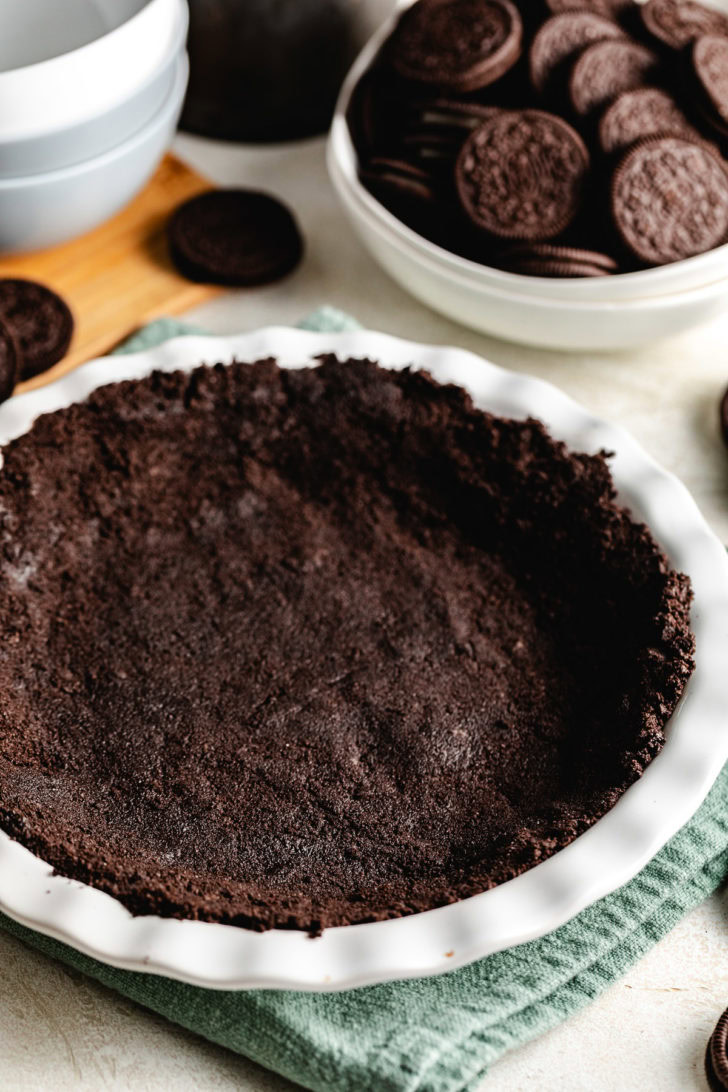
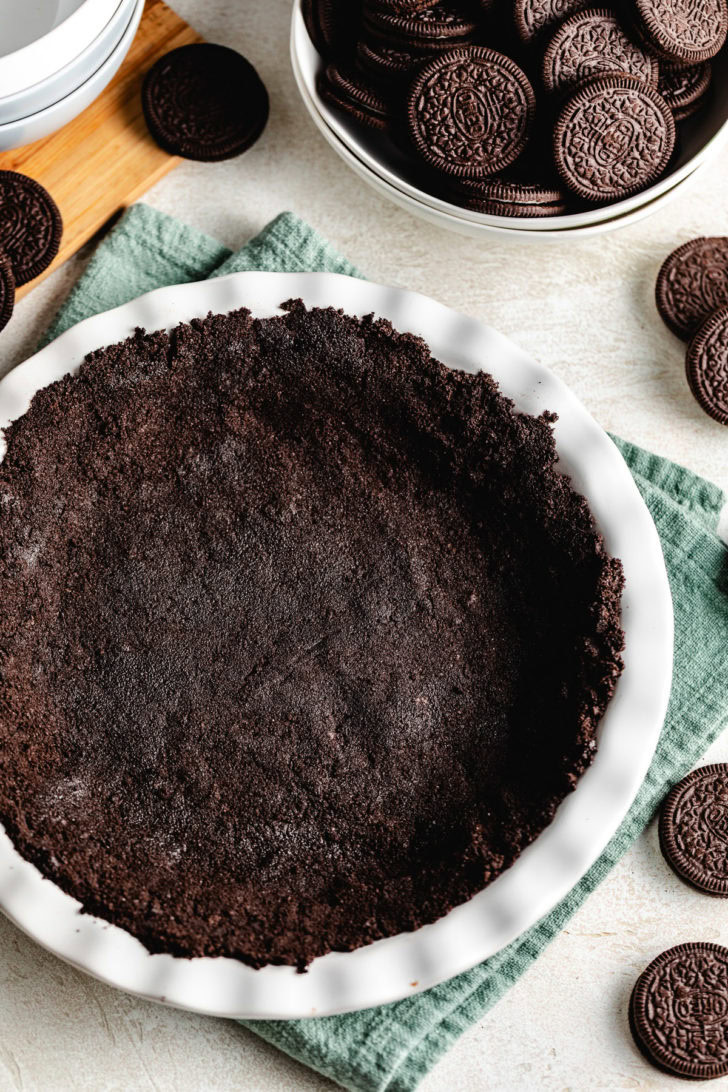
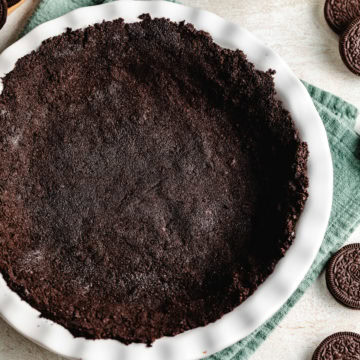
Press the mixture into a 9-inch pie dish. Pack it firmly on the bottom first, then work it up the sides.
Bake for 10 to 12 minutes, and cool completely before adding any filling.
How to make this crust without a food processor
Put the Oreos in a zip-top bag and crush them with a rolling pin until they’re very fine.
Pour the crumbs into a bowl, stir in the melted butter, then press into the pie dish and bake.
No-bake option
If you’re making an Oreo crust for a no-bake pie, you can skip baking and chill it instead.
Press the crumb mixture into the pie dish, then put it in the refrigerator for at least 1 hour to firm up.
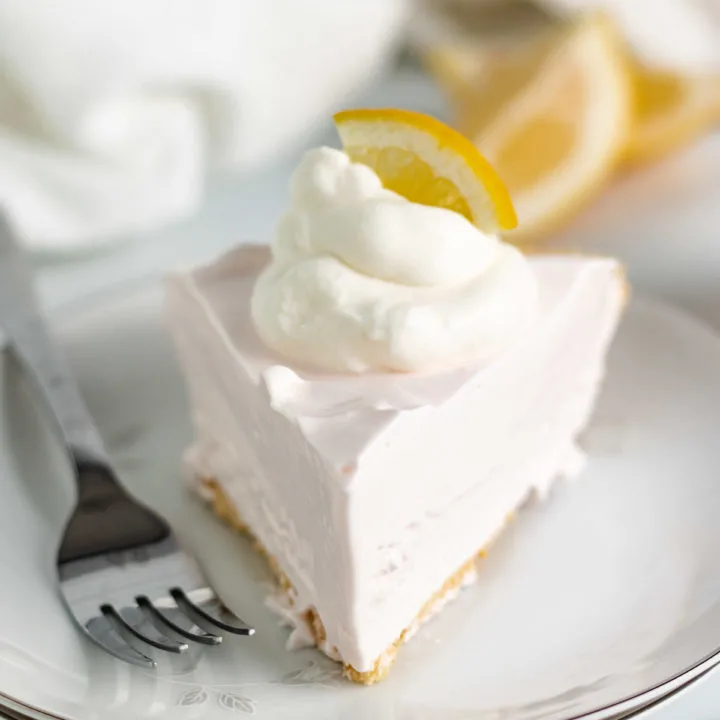
This version is best with lighter fillings like pudding, whipped cream pies, or an ice cream pie.
How many crushed Oreos are in a cup?
It varies by how fine you grind, but 24 cookies usually makes around 2 ½ to 3 cups of crumbs.
Can you freeze an Oreo cookie pie crust?
Yes, an Oreo crust freezes really well, actually. If you wrap it properly, it will stay good for about 2 months in the freezer.
There are a couple of things to note when freezing the crust. If you’re making a frozen pie (like an ice cream pie), let it sit at room temperature for 10-15 minutes before trying to slice it.
Hold a knife under hot water and use a metal spatula that’s been held under hot water. It’s helps loosen the crust.
My biggest recommendation is to lightly spray the pan with non-stick spray before you add the crust. Use a paper towel to spread it around, then add the crust.
That will help loosen a frozen crust.
Storage
- Baked crust: Cover and keep at room temp for up to 1 day, or refrigerate for up to 3 days.
- Freezer: Wrap well and freeze the crust for up to 2 months. Thaw in the refrigerator before filling.
If you like this, you may also like one of thse:
Ingredients
- 24 whole Oreo cookies
- 6 tablespoons unsalted butter, melted and cooled slightly
Instructions
For a Baked Crust:
- Preheat the oven to 350°F.
- Lightly spray a 9-inch pie dish with cooking spray, and use a paper towel to wipe any excess spray away. (Don't skip this! Wiping with a paper towel also helps distribute the spray evenly.)
- Grind the Oreos in a food processor until very fine. With the food processor running, drizzle in the melted butter and blend until evenly mixed.24 whole Oreo cookies6 tablespoons unsalted butter
- Press firmly into a 9-inch pie dish, and bake for 10–12 minutes. Cool before adding filling.
For a No-Bake Crust:
- Lightly spray a 9-inch pie dish with cooking spray, and use a paper towel to wipe any excess spray away.
- Add the whole Oreo cookies to a food processor and grind into fine crumbs. With the food processor running, drizzle in the melted butter and blend until evenly mixed.
- Press the mixture firmly into the bottom and up the sides of a 9-inch pie dish.
- Refrigerate for at least 1 hour before adding the filling.
- For the cleanest slices, chill the finished pie 2 to 4 hours (or as directed for your filling).
Notes
Nutrition
Meet Kimberly
Hi, I’m Kimberly Vargo! Comfort food is at the heart of everything I make like easy dinners and sides to desserts, cocktails, and condiments. A lot of my inspiration comes from old family recipes, personal favorites, and vintage cookbooks.