Brie and Pear Grilled Cheese Sandwich

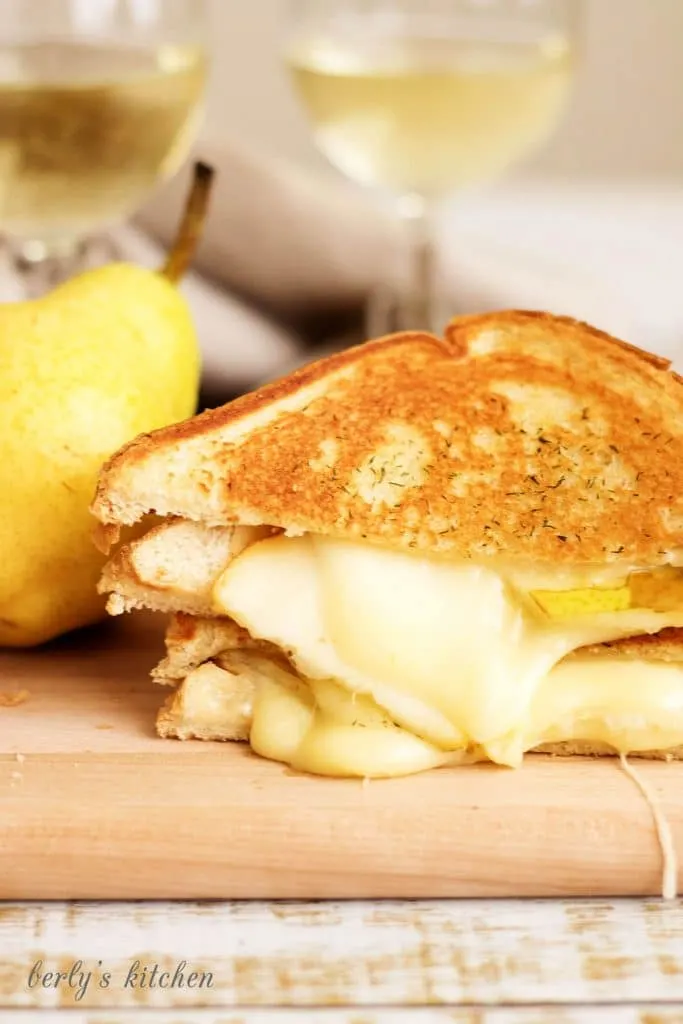
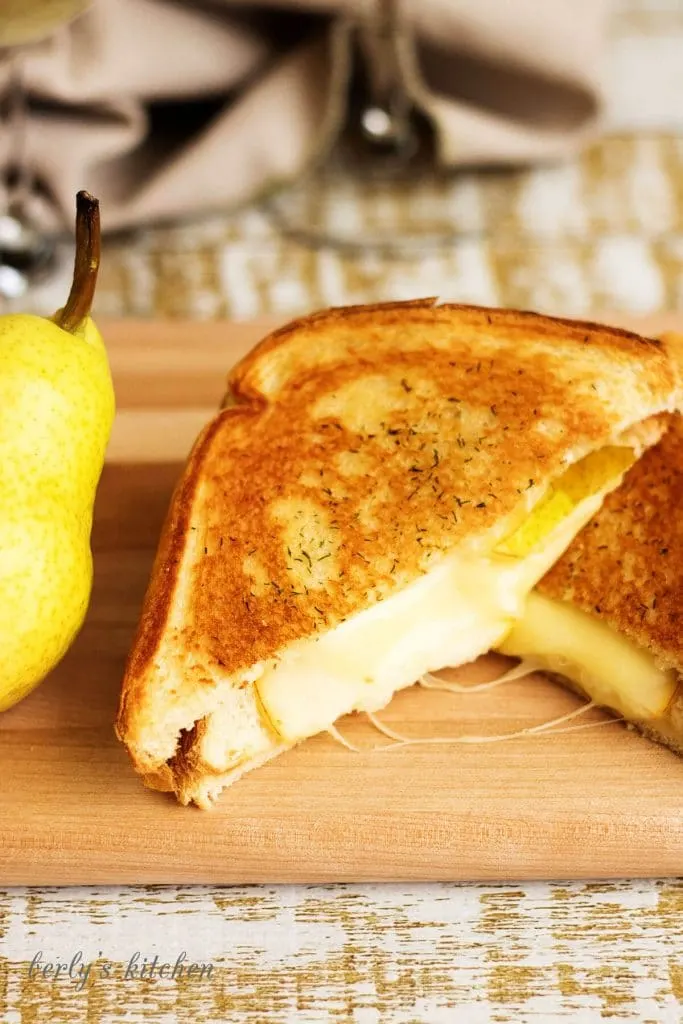
This brie and pear grilled cheese sandwich layers creamy brie, sweet pear slices, and fresh dill on thick-cut toast for an easy, grown-up grilled cheese.
This brie and pear grilled cheese sandwich is what I make when we want something simple but a little more grown up than a regular grilled cheese. If you’re craving something more classic, try my bacon grilled cheese sandwich.
Creamy brie melts around thin slices of sweet pear, and fresh dill adds a little bit of brightness and citrusy flavor. Use thick-cut bread, a hot skillet, and a lid to get golden brown bread and soft, gooey cheese.
Serve this grilled cheese sandwich with tomato soup, a simple side salad for a quick lunch or easy dinner.
If you’re serving a little at-home happy hour, this sandwich works well with my ginger pear cocktail or a pitcher of cranberry sangria.

What you’ll need
- Brie cheese: It’s smooth, creamy and melts really well. We recommend that you remove the rind.
- Pear: Bartlett or Bosc pears work well.
- Thick-cut bread: Texas Toast is our favorite.
- Butter.
- Fresh dill.
How to make a brie and pear grilled cheese sandwich
Preheat a skillet over medium heat. Brush one side of each bread slice with melted butter. Sprinkle the buttered sides lightly with fresh dill.
Build the sandwich on a cutting board. Place one slice of bread buttered-side down, add an even layer of pear slices, then top with the brie. Set the second slice of bread on top, buttered-side up.
Transfer the sandwich to the hot skillet and cover it with a lid. Cook for a few minutes until the bottom is golden brown and the cheese starts to soften. Carefully flip, cover again, and cook until the second side is toasted and the brie is melted.
Move the sandwich to a cutting board, let it sit for a minute so the cheese settles, then slice and serve warm.
Tips for the best grilled cheese
Adjust the dill: If you use dried dill, go light. Too much can overpower the delicate flavor of the brie and pear.
Slice the pear thin: Thin slices soften faster and layer more evenly, which helps the sandwich hold together when you slice it.
Use a lid for better melt: Covering the pan traps steam and heat so the brie softens all the way through without drying out the bread.
Let it rest before slicing: Give the sandwich a minute on the cutting board. The cheese thickens slightly so it doesn’t run out as soon as you cut it.
Storage
This brie and pear grilled cheese sandwich is best eaten right after cooking. If you do have leftovers, let the sandwich cool completely, then wrap it tightly and store it in the refrigerator for up to one day.

Can I use a different cheese instead of brie?
Yes. A soft, melty cheese like fontina, havarti, or a mild camembert will work. The flavor will change, but the pear still pairs well with those cheeses.
Do I have to remove the brie rind?
No. The rind is edible and adds a little extra flavor. Removing it gives the sandwich a smoother texture, so it comes down to personal preference and what your readers are used to.
More Sandwich Recipes

Ingredients
- 4 ounces brie cheese, rind removed and sliced
- 4 slices Texas toast
- 1 tablespoon unsalted butter, melted
- ¼ teaspoon fresh dill, finely chopped
- 1 pear, Bartlett or Bosc, cored and thinly sliced
💌 Don't forget to save this recipe!
Instructions
- Flatten the brie slices slightly so they will cover the bread evenly and set aside.4 ounces brie cheese
- Preheat a large skillet over medium heat.
- Brush one side of each bread slice with melted butter, then sprinkle the buttered sides evenly with dill.4 slices Texas toast1 tablespoon unsalted butter¼ teaspoon fresh dill
- Place two slices of bread buttered-side down on a cutting board. Layer pear slices over each piece, then top with the brie. Place the remaining bread slices on top, buttered-side up, to form two sandwiches.1 pear
- Transfer the sandwiches to the hot skillet and cover with a lid. Cook for 3 to 5 minutes, or until the bottoms are golden brown.
- Carefully flip, cover again, and cook for another 3 to 5 minutes, or until the second side is golden and the cheese is melted.
- Remove from the skillet, slice if desired, and serve immediately.
How to Store Leftovers
- If you happen to have leftovers, store them in the refrigerator for up to 1 day.
Notes
- The calories listed are an approximation based on the ingredients in the recipe card and a serving size of 1 sandwich. Actual calories will vary.
- Recipe makes 2 sandwiches.
I love brie with any fruit, this looks amazing 🙂
-Sarah