Dirty Water Pie Recipe

This dirty water pie recipe turns simple pantry staples into a sweet, custard-style pie with warm cinnamon and vanilla in a buttery crust.
This dirty water pie recipe is one of those old-fashioned desserts that sounds a little questionable but tastes like a simple sugar-and-butter custard in pie form.
It starts with a basic pie crust and a filling made from water, sugar, flour, vanilla, cinnamon, and butter, baked until the center is soft, set, and a little “dirty” looking from the warm spices.
This is a Depression-era “desperation pie” that uses pantry ingredients you probably already have on hand, so it’s an easy dessert when grocery budgets are tight or you just want to try a nostalgic recipe from the past.
If you like old-fashioned recipes, you may always like my sweet potato pie, iced oatmeal cookies, and popcorn balls.
What is dirty water pie?
Dirty water pie is a spin on classic water pie, a Depression-era dessert where a simple pie crust is filled with water, sugar, flour, and butter instead of richer ingredients like milk and eggs.
The “dirty” nickname usually comes from the way the filling looks once you add warm spices like cinnamon (and sometimes nutmeg), plus melted butter floating on top while it bakes.
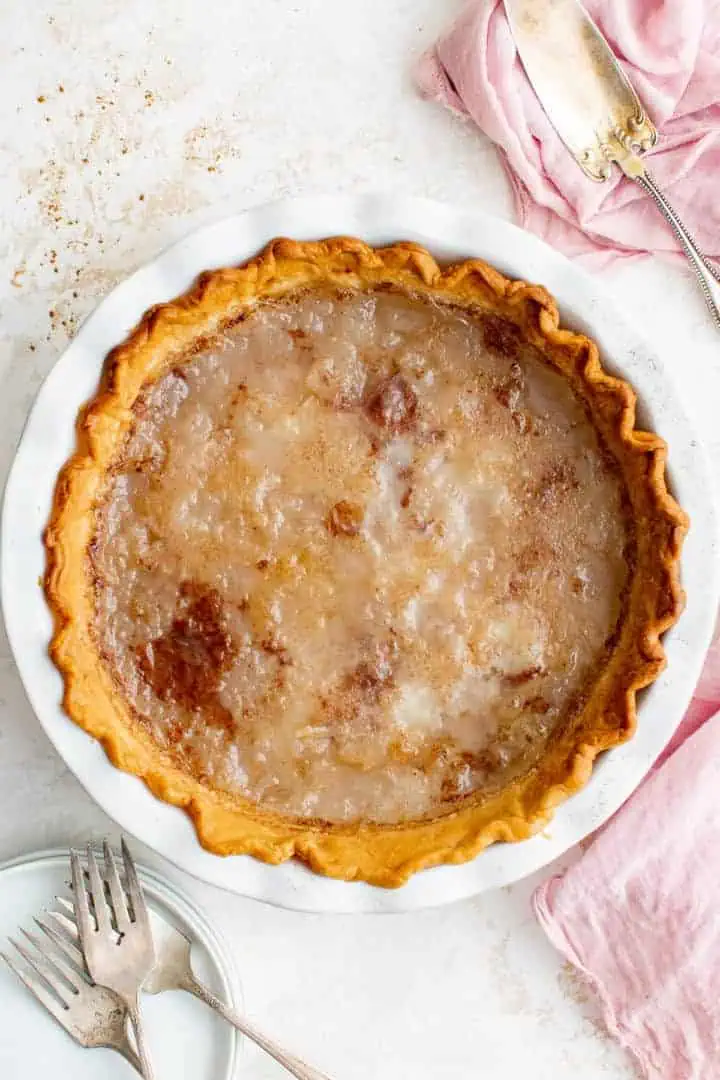
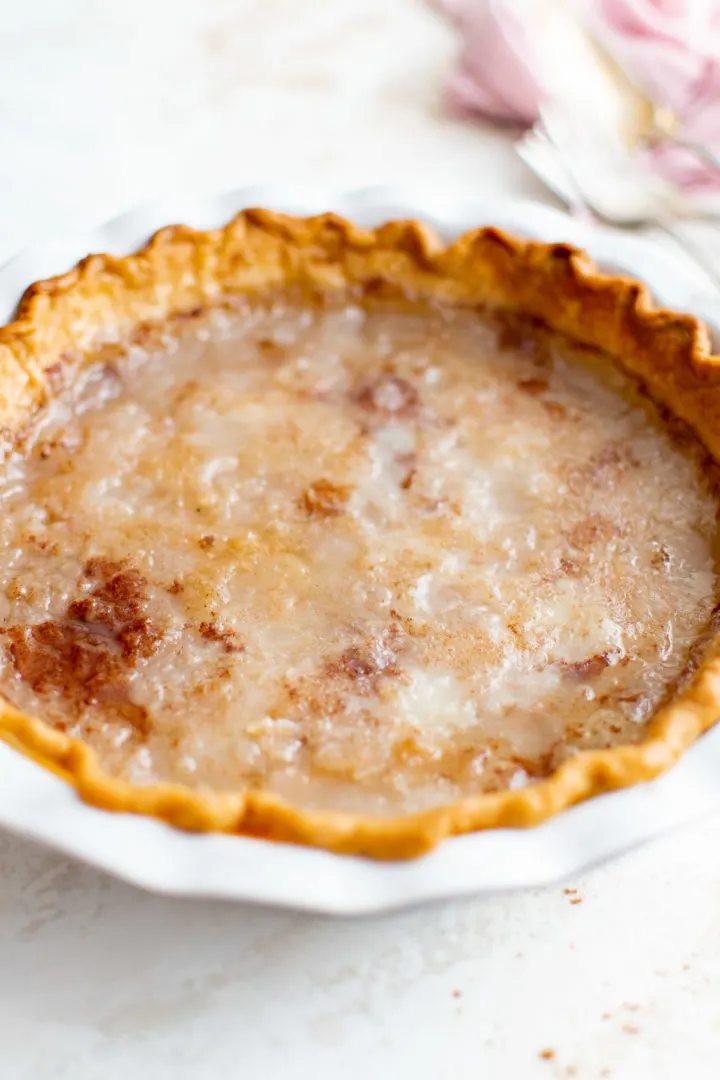
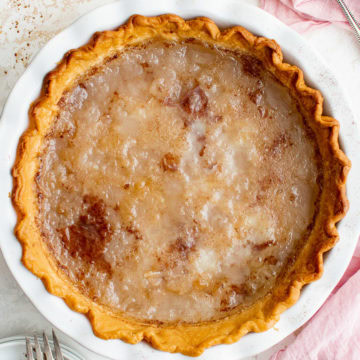
As it bakes, the flour thickens the water and sugar into a soft, custard-style or gelatin-like filling. The top gets lightly browned and speckled from cinnamon, so the pie looks a bit murky in the pan but slices up cleanly once it’s fully cooled and set.
The flavor is sweet with buttery, vanilla, and cinnamon notes, very similar to other “desperation pies” like chess pie or sugar pie.
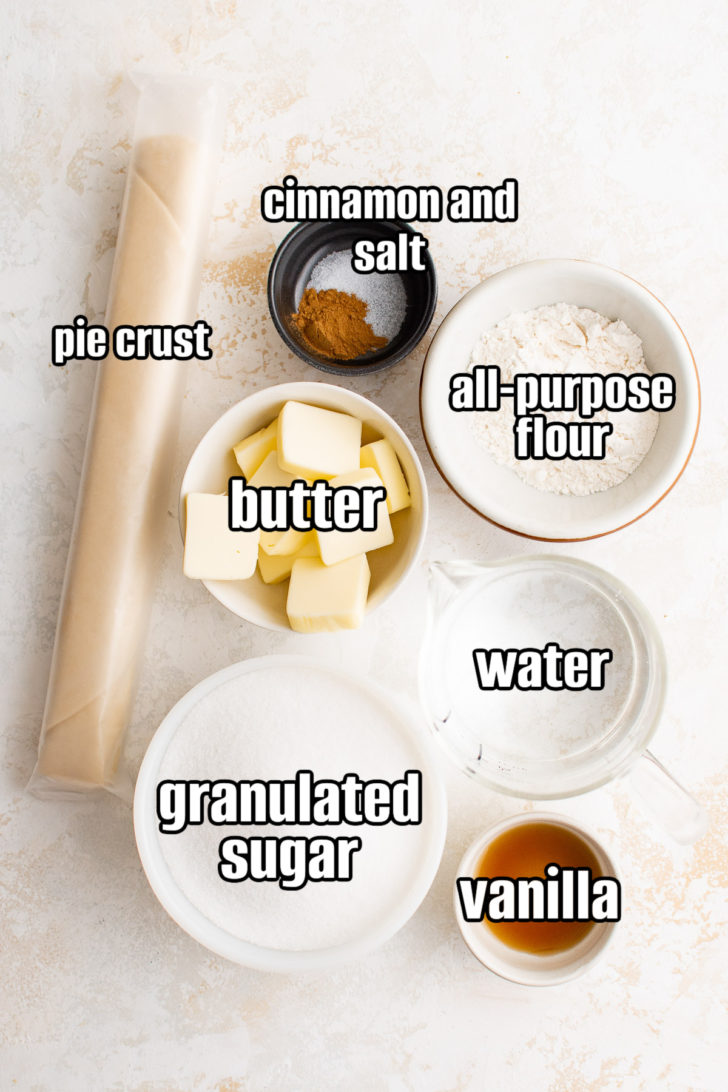
What You’ll Need
Ok, these ingredients are very simple. Keep in mind these are limited to what folks could get ahold of during the Great Depression, so there’s not much here. Water is main ingredient!
- Pie crust (9-inch): use a homemade pie crust or store-bought.
- Water.
- Granulated sugar.
- All-purpose flour.
- Vanilla extract.
- Ground cinnamon and salt.
- Butter.
How to make a dirty water pie
Here’s a quick overview of the instructions. The full recipe with ingredient amounts is further down the page.
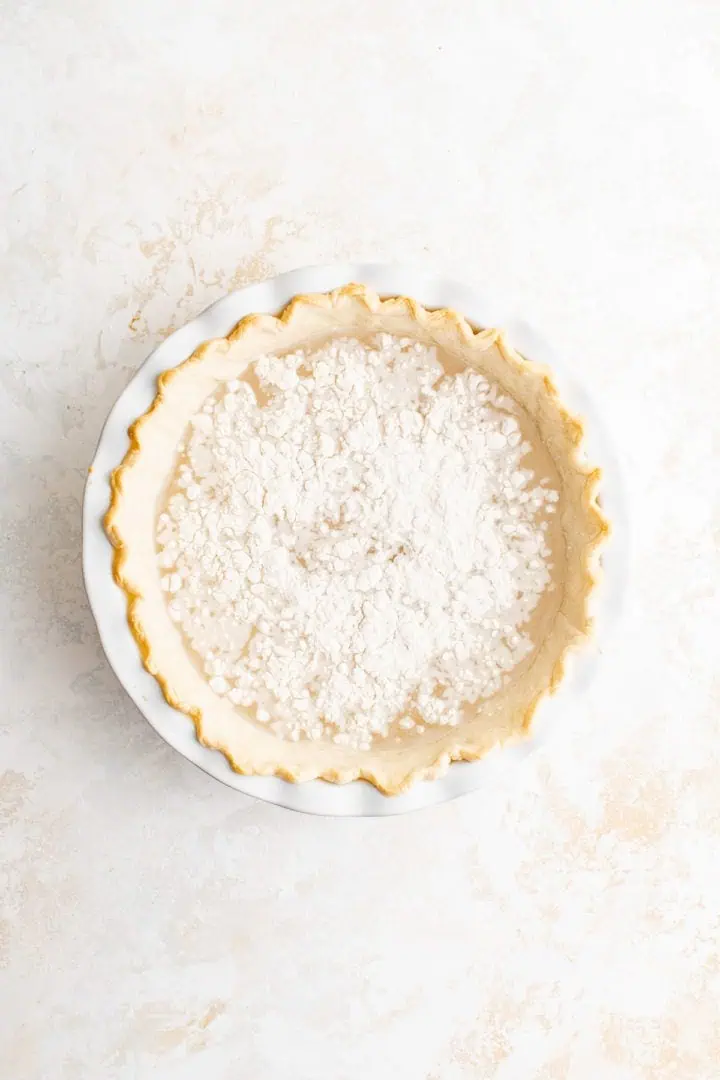
- Pour warm water into a warm, par-baked pie crust. Sprinkle the sugar and flour evenly over the water, then gently stir to combine without tearing the crust.
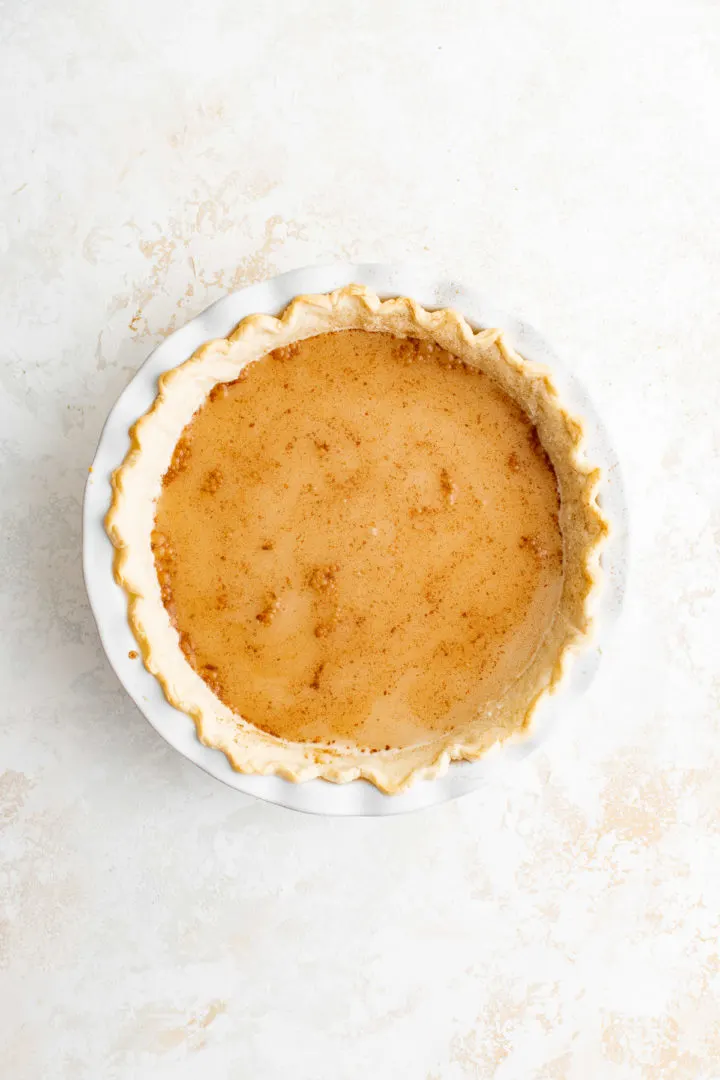
- Stir in the vanilla, cinnamon, and salt until they are evenly distributed.

- Arrange the butter slices evenly over the surface of the filling without stirring them in.
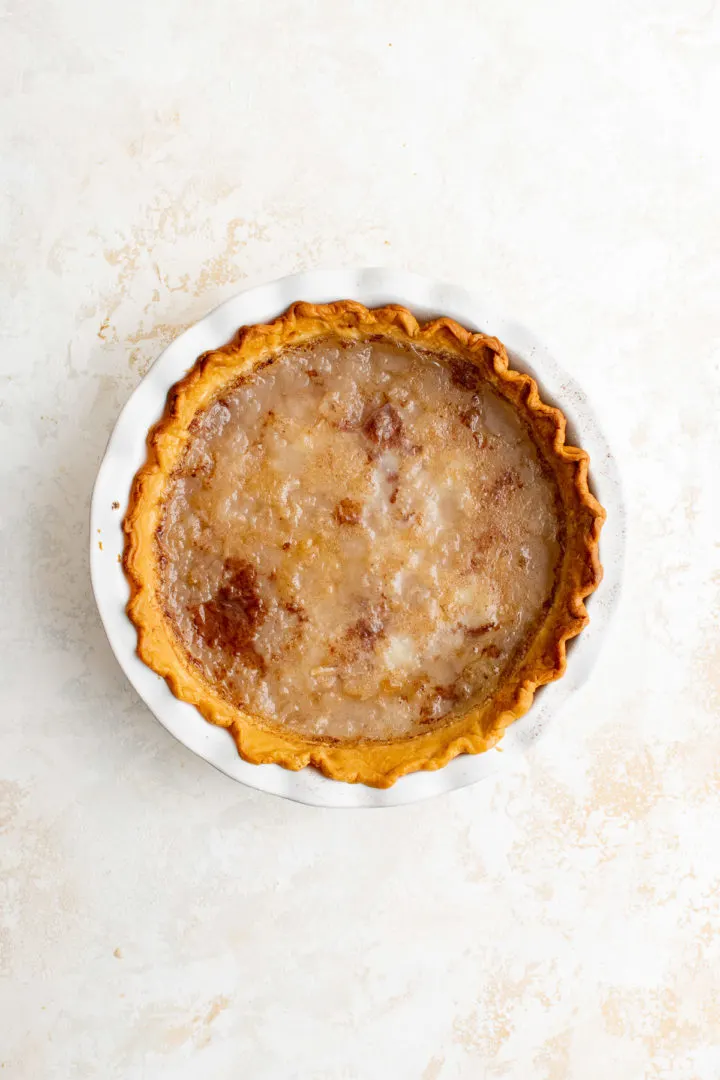
- Bake until the edges are set, the top is lightly browned and speckled, and the center has a slight jiggle when the pan is gently shaken. Make sure the pie is completely cooled in the fridge before slicing.
Tips for the best dirty water pie
- Don’t skip the par-bake. Blind baking keeps the crust crisp and prevents the filling from soaking straight into the bottom.
- Use warm (not boiling) water. Warm water blends more easily with the flour and sugar so you’re less likely to have flour pockets in the baked filling.
- Go easy when stirring in the crust. You need to combine the filling but still be careful so you don’t tear the crust.
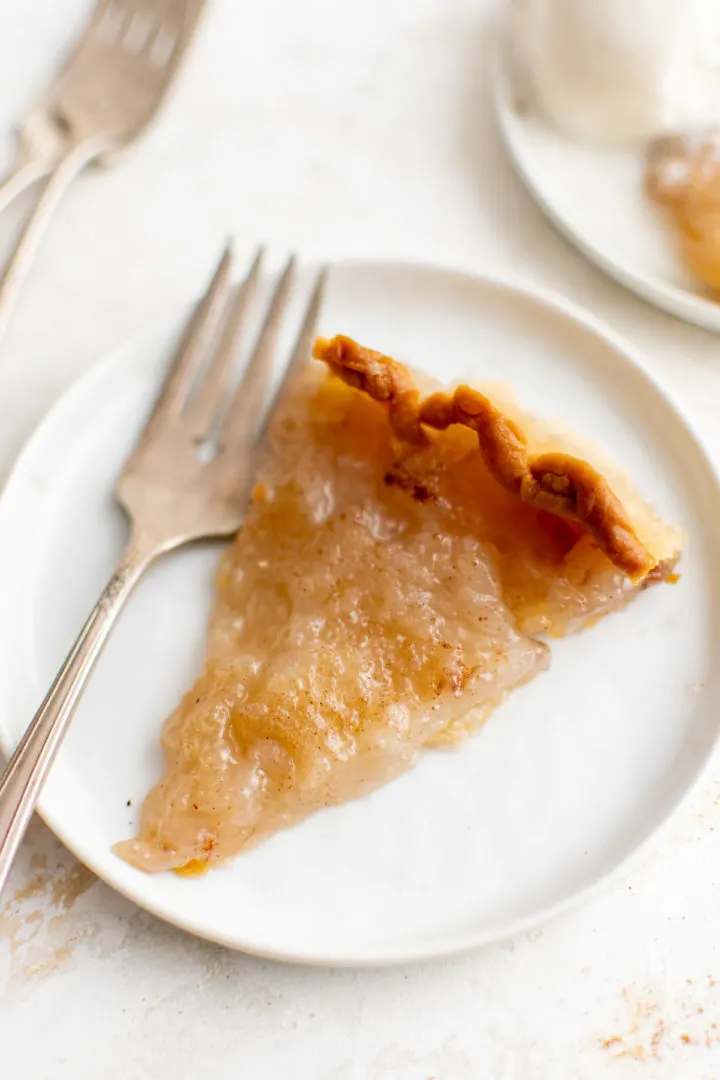
- Let it cool completely. This pie has to cool and set before slicing or it will run (see my photos; it was pulled from the fridge too quickly).
Easy variations and serving ideas
You can keep the base recipe the same and tweak the flavor a little:
- Extra-spiced dirty water pie: Add a pinch of nutmeg or allspice along with the cinnamon for a more fall-style flavor.
- More vanilla: Skip the cinnamon and add a little extra vanilla for a lighter, sugar-cookie-style filling (less “dirty,” more classic water pie).
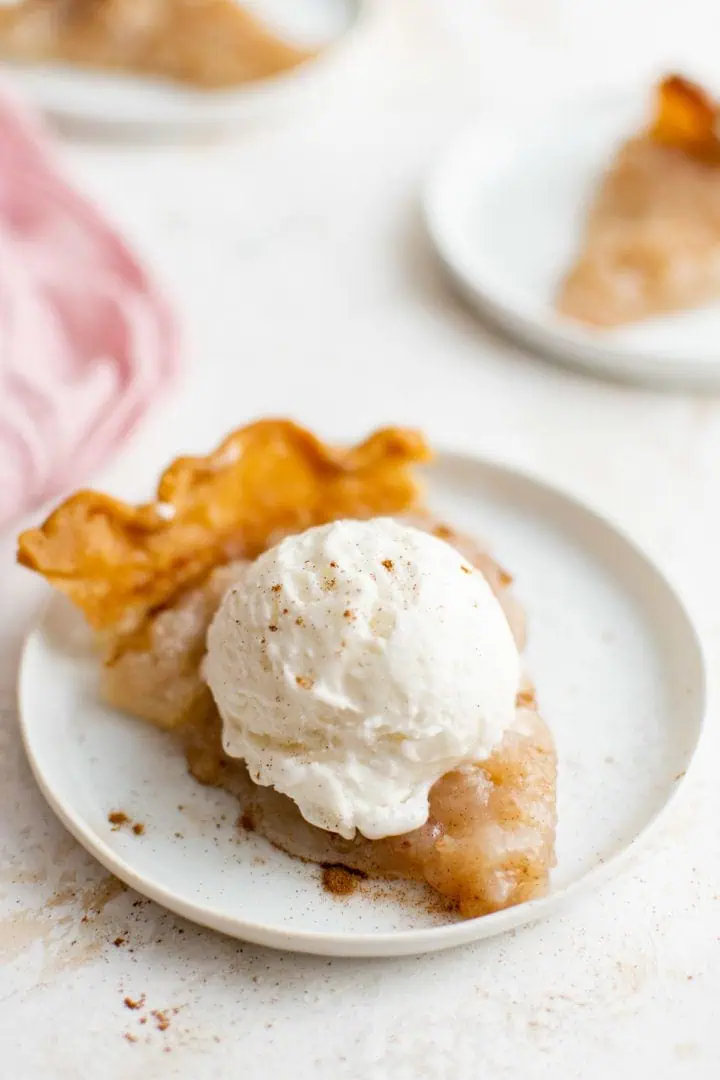
- With toppings: Serve the pie slices with whipped cream, vanilla ice cream, or a drizzle of caramel sauce to dress it up.
How do I know when my dirty water pie is done?
Look for a lightly browned top, set edges, and a center that still jiggles a little when you move the pan. If the filling waves like liquid, keep baking and check again in 3–5 minutes.
The pie will continue to firm up as it cools, so don’t wait for it to be completely solid in the oven.
Does dirty water pie really set without eggs or milk?
Yep! The combination of flour, sugar, and water thickens in the oven, similar to how flour thickens a gravy or sauce.
As the pie cools and the butter firms back up, the filling sets into a soft, sliceable custard even though there are no eggs or dairy in the filling itself.
Storage
Refrigerator: Store in the refrigerator for up to 4 days. The texture actually improves a bit after it chills and rests overnight.
More old-fashioned dessert recipes
If you like this dirty water pie recipe, you might also enjoy:
Ingredients
- 1 pie crust, 9-inch, homemade or store-bought
- 1 ½ cups water
- 1 ¼ cup granulated sugar
- ½ cup all-purpose flour
- 1 teaspoon vanilla extract
- ¼ teaspoon ground cinnamon
- ⅛ teaspoon salt
- 4 tablespoons unsalted butter, cut into 6-8 slices
💌 Don't forget to save this recipe!
Instructions
- Preheat the oven to 400°F.
- Roll out the pie crust, and press it into the pie dish. Trim off the excess from around the edges then crimp the edges into whatever design you prefer.1 pie crust
- Poke several holes in the bottom of the pie crust using a fork then place a sheet of parchment paper or aluminum foil on top along with some baking beans or pie weights.
- Bake for 8 to 10 minutes then remove the weights and foil or parchment paper. Return to the oven for another two to three minutes or until the pie crust is lightly browned.
- Pour in the water, sugar and flour into the baked crust then gently stir the flour until there are no dry spots on top.1 ½ cups water1 ¼ cup granulated sugar½ cup all-purpose flour
- Add the vanilla, cinnamon, and salt and gently stir once again.1 teaspoon vanilla extract¼ teaspoon ground cinnamon⅛ teaspoon salt
- Gently lay the sliced butter on top of the pie, and bake for 35 to 45 minutes or until the center of the pie jiggles only slightly when moved.4 tablespoons unsalted butter
- Let the pie cool for at least three hours before slicing and serving with vanilla ice cream if desired.
How to Store Leftovers
- Store in the refrigerator for up to 4 days.
Notes
Nutrition
*2/14/26: Post text updated. Recipe unchanged.
Meet Kimberly
Hi, I’m Kimberly Vargo! Comfort food is at the heart of everything I make like easy dinners and sides to desserts, cocktails, and condiments. A lot of my inspiration comes from old family recipes, personal favorites, and vintage cookbooks.
